Travel planner template
Plan trips with ease using a travel planner template in Asana. Organize trip details, manage budgets, and keep all aspects of your itinerary in one place to ensure a picture-perfect travel experience.
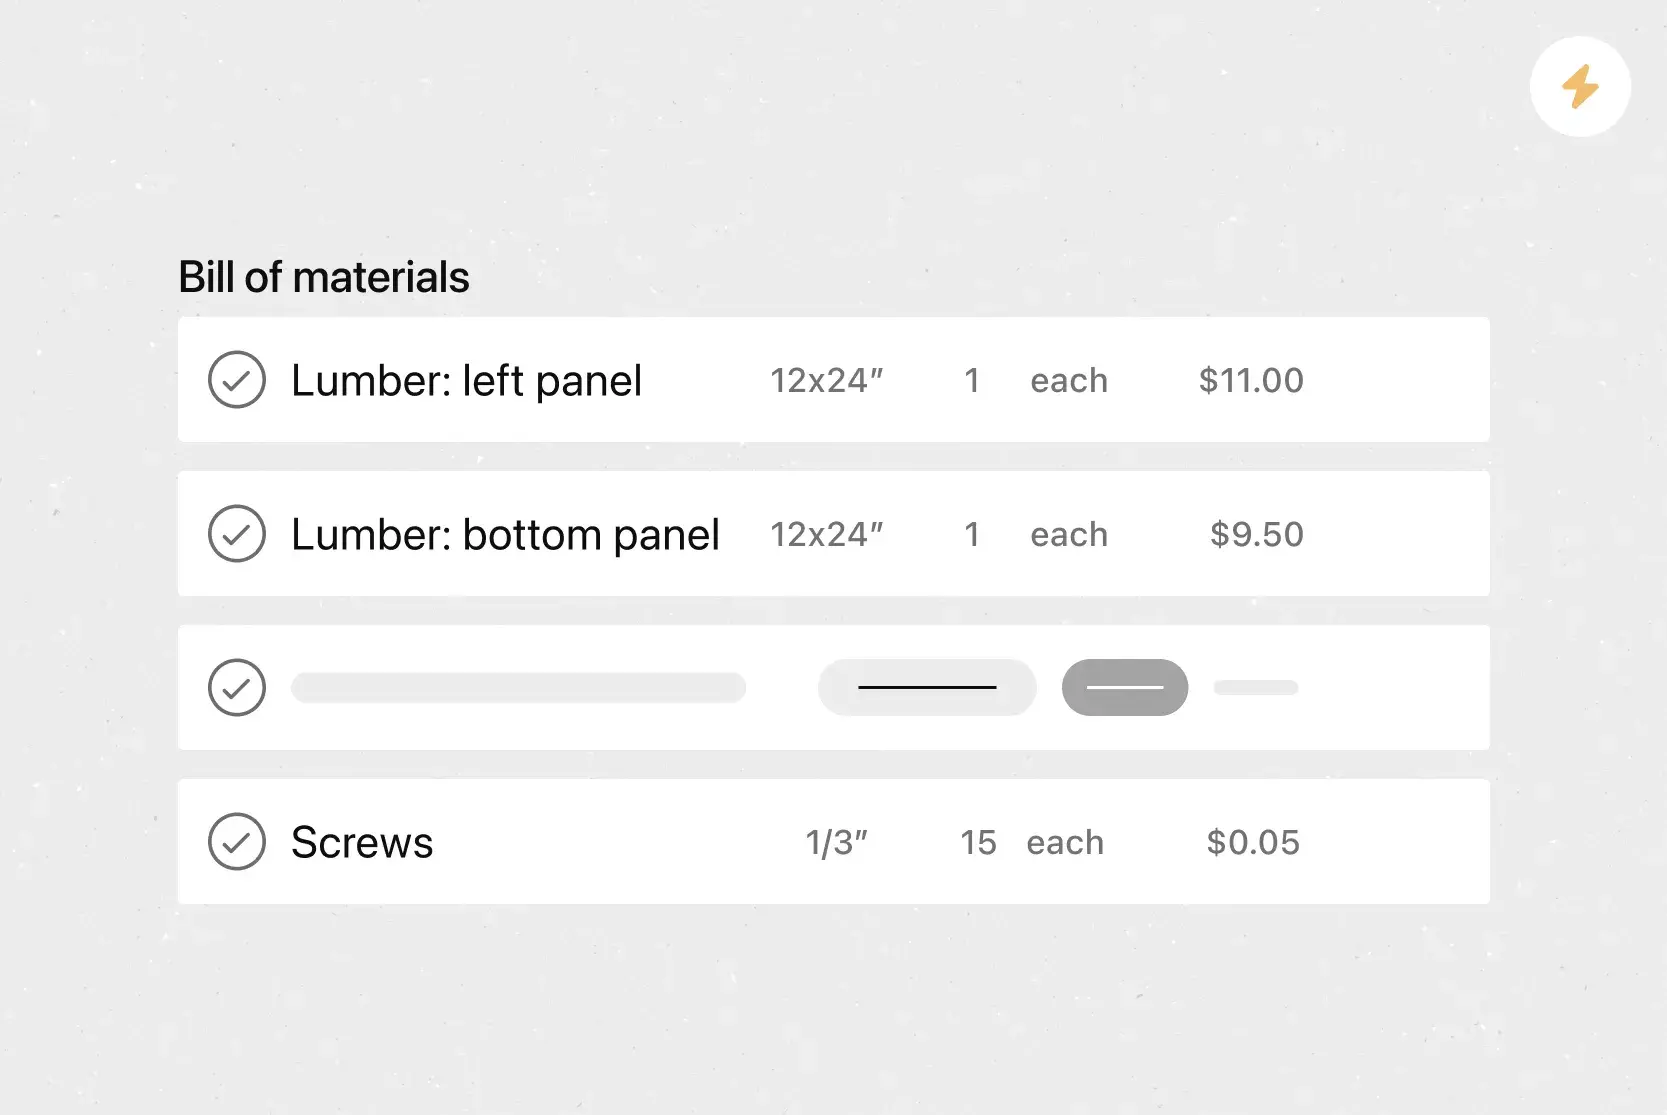
Create your templateSign up to create your own template.
INTEGRATED FEATURES
Recommended apps

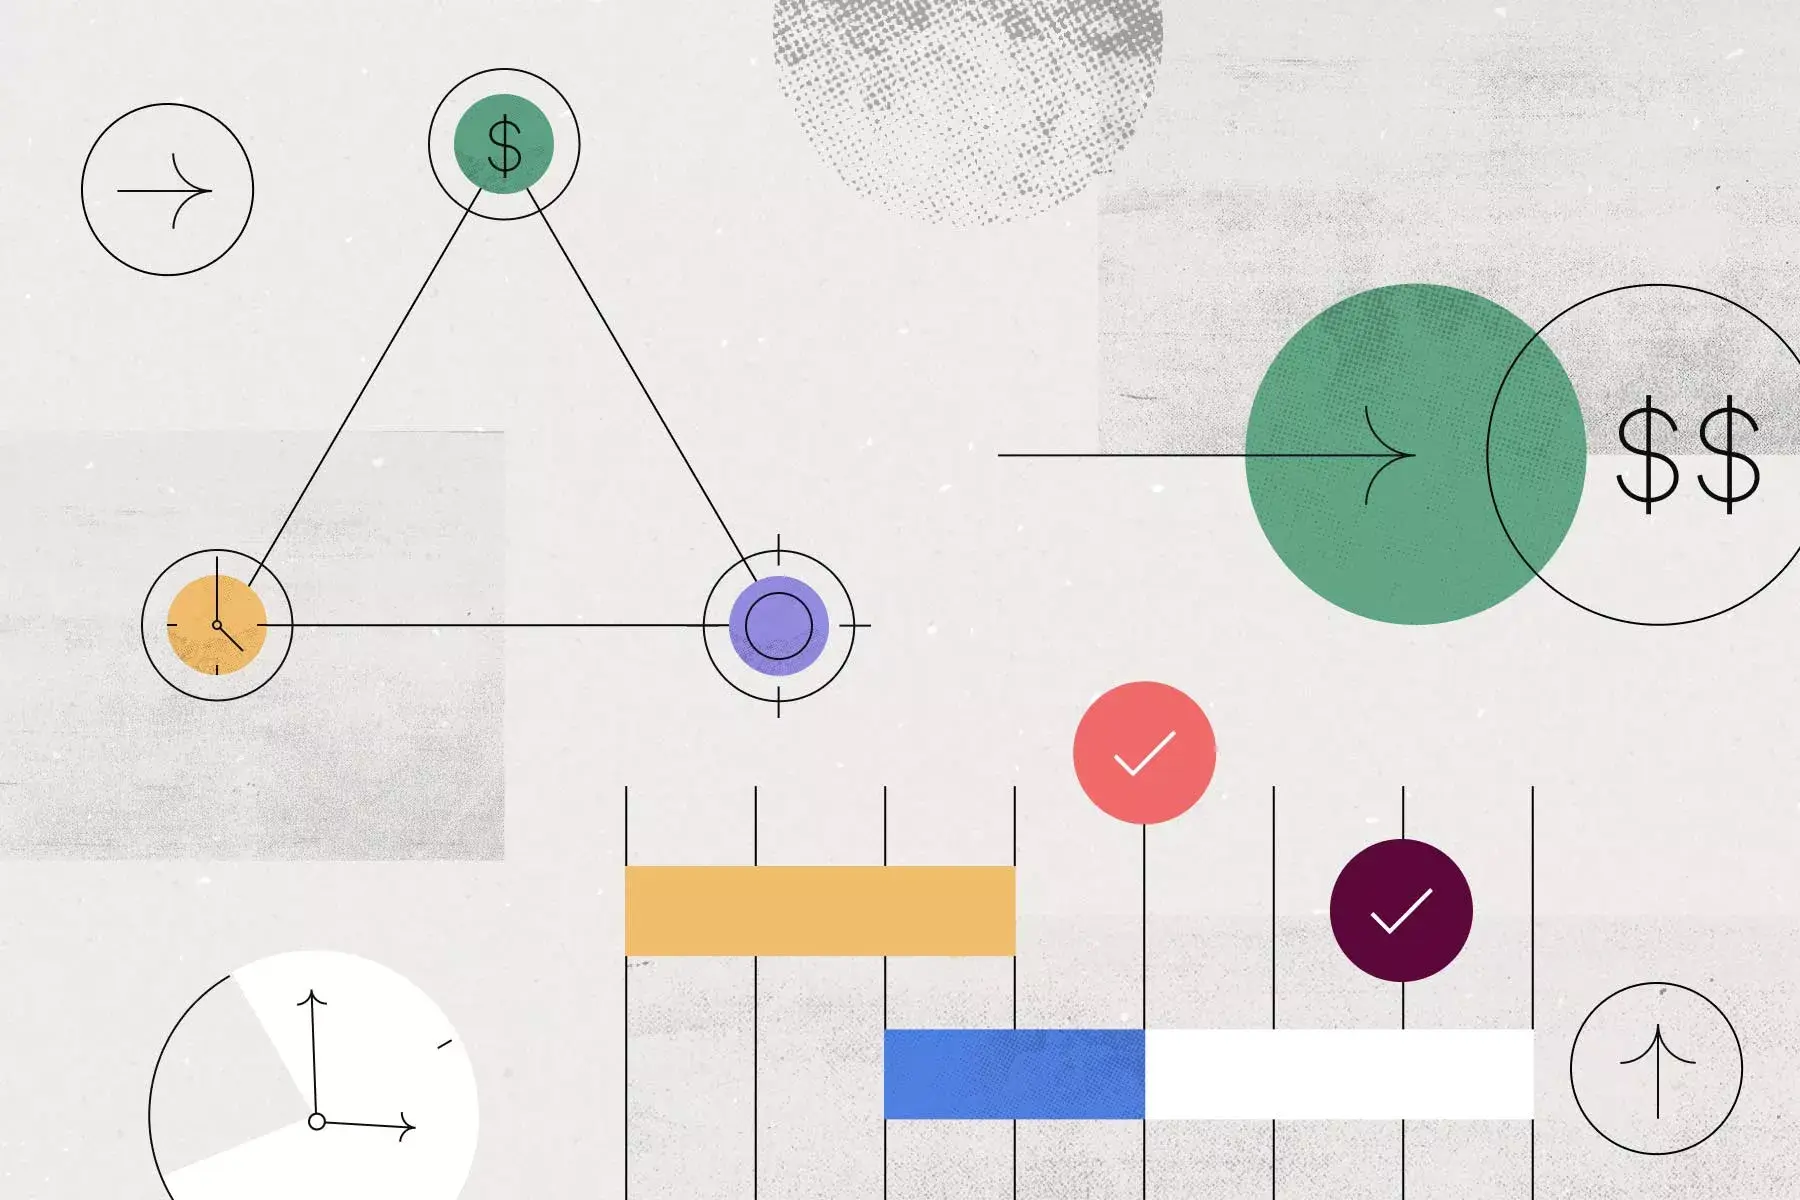
Imagine you are just days away from your long-awaited trip. You’ve booked flights, confirmed accommodation and car rental, but the rest of the trip details are scattered across emails, to-do lists, and half-finished spreadsheets. A travel planner template helps you consolidate all the moving parts into one place, so nothing is left to chance.
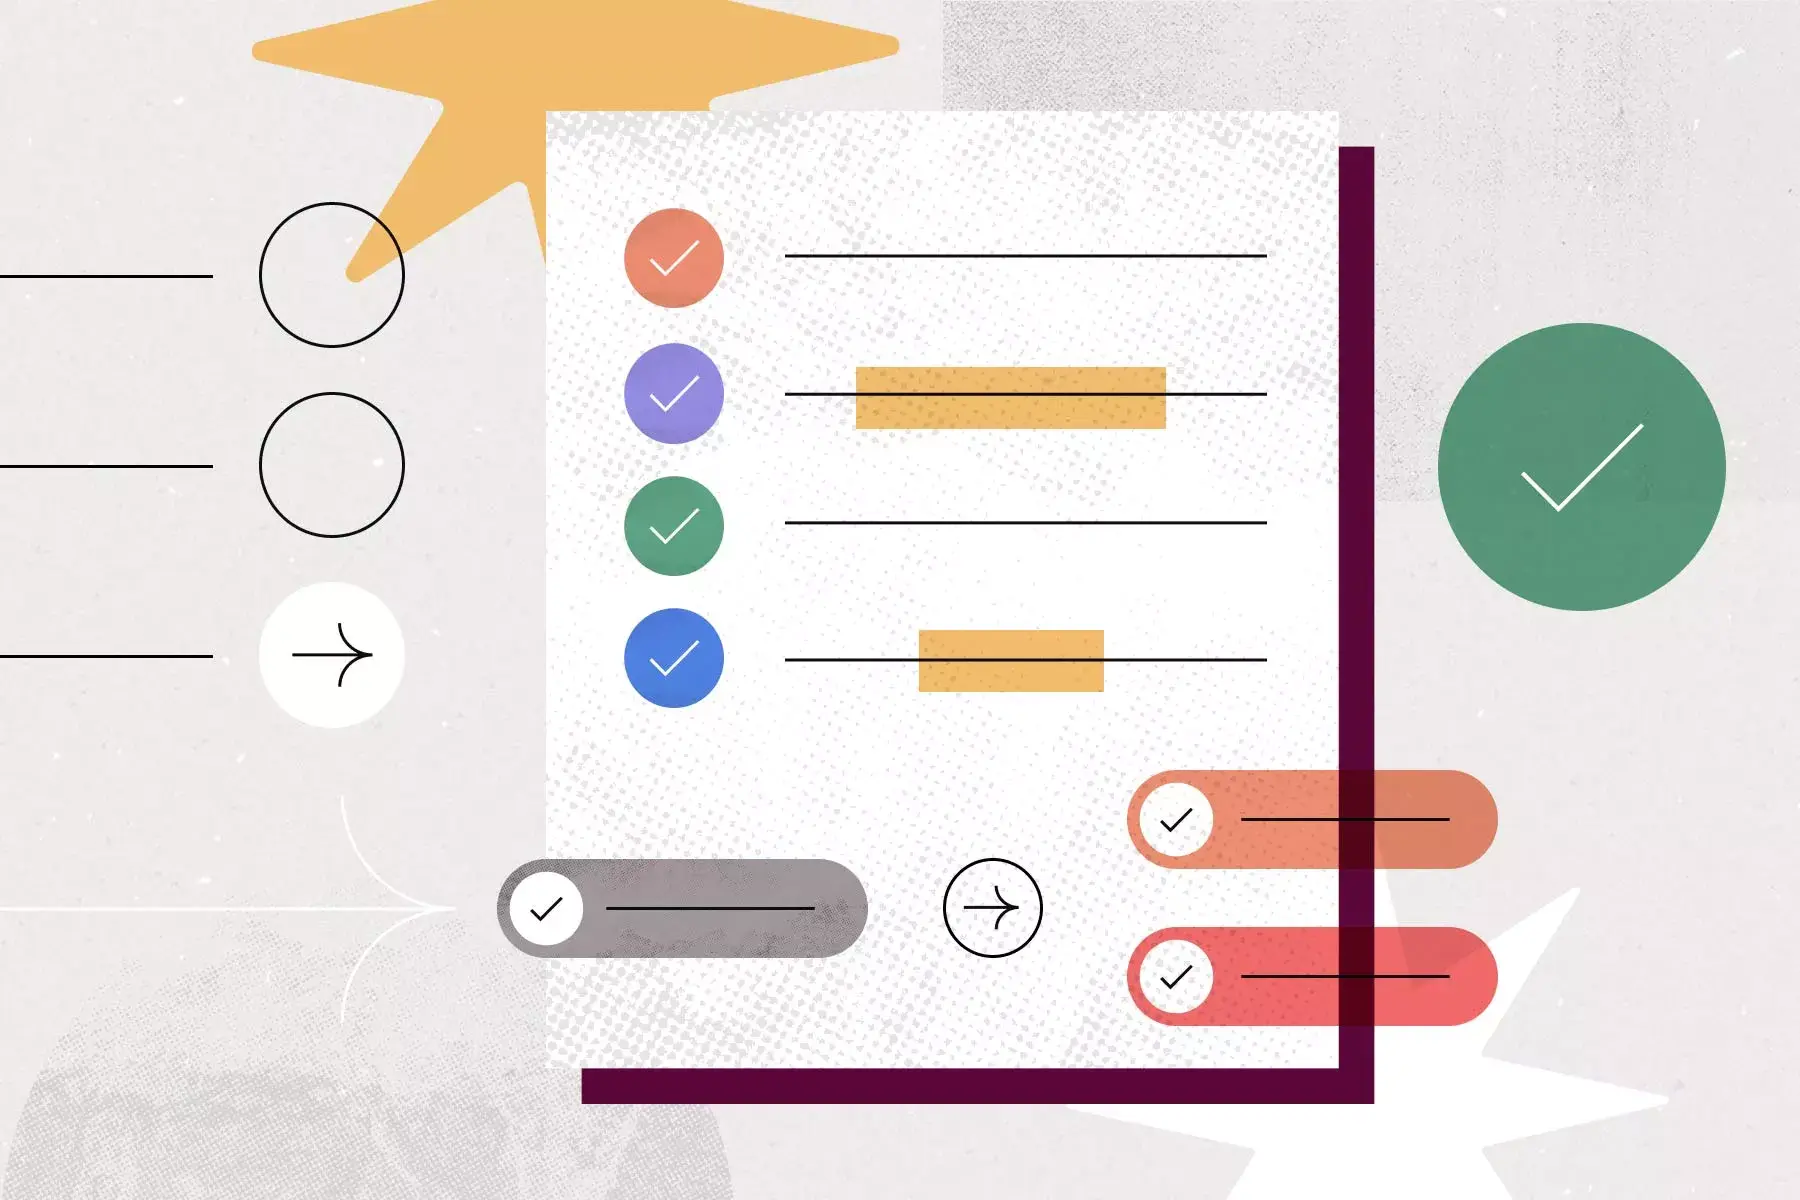
A travel planner template in Asana lets you structure trip details, itineraries, budgets, and important documents in a single, shareable workspace. Whether you are planning a family vacation, a business trip, or a multi-stop road trip, the template serves as a step-by-step guide to organize everything. It streamlines the planning process, keeps all information accessible, and ensures everyone involved can contribute to creating successful travel experiences.
Who benefits from travel planner templates?
At Asana, we have seen travel organizers cut planning time in half once they start working from a central template.
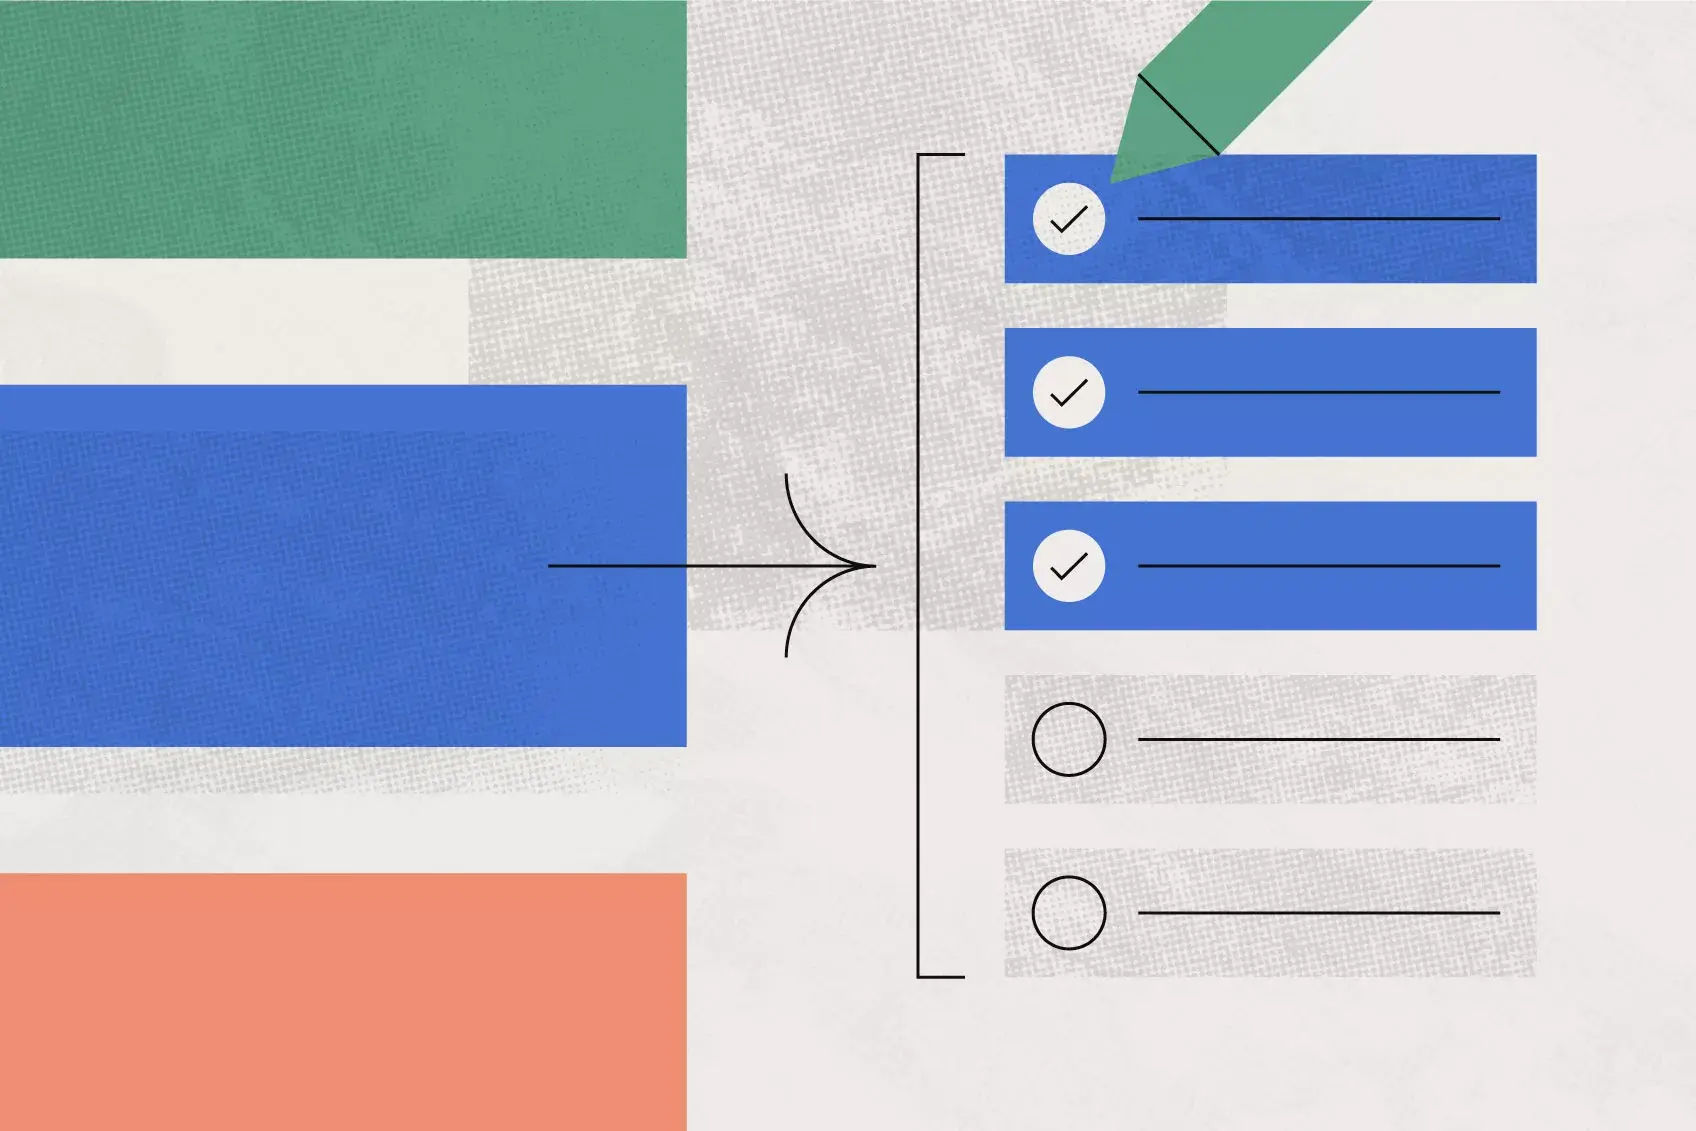
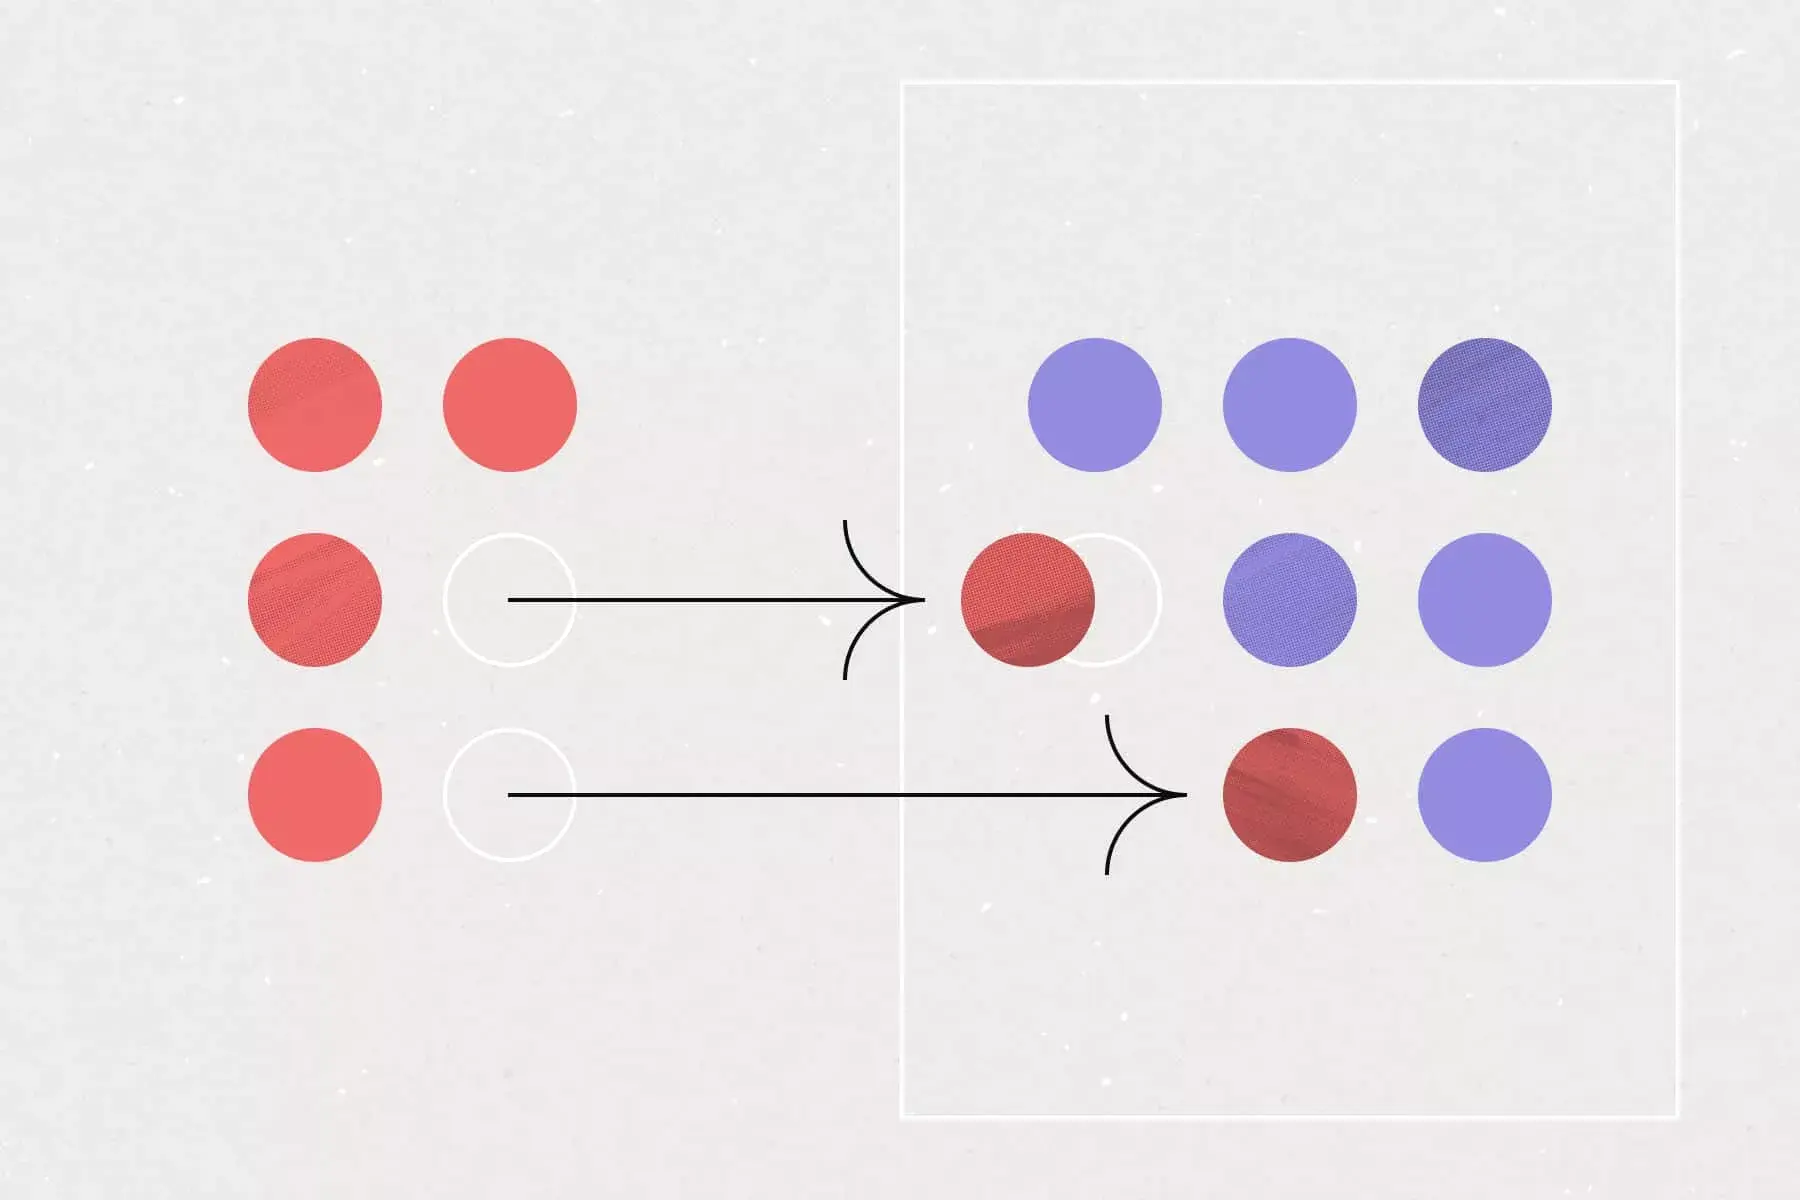
A travel planner template solves the problem of fragmented trip planning. Instead of juggling spreadsheets, printed checklists, and group chats, you can track every trip detail in one structured workflow. It becomes easy to update plans, assign responsibilities, and keep track of budgets without losing sight of the bigger picture.
Ideal users include frequent travelers, travel agents, event coordinators, and business teams that manage corporate trips. Families and friends planning group getaways can also benefit from having a shared space for the packing list, local information, and essential documents. From casual weekend trips to multi-country adventures, the travel planner template supports any trip itinerary by keeping every step organized and easy to follow.
Why use Asana’s travel planner template?
One travel agency reported that moving to an Asana travel planner template eliminated missed bookings and last-minute scrambles. Their team could assign each booking, payment, and document to a clear owner with deadlines, keeping every stage of the trip on track.
The Asana travel planner template turns trip planning into a structured, repeatable process. It combines the flexibility of digital planning with the visibility of a shared workspace. Everyone involved in the trip can view the plan in real-time, contribute updates, and make changes without creating confusion. The result is a better travel experience from the first day of planning to the moment you return home.
Reasons travel organizers and planning teams use Asana’s travel planner template include:
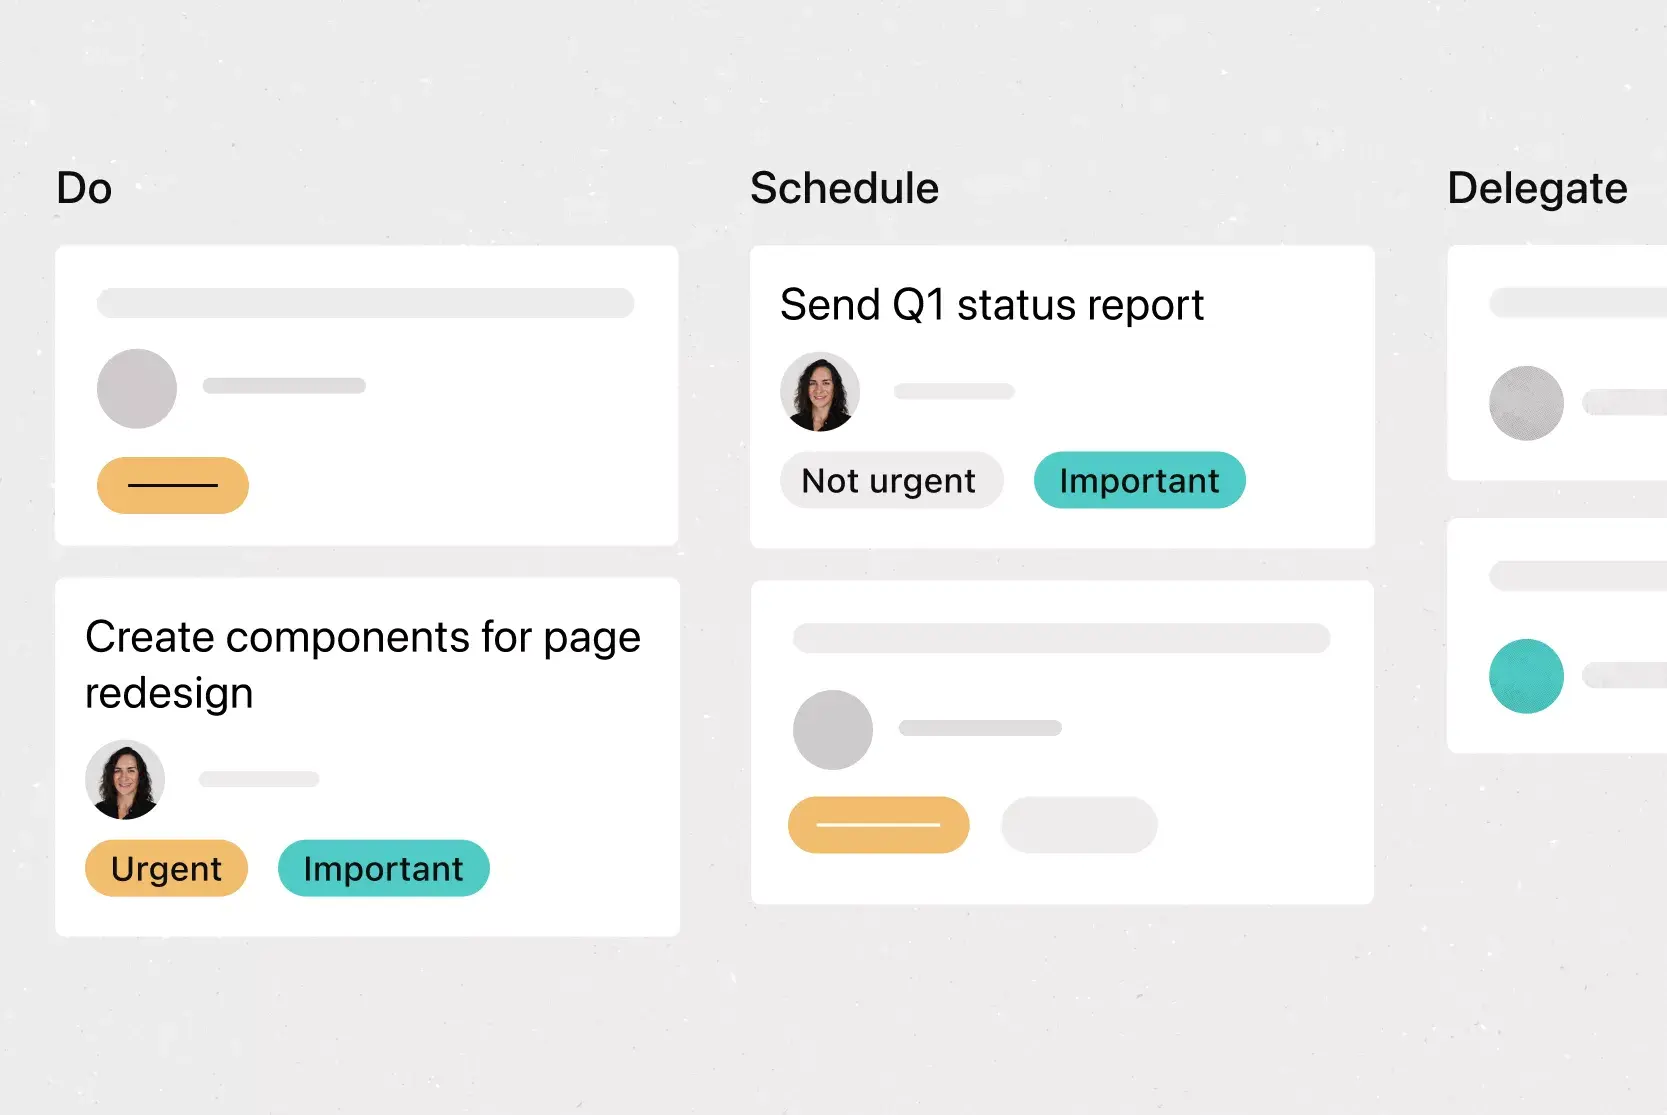
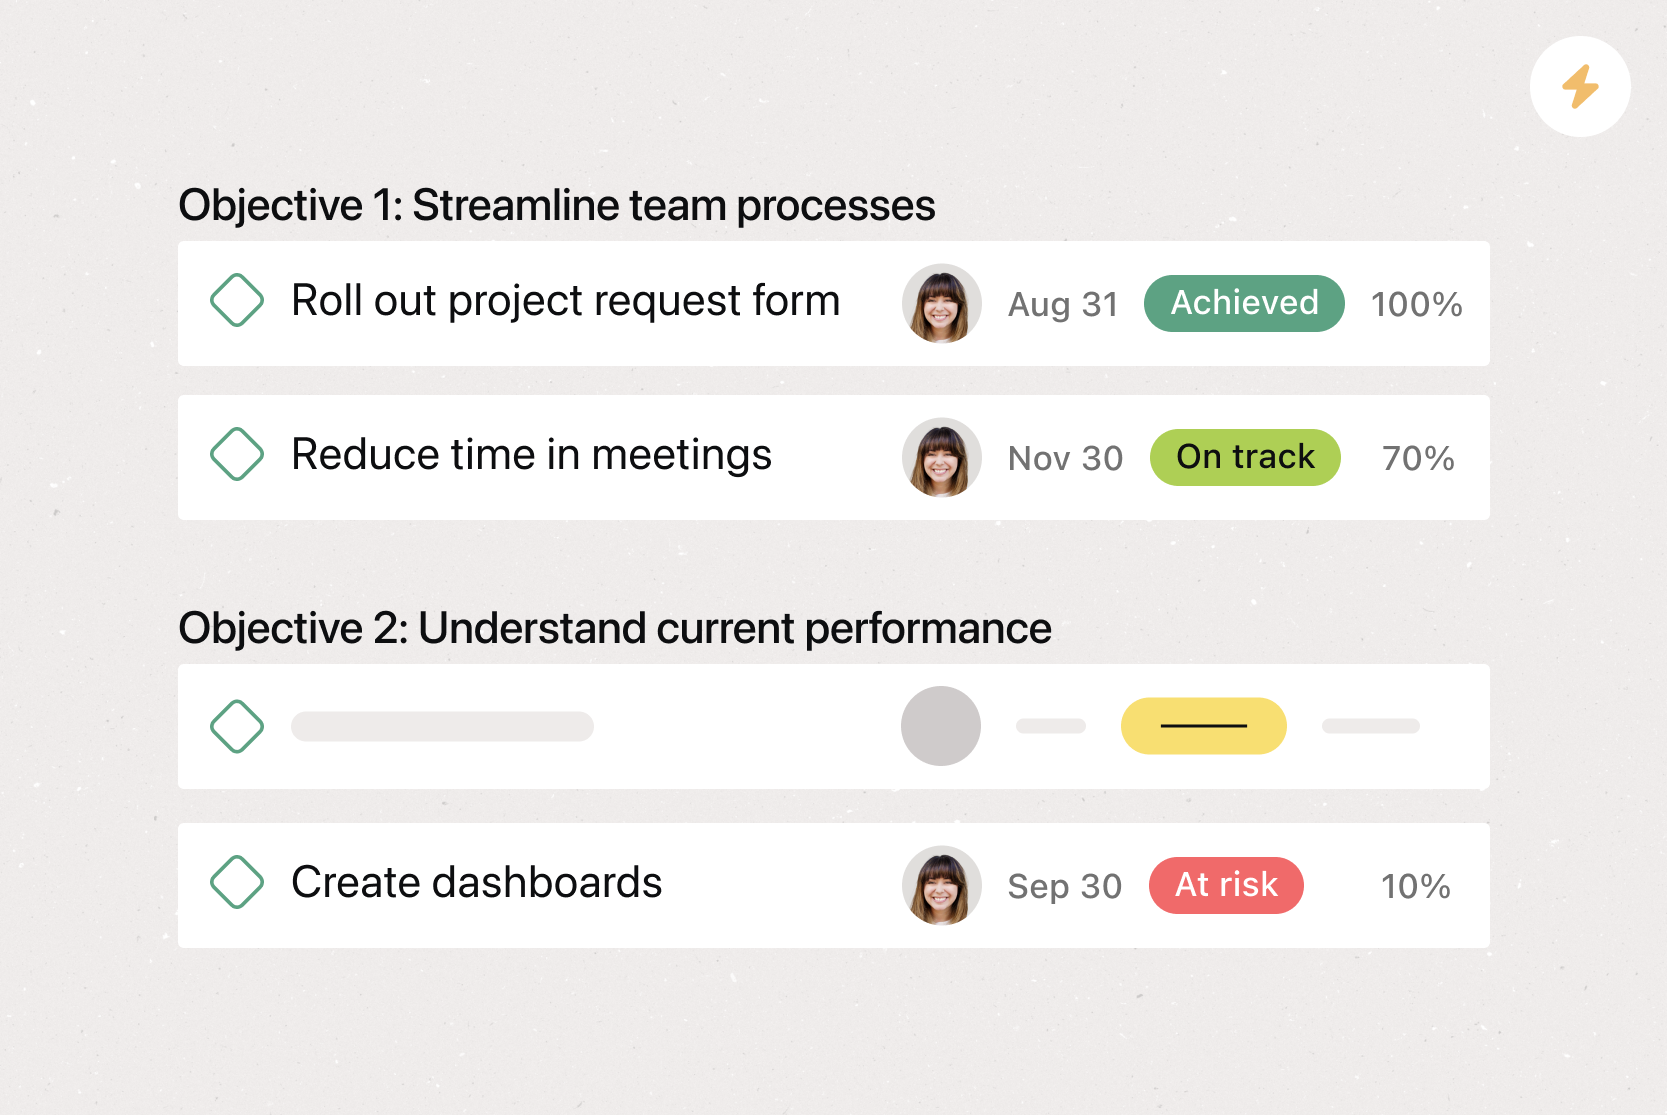
Organizing trip details, itineraries, and budgets in one central location
Assigning ownership for bookings, documents, and logistics
Tracking updates in real time for group trips and business travel
Sharing information instantly with everyone involved in the trip
Managing the entire process from planning through post-travel wrap-up
How to use this travel planner template
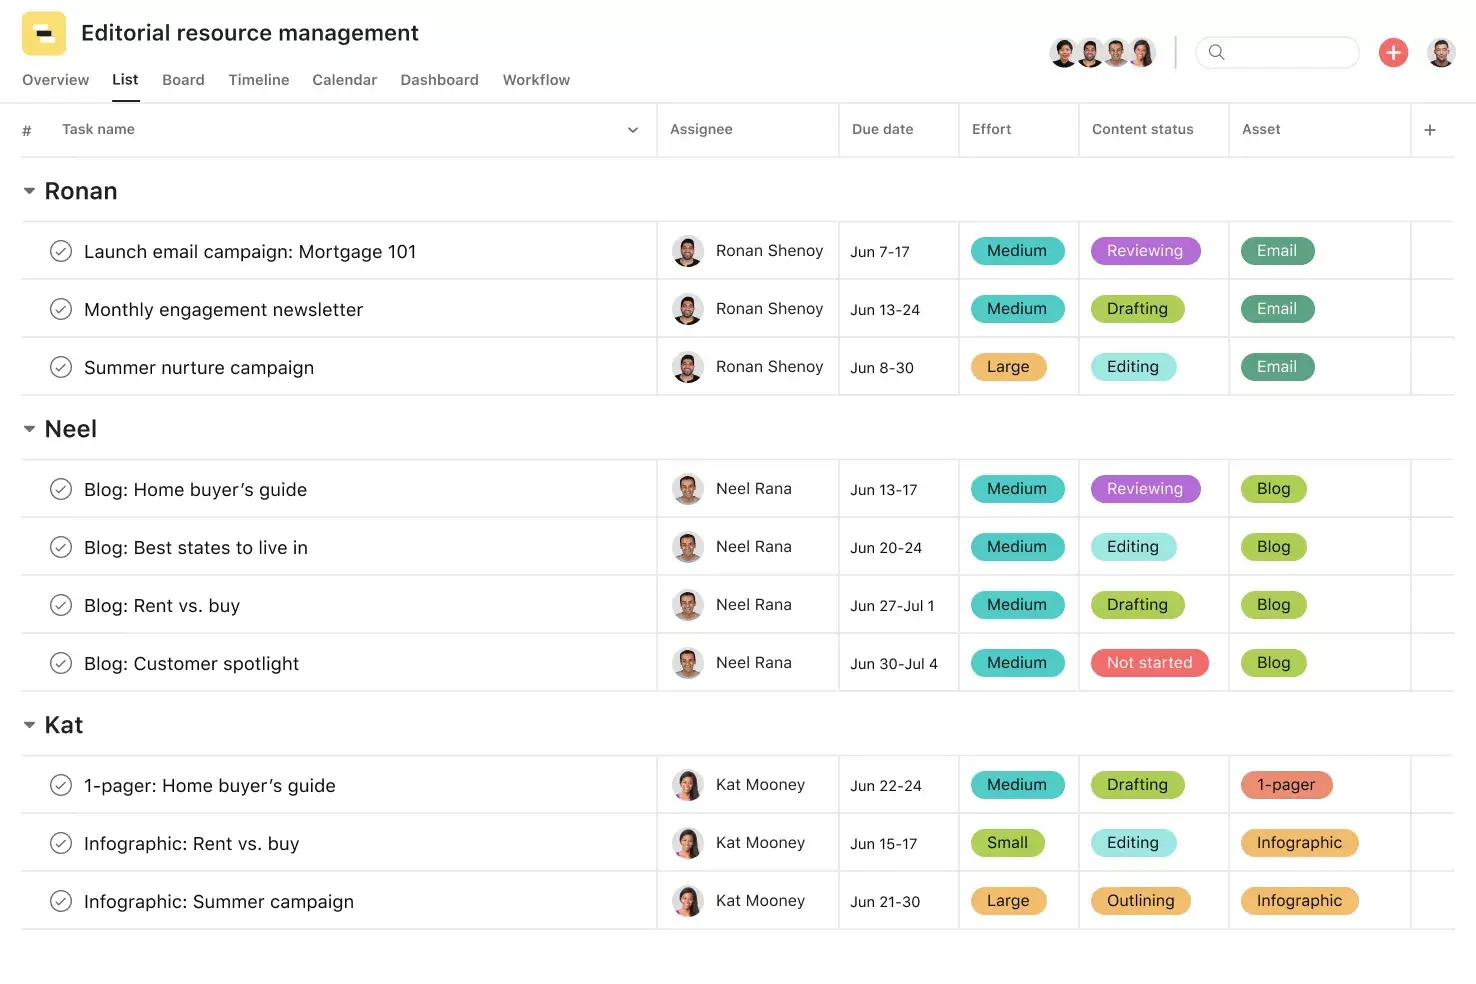
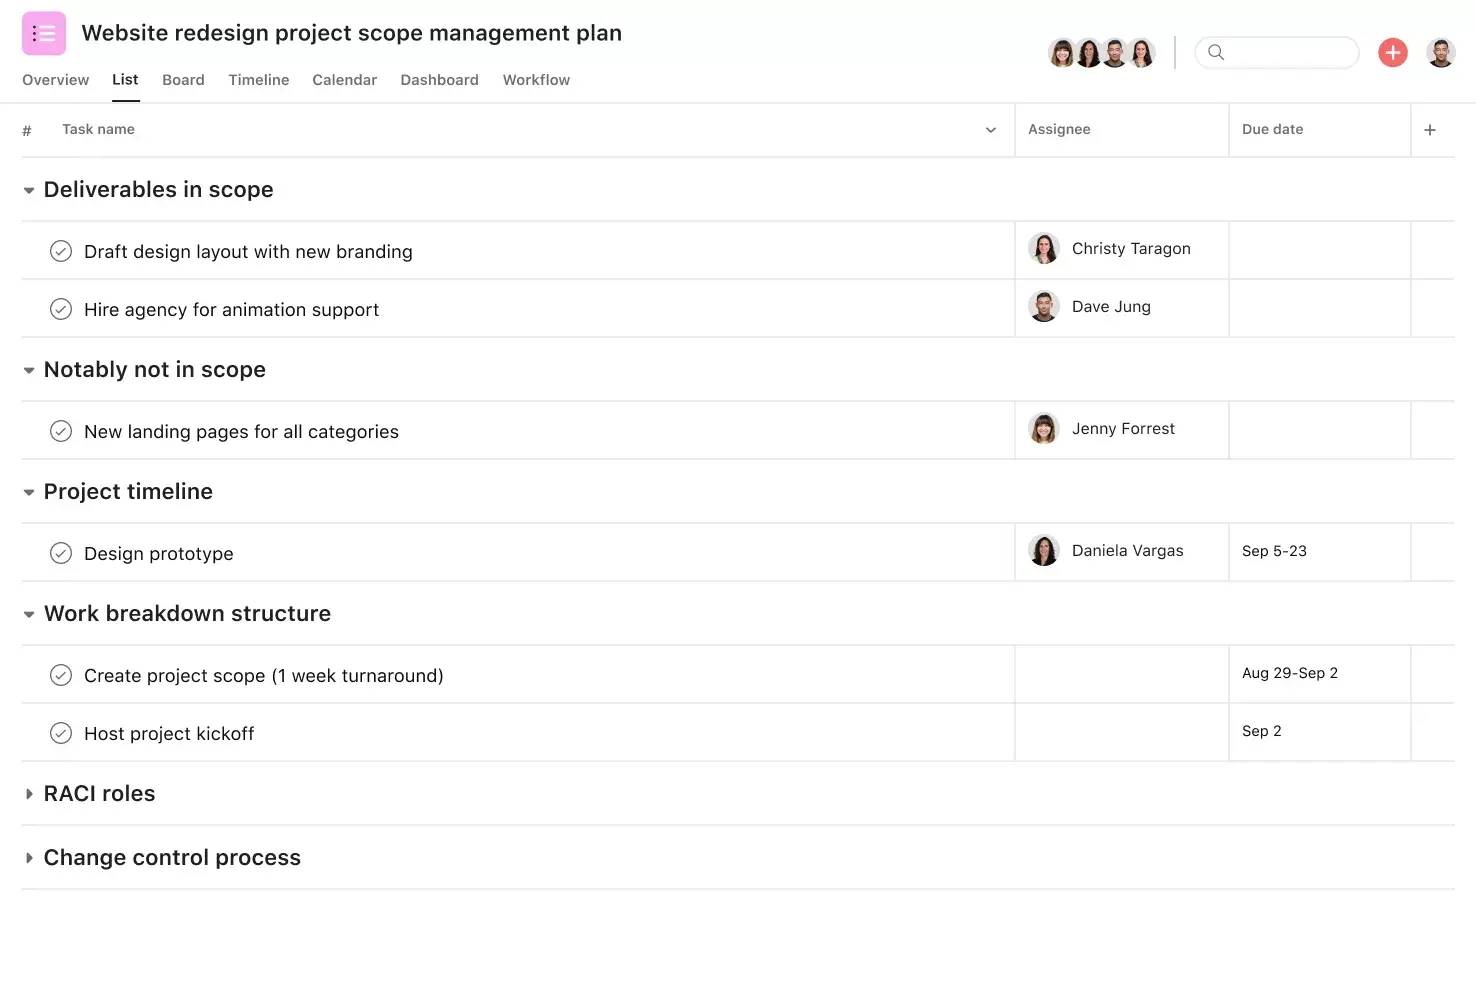
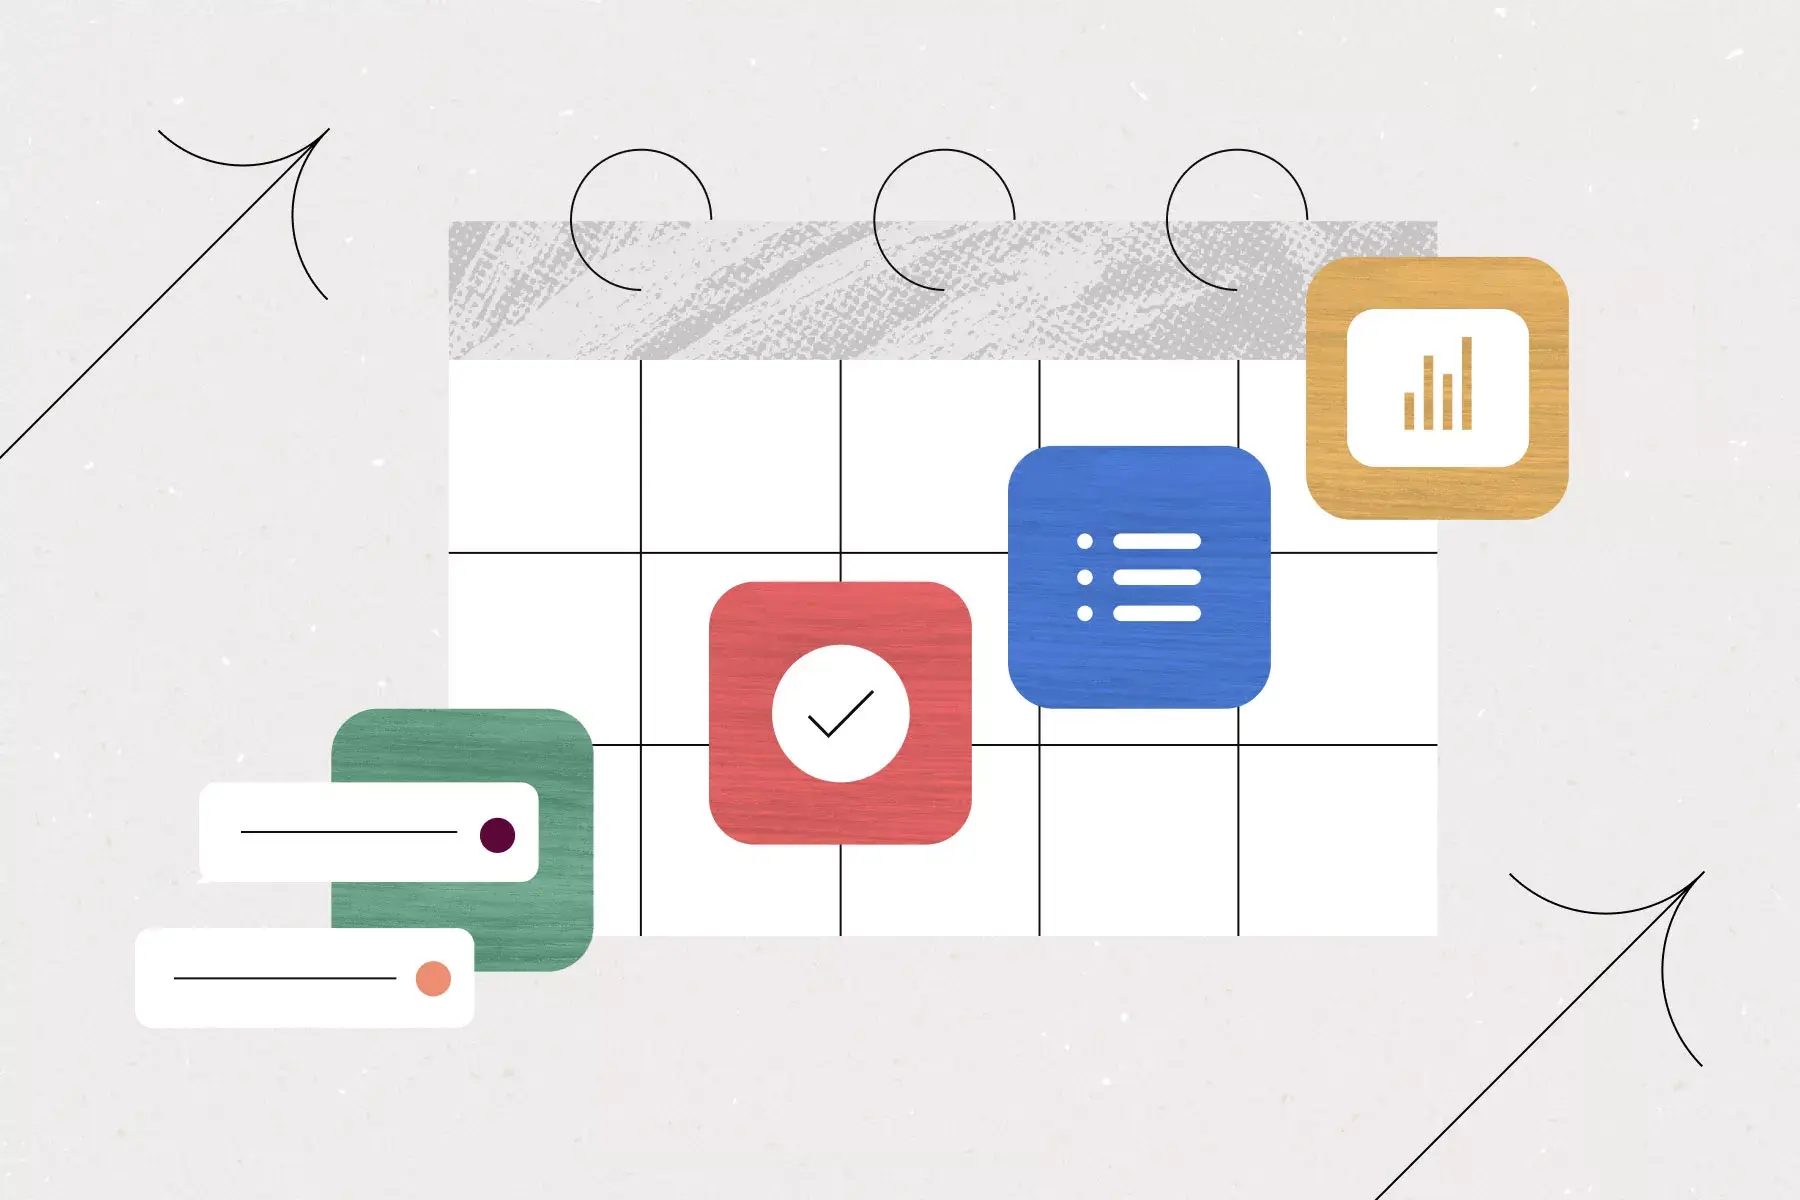
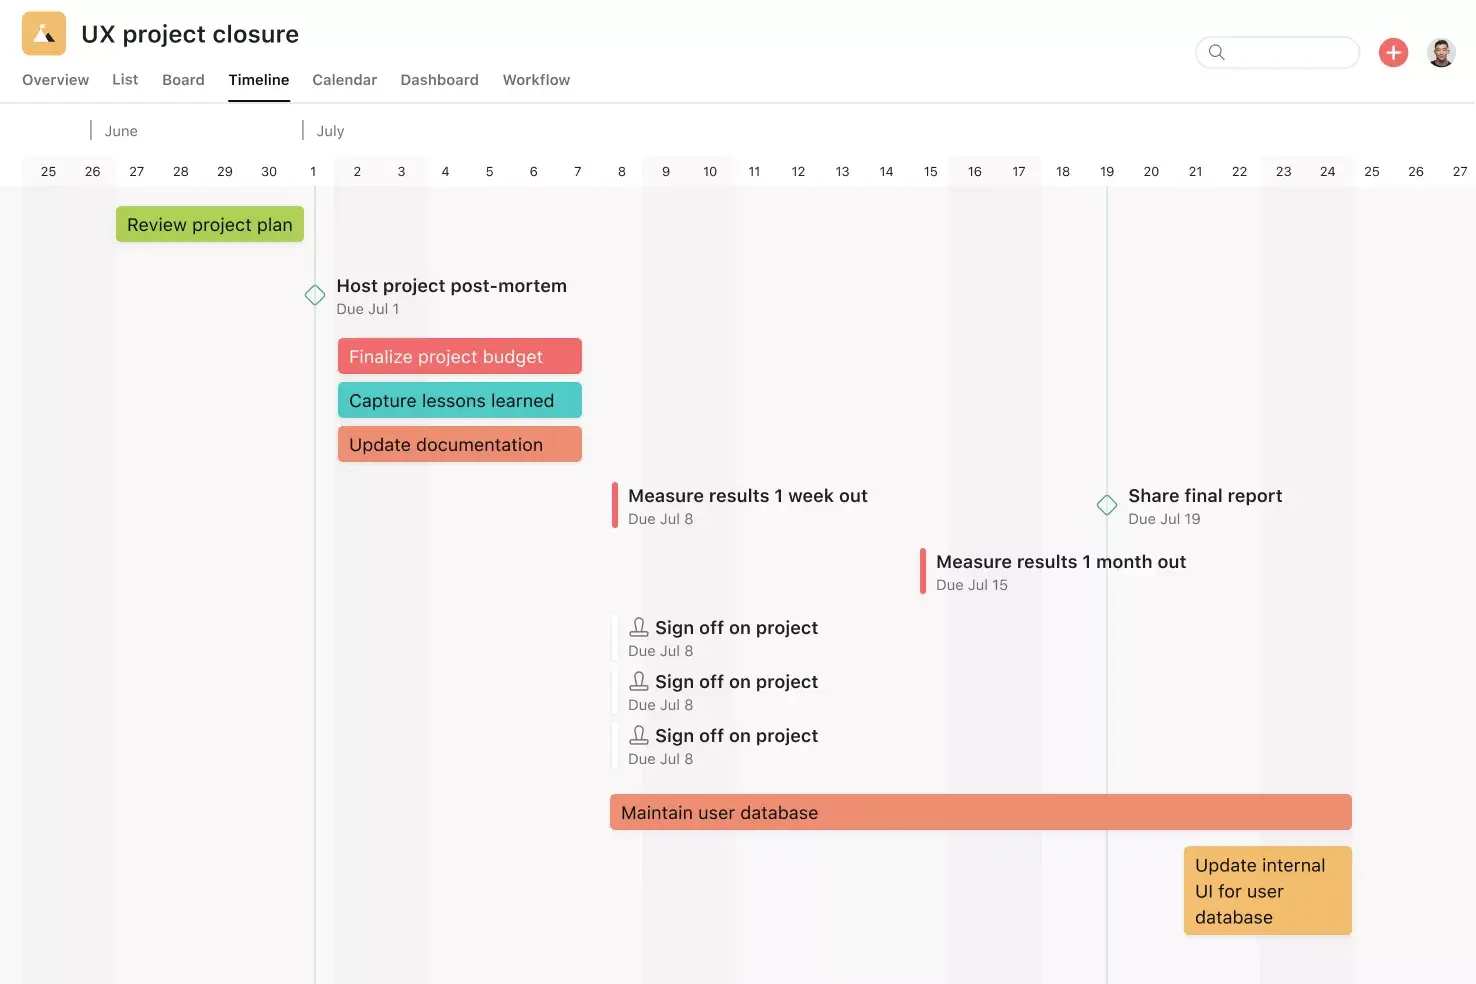
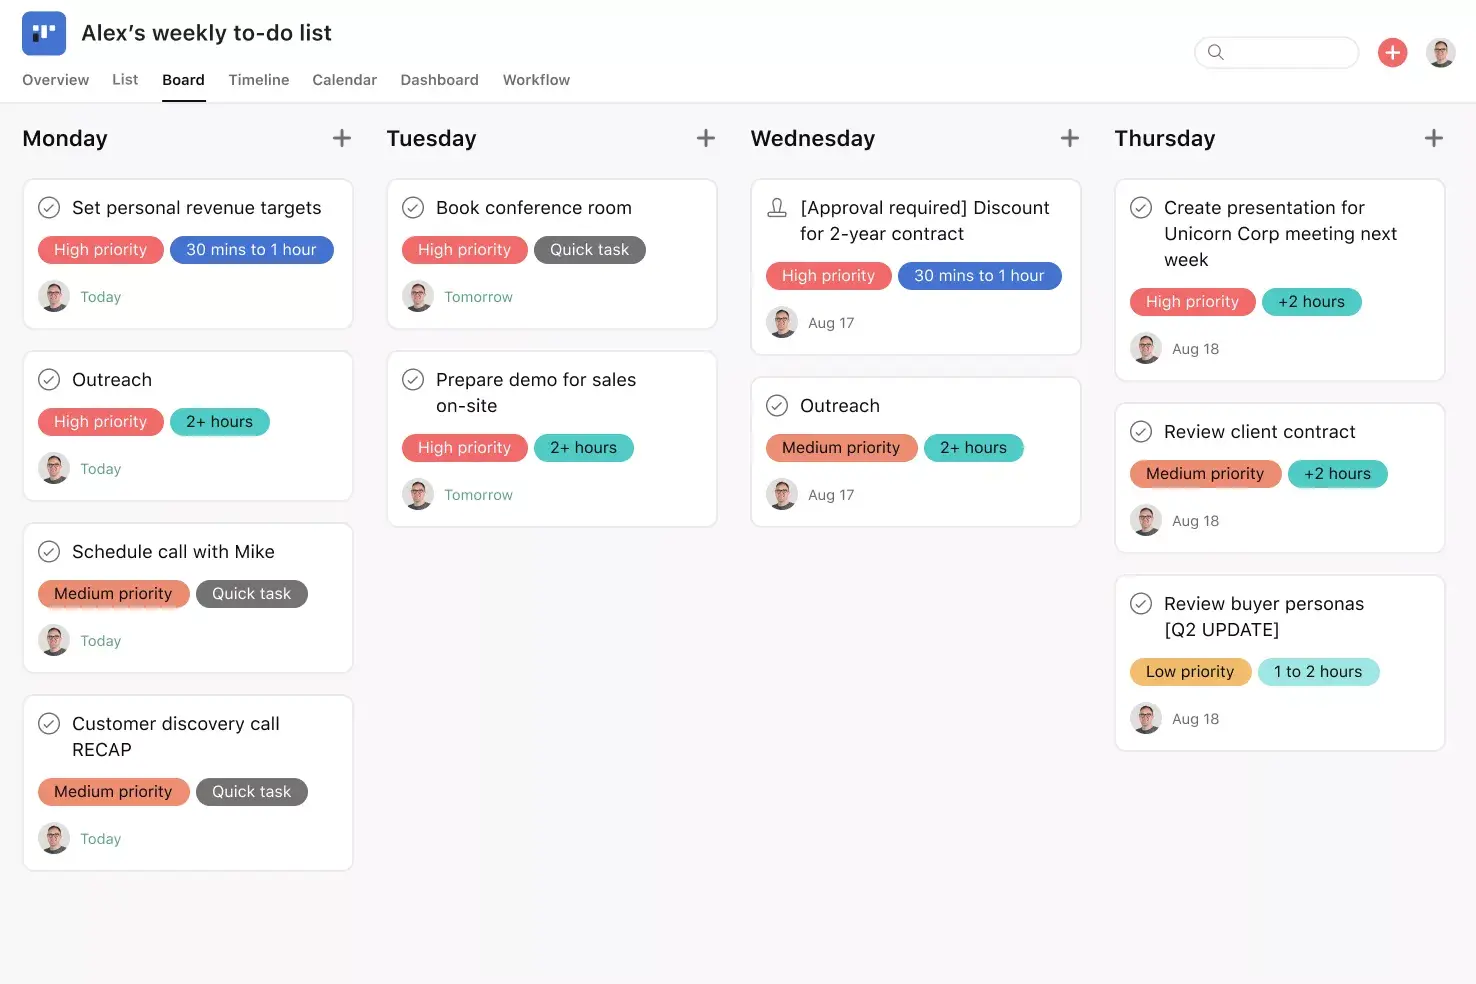
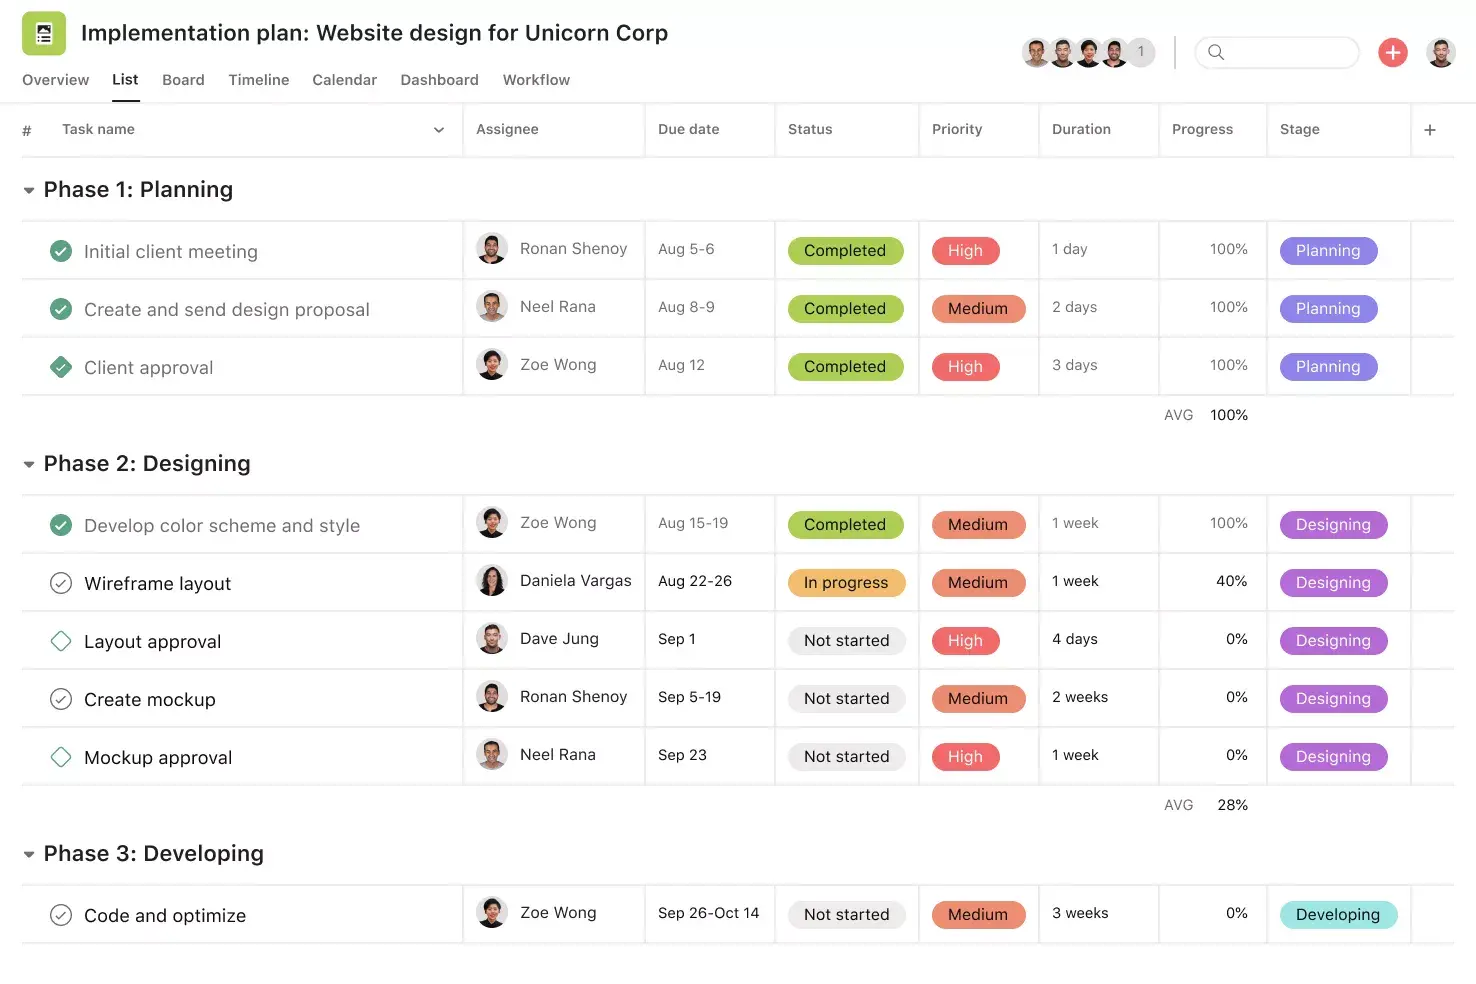
You can create your own travel planner template in Asana by following the framework shown here. The example layout includes sections for Trip Details, Itinerary, Budget, Packing List, Local Information, and Important Documents. The tabs at the top—List, Board, Timeline, Dashboard, Calendar, Workflow, Messages, and Files—provide multiple ways to view and manage the same project, allowing you to track both the small details and the overall trip plan.
By building your version with these sections and views, you can customize the flow to match your specific trip, whether you are planning a road trip, a business trip, or an extended vacation. This step-by-step guide provides an organized structure, so that you store all travel information in one shared space. Keeping the plan centralized allows everyone involved to access, update, and check their responsibilities before and during the trip.
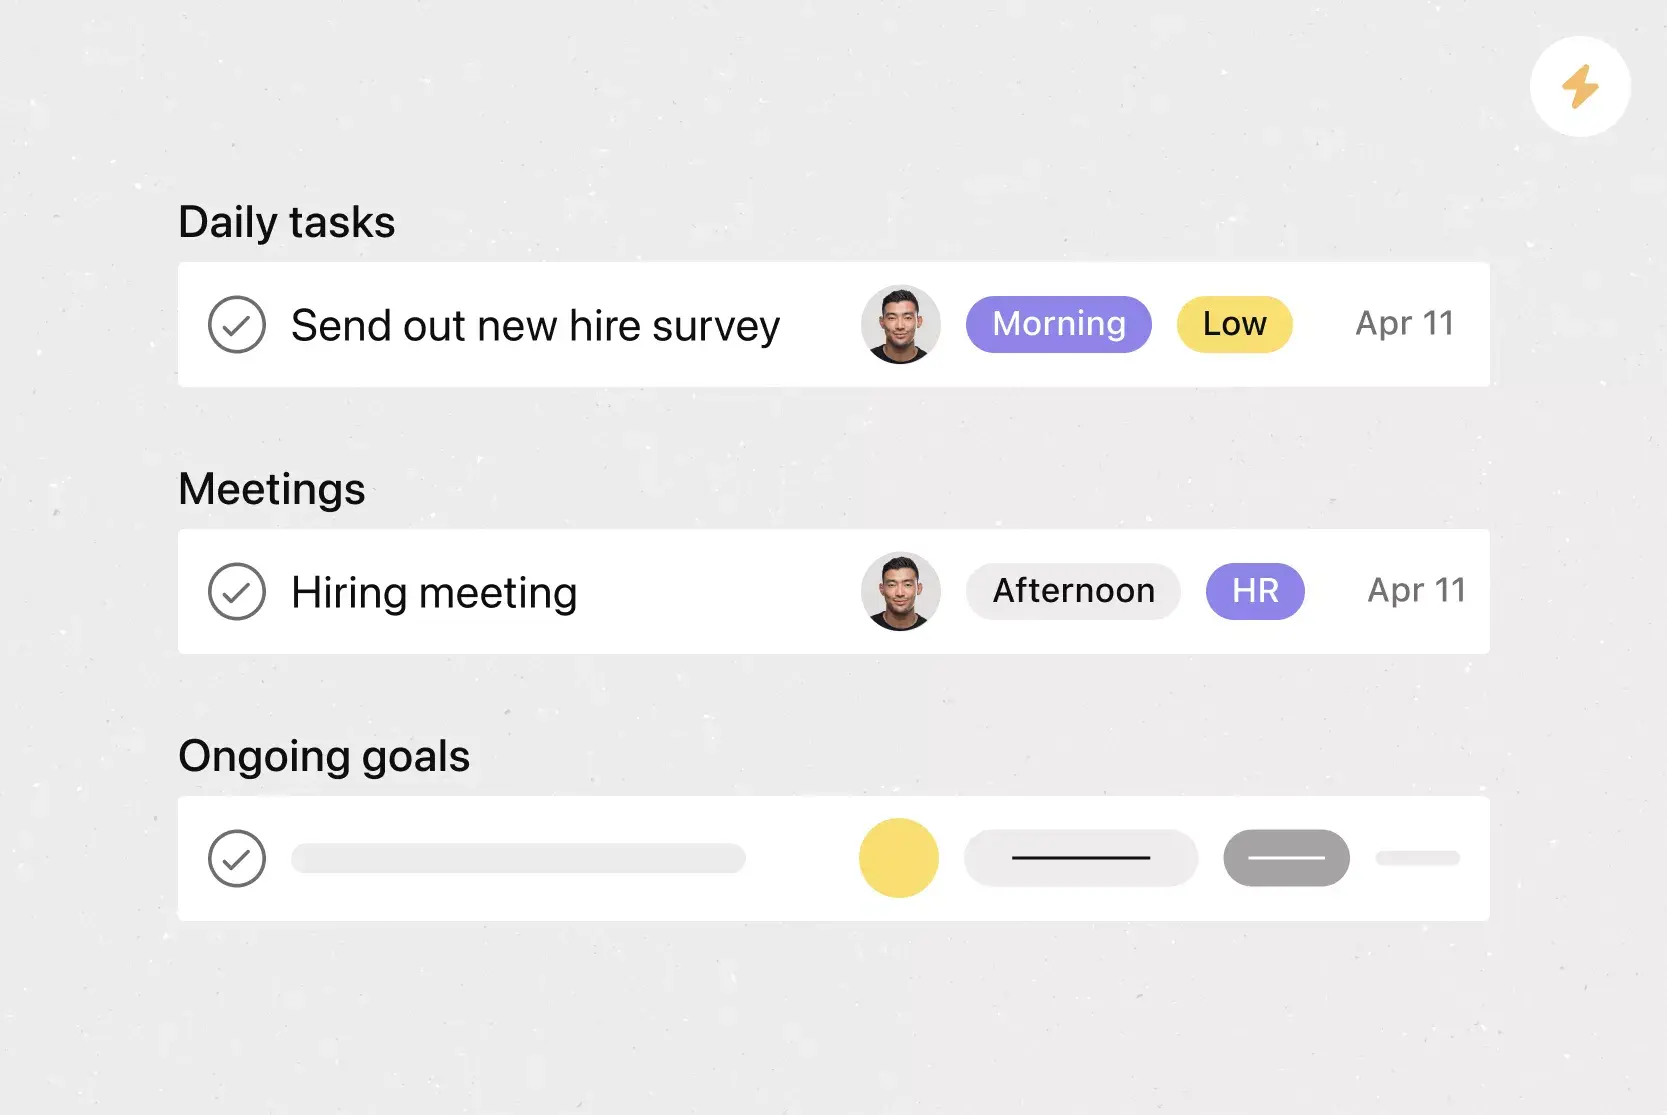
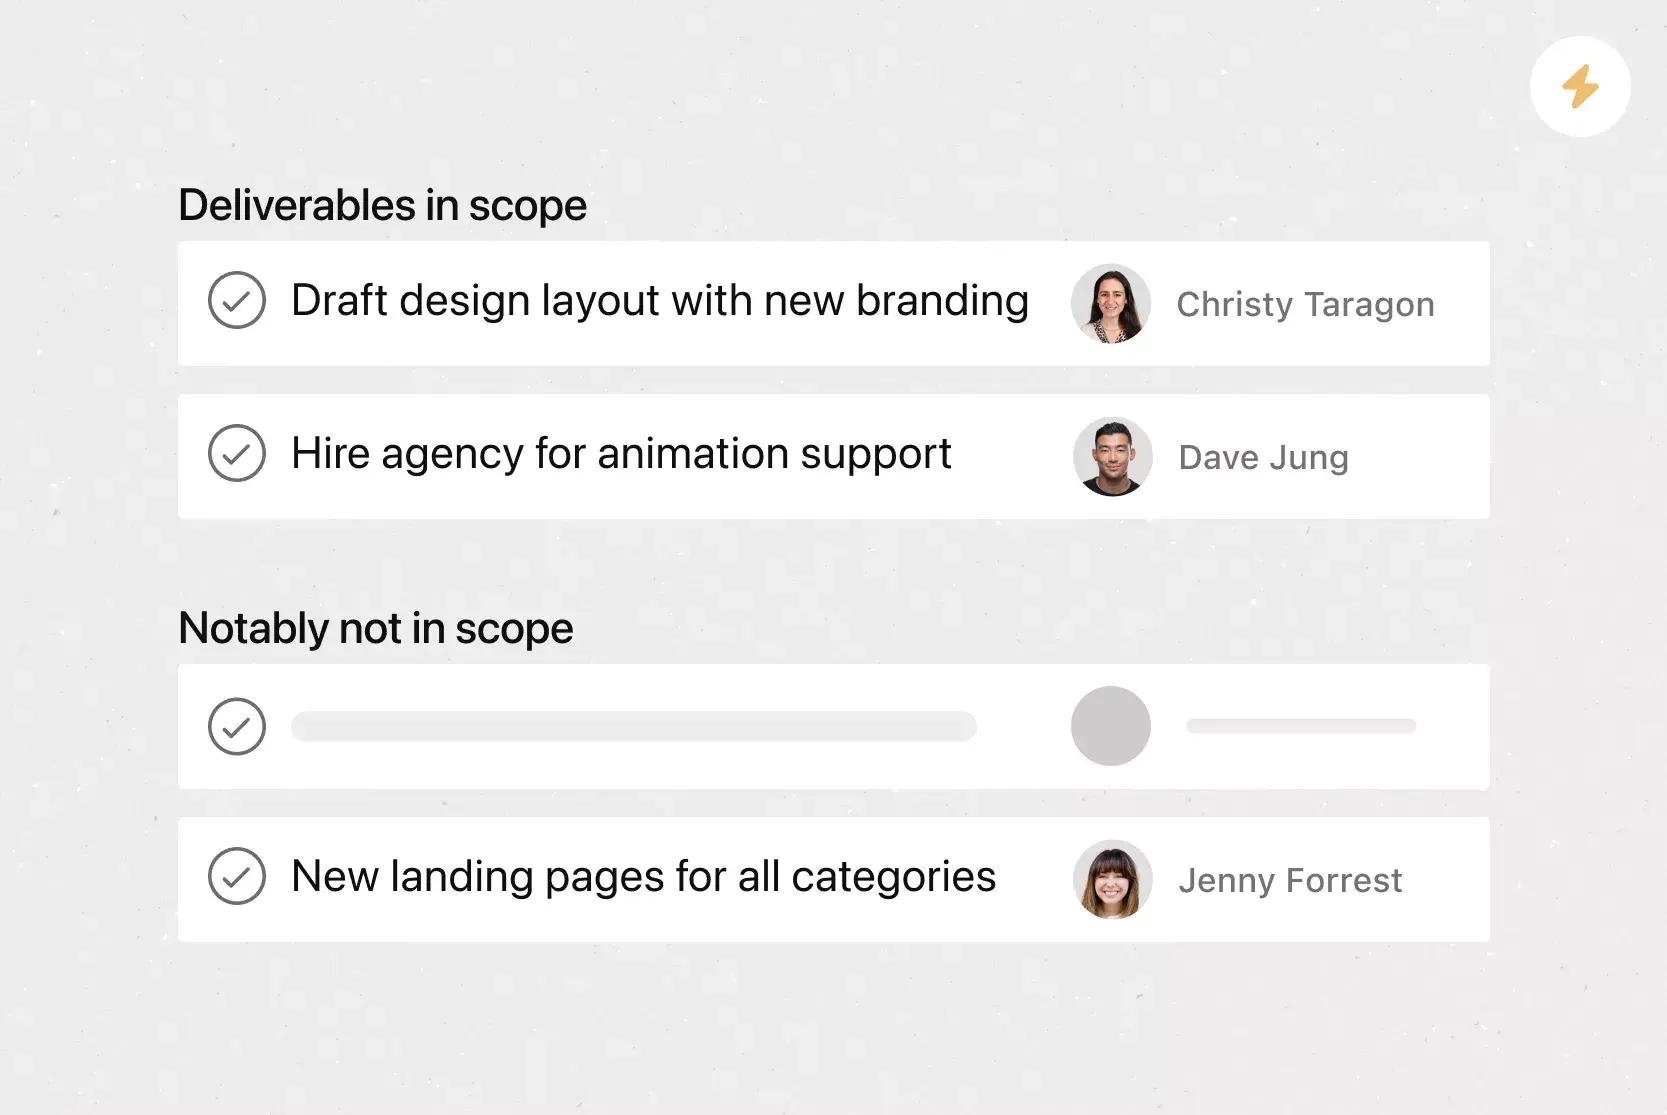
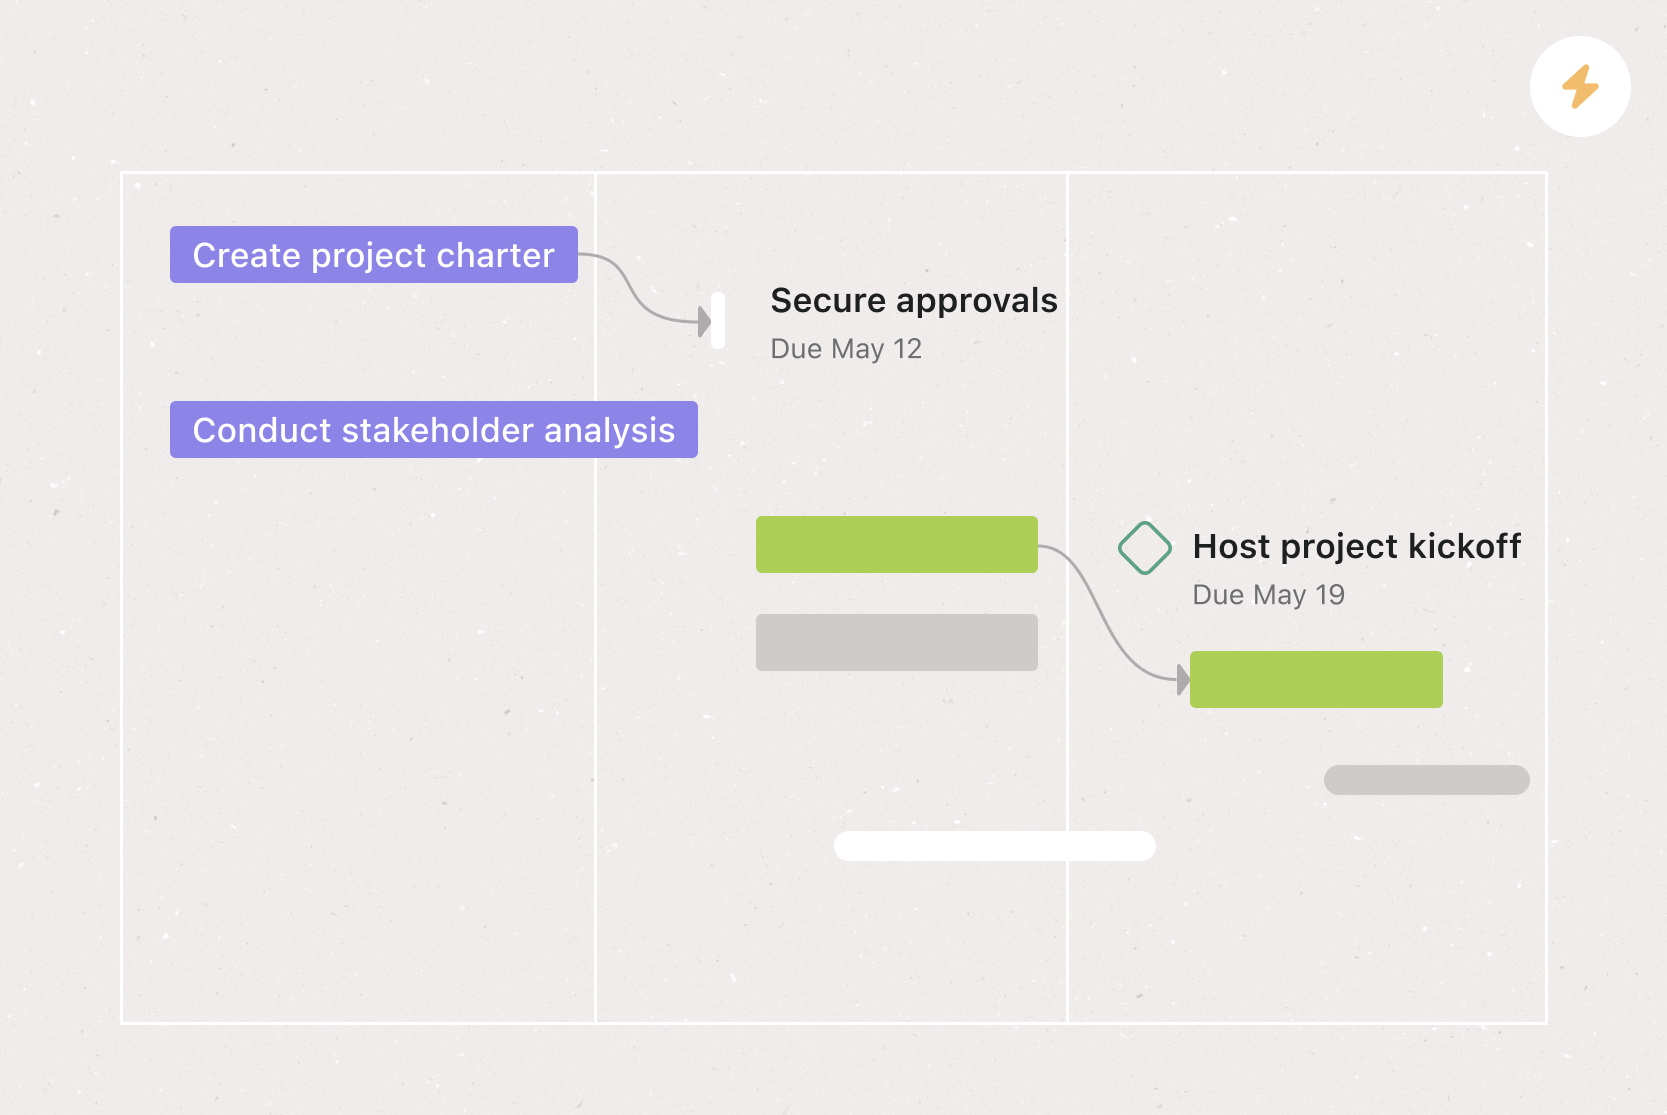
Step 1: Add Trip Details
The Trip Details section serves as a quick reference for your entire trip. Include the trip name, trip type, dates, and the purpose of travel, such as leisure, business, or a mix of both. You can also add a brief description of the trip’s goals, such as attending a conference, exploring specific regions, or relaxing at a resort.
Create tasks for major pre-departure items, such as booking flights, securing travel insurance, and applying for visas. Assign each task to a specific person and set due dates so you leave nothing until the last minute. For group trips, this section also works as a master contact list for travelers, including email addresses and phone numbers.
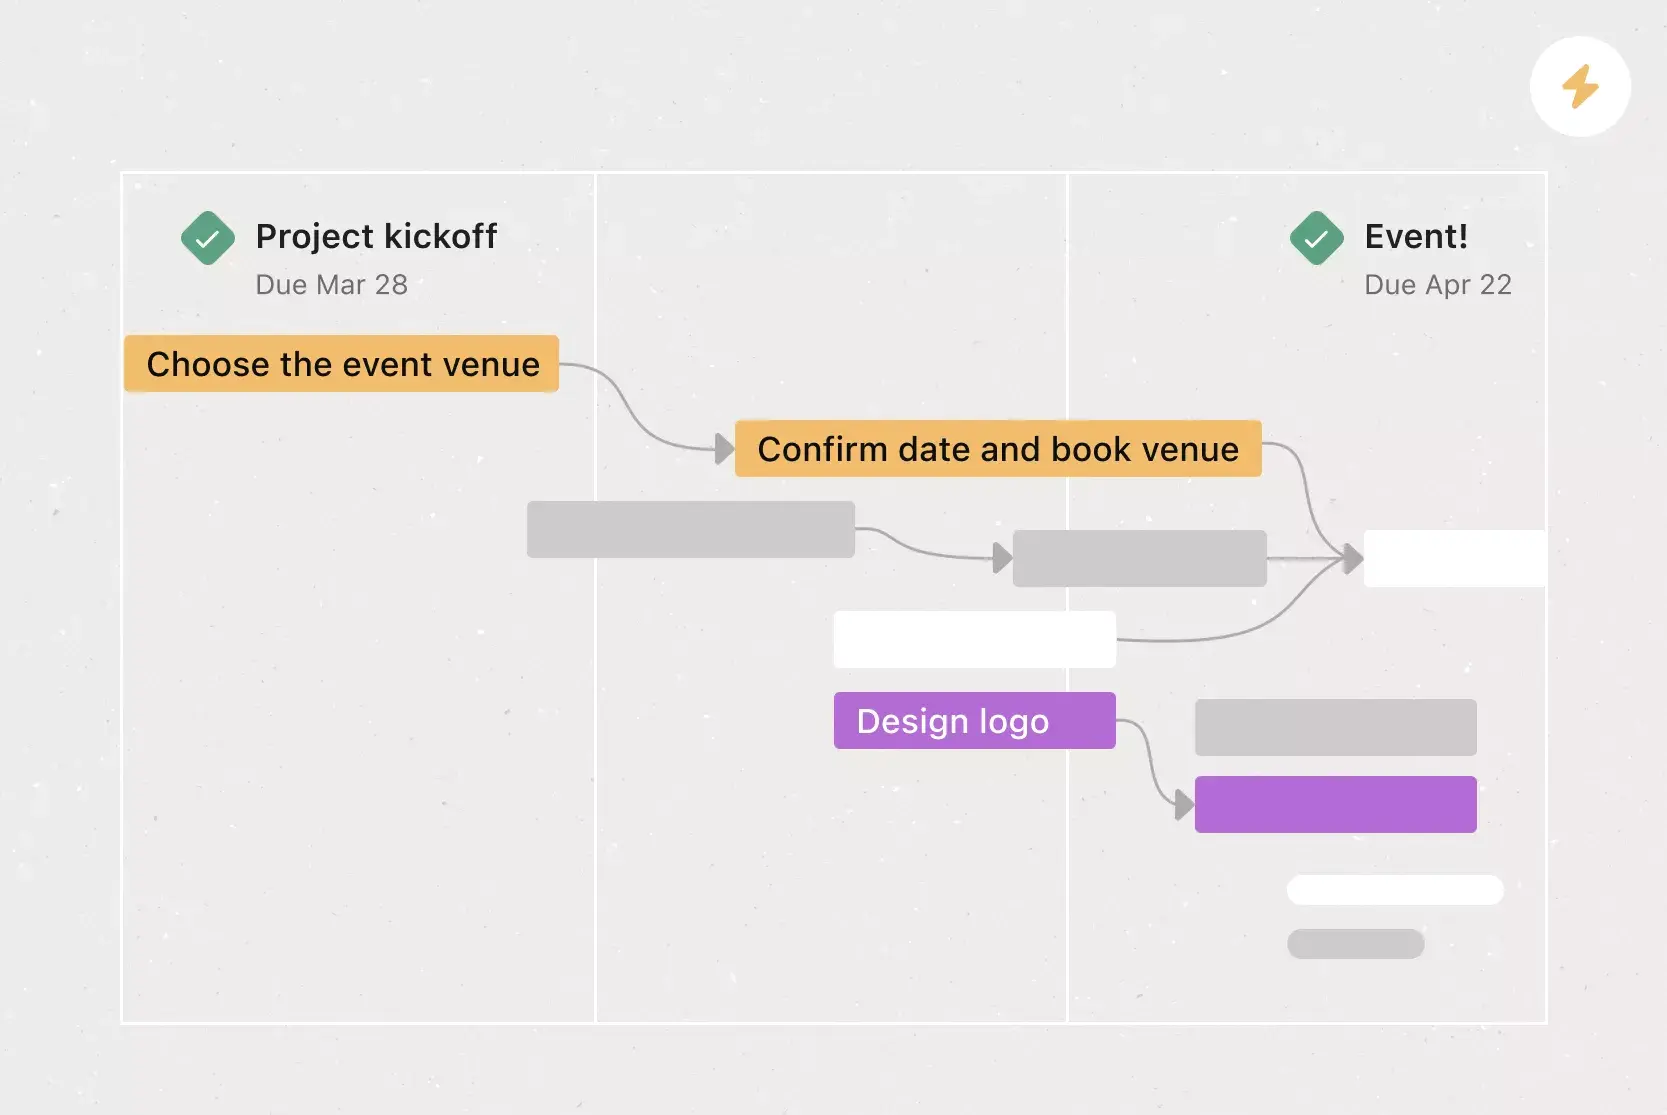
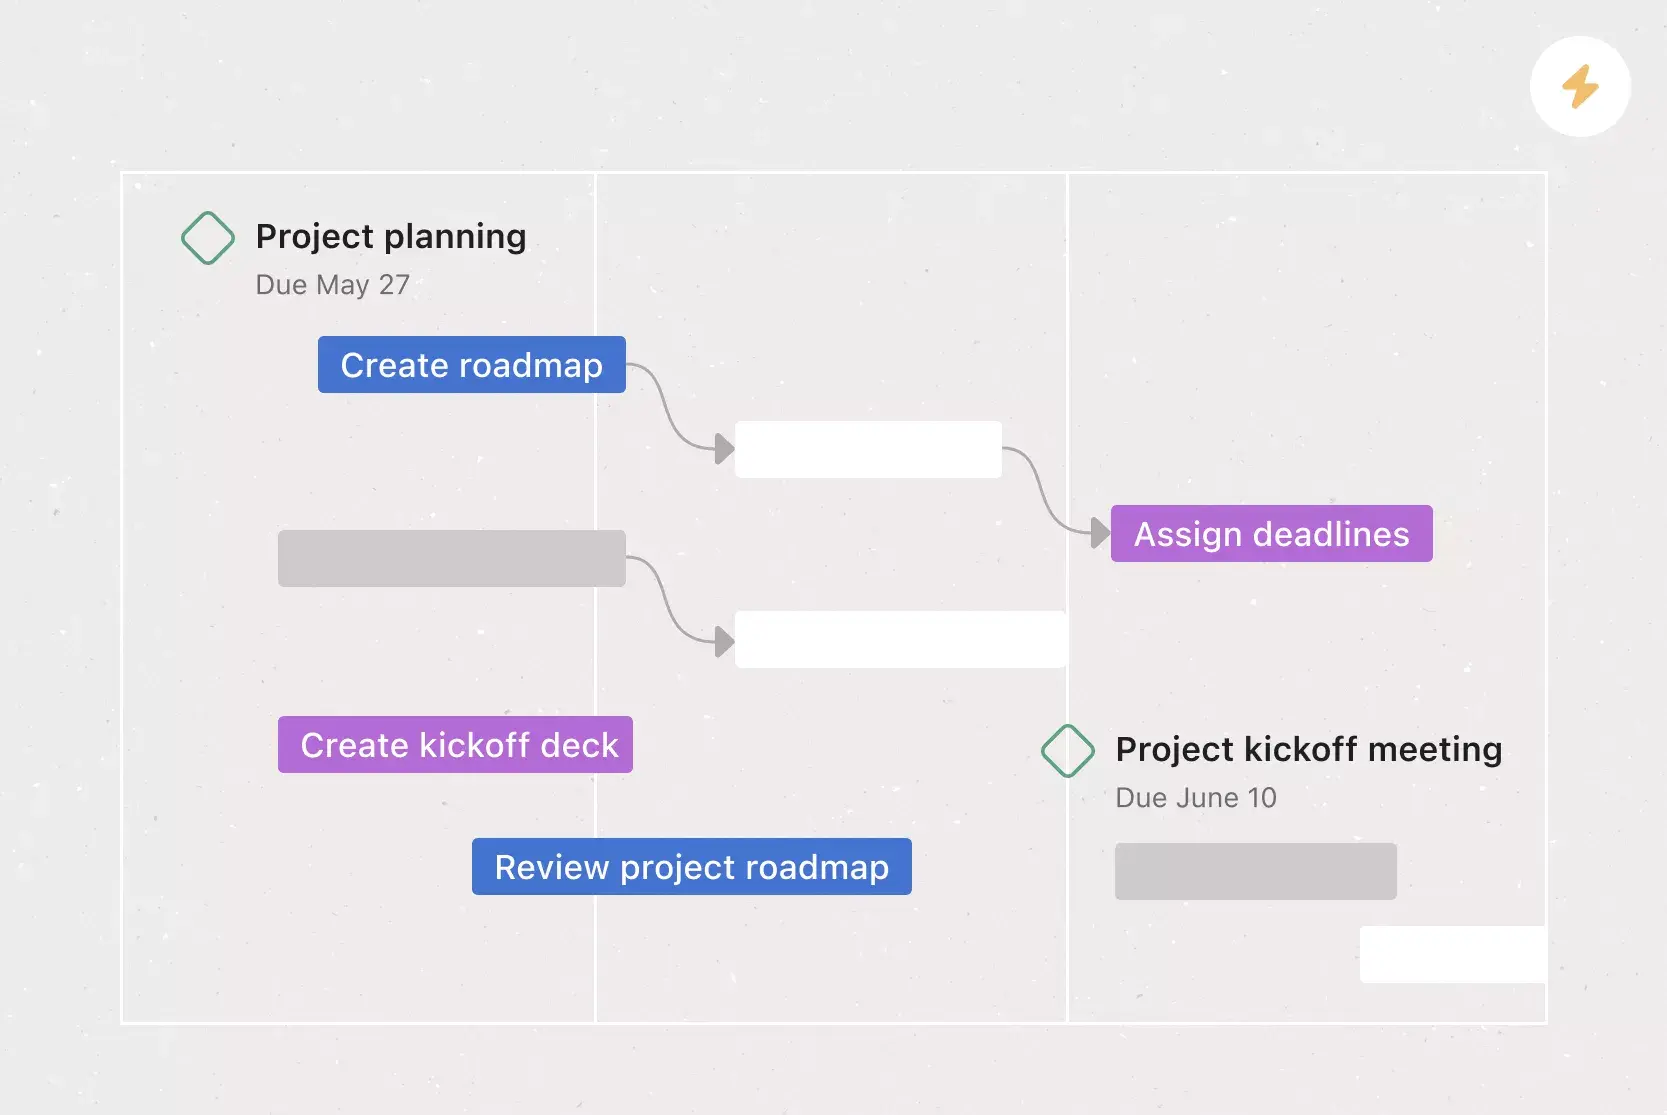
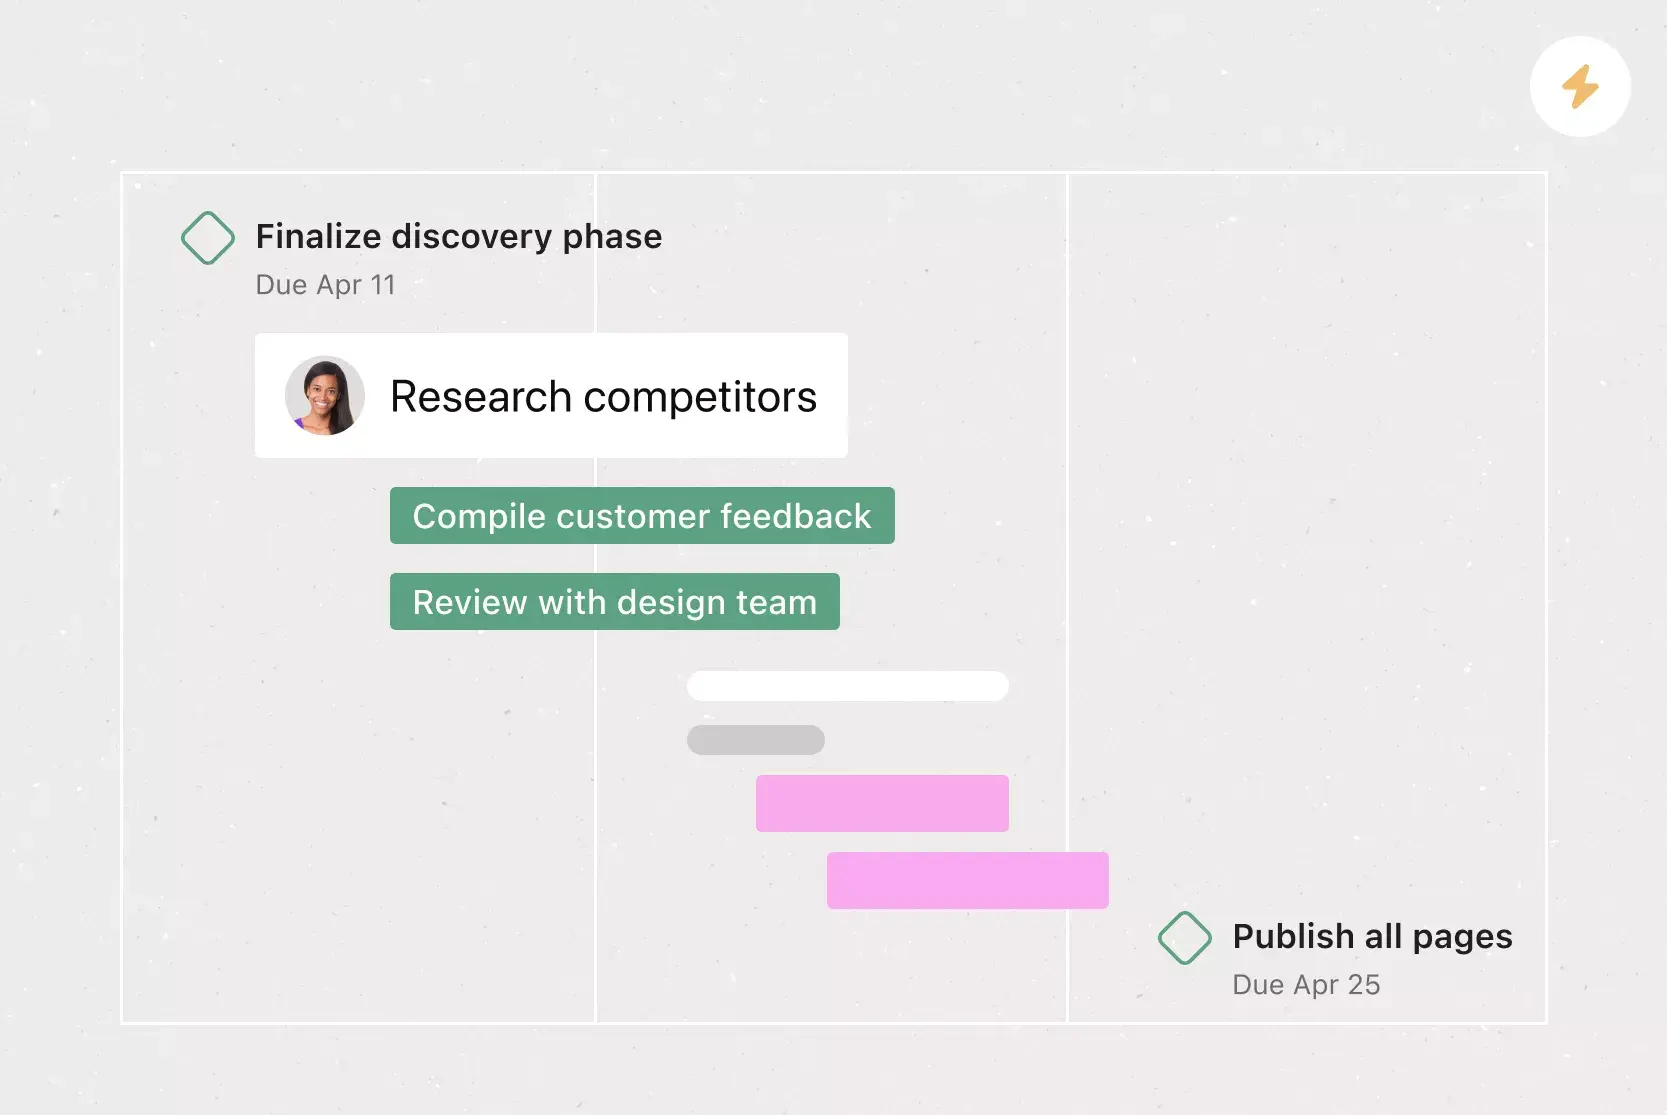
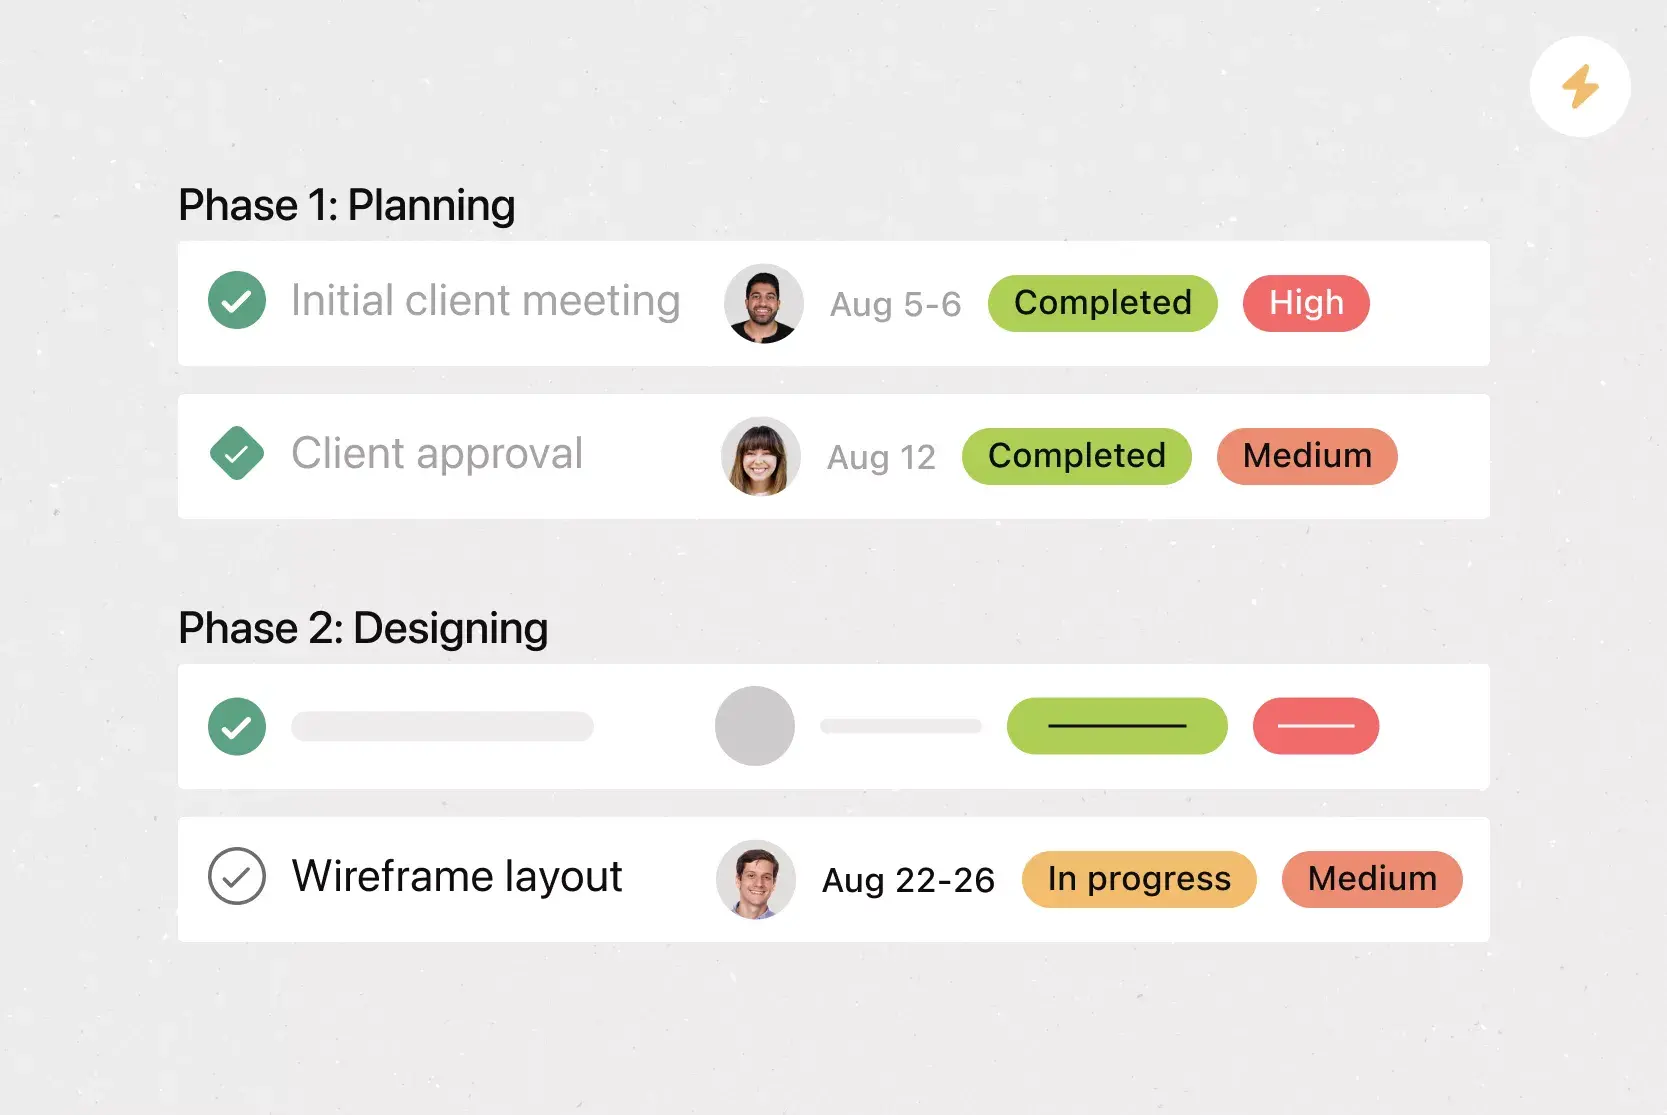
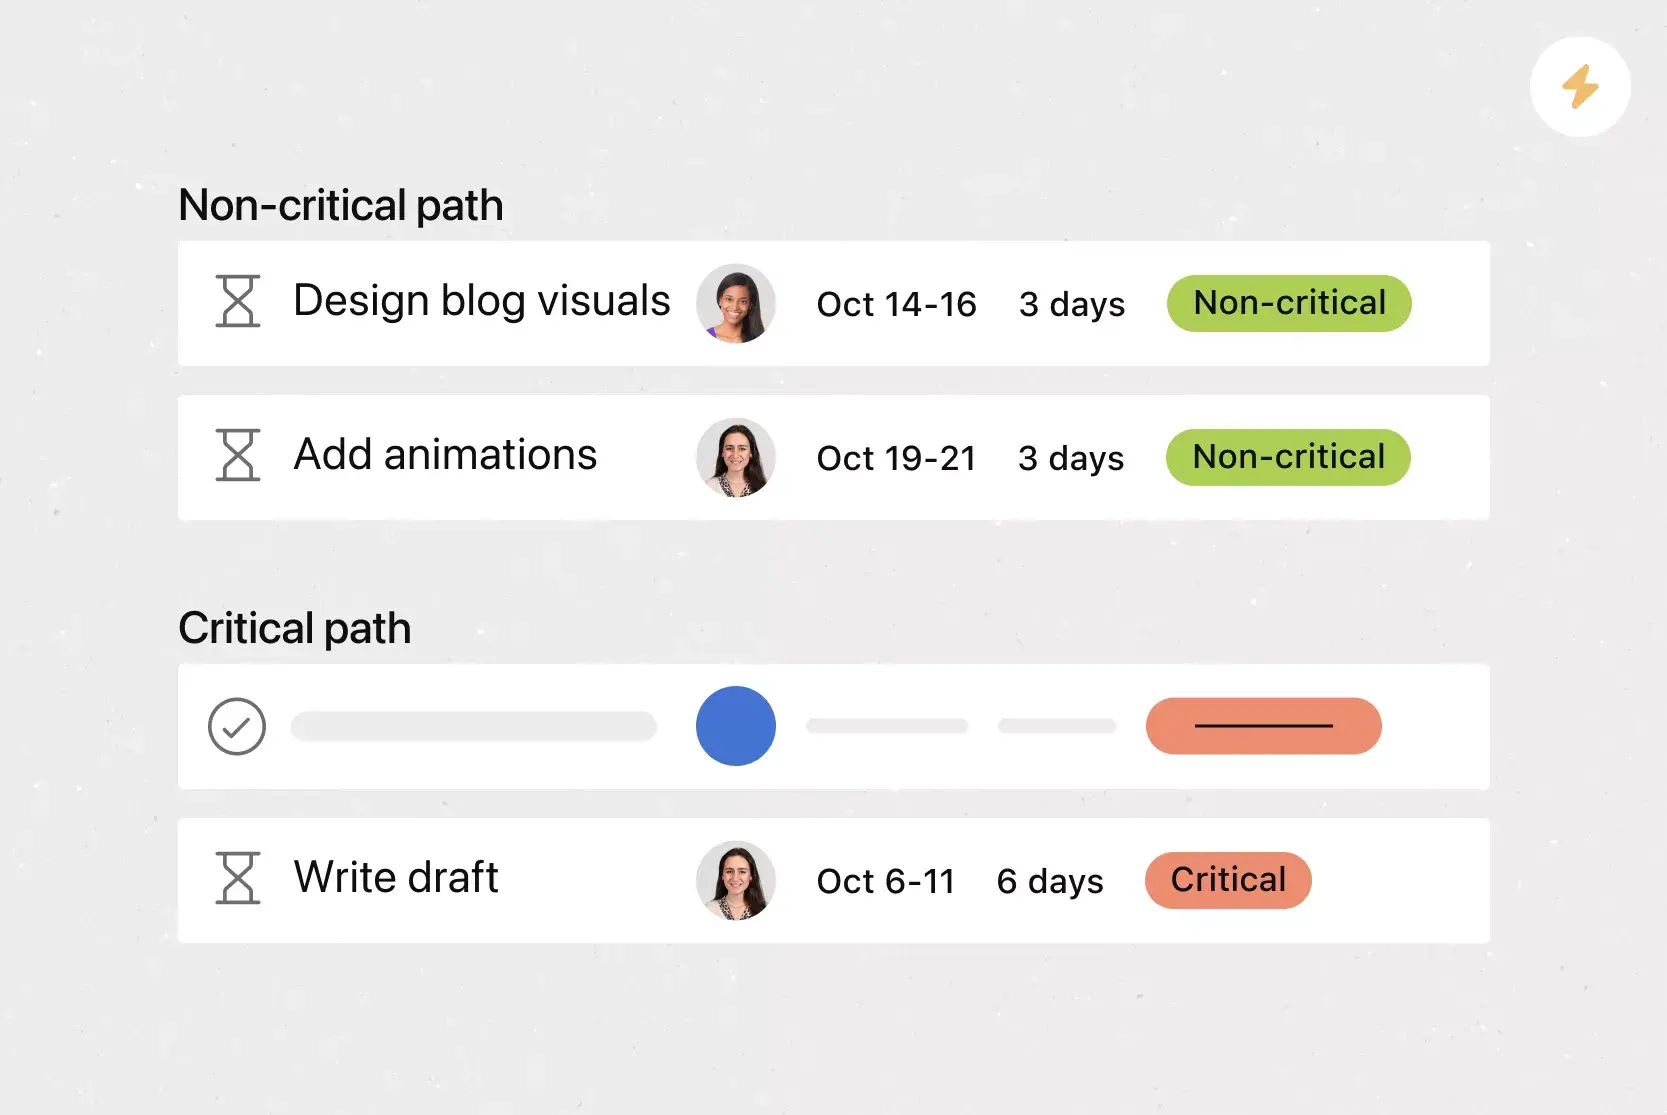
Step 2: Build the Itinerary
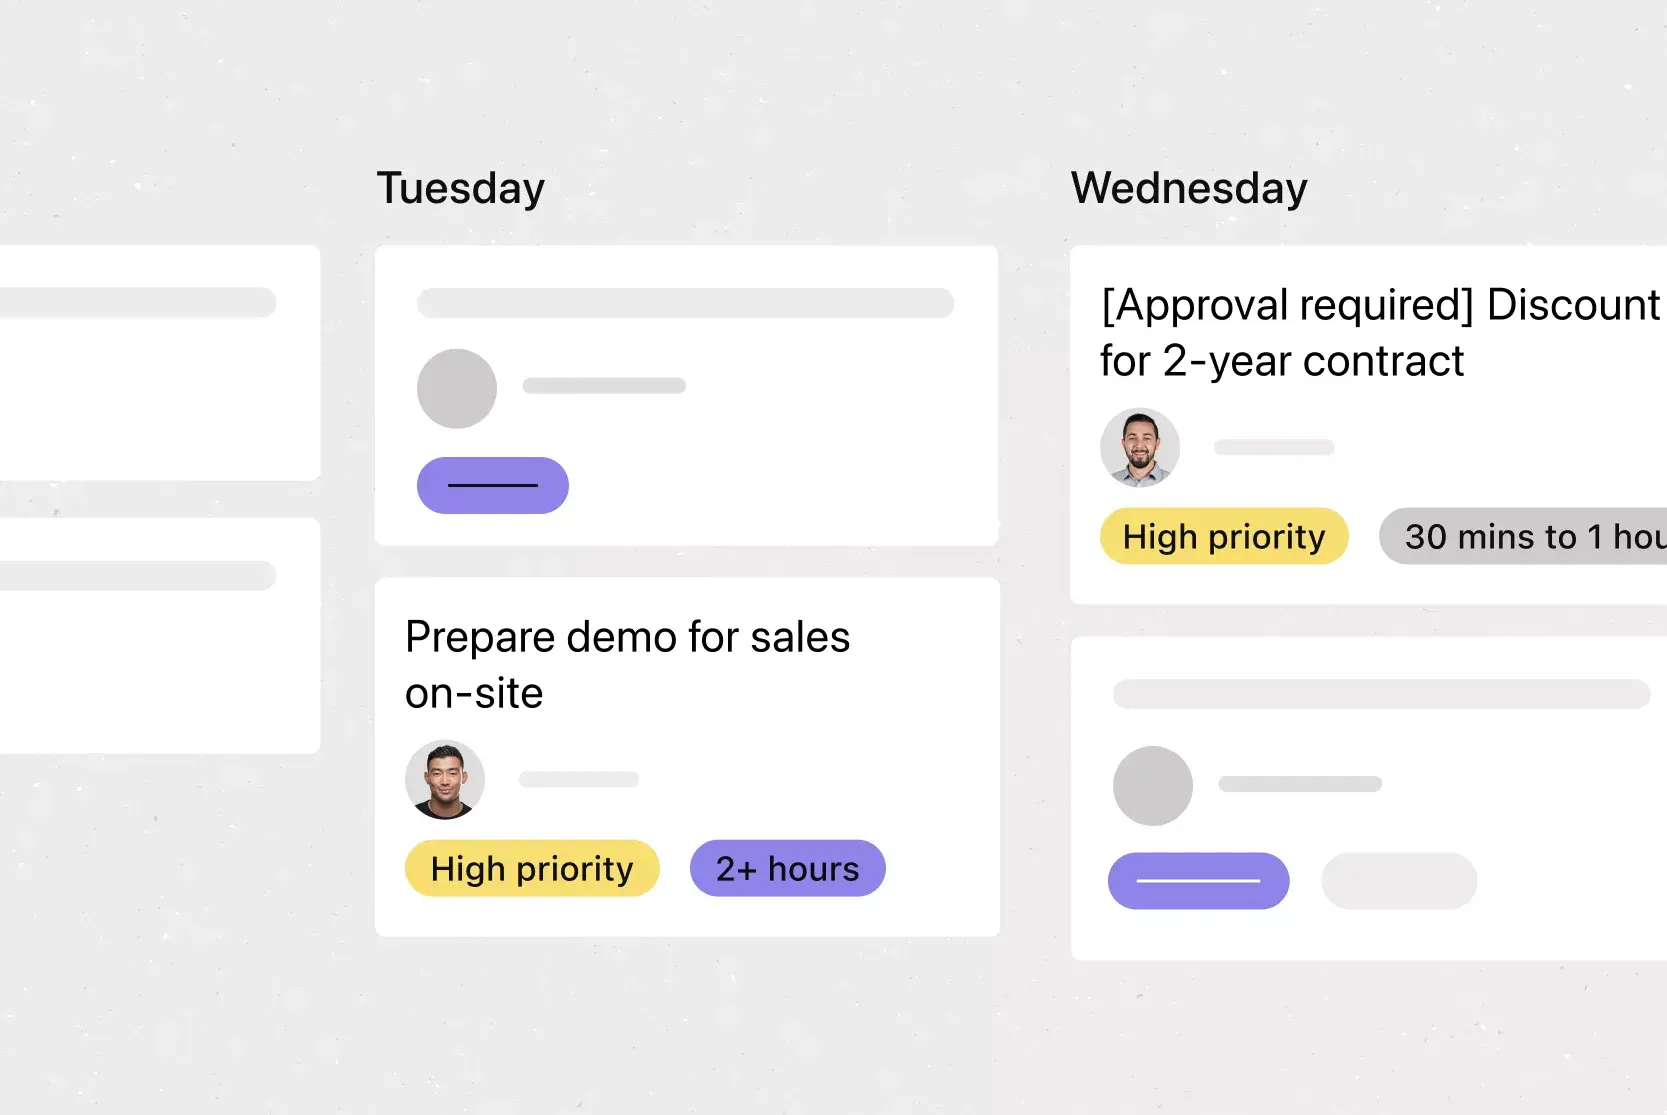
The Itinerary section is the backbone of your travel plan. Break down the trip day by day, including transport times, check-ins, tours, activities, and meals. List exact times for each segment and include addresses or meeting points when relevant.
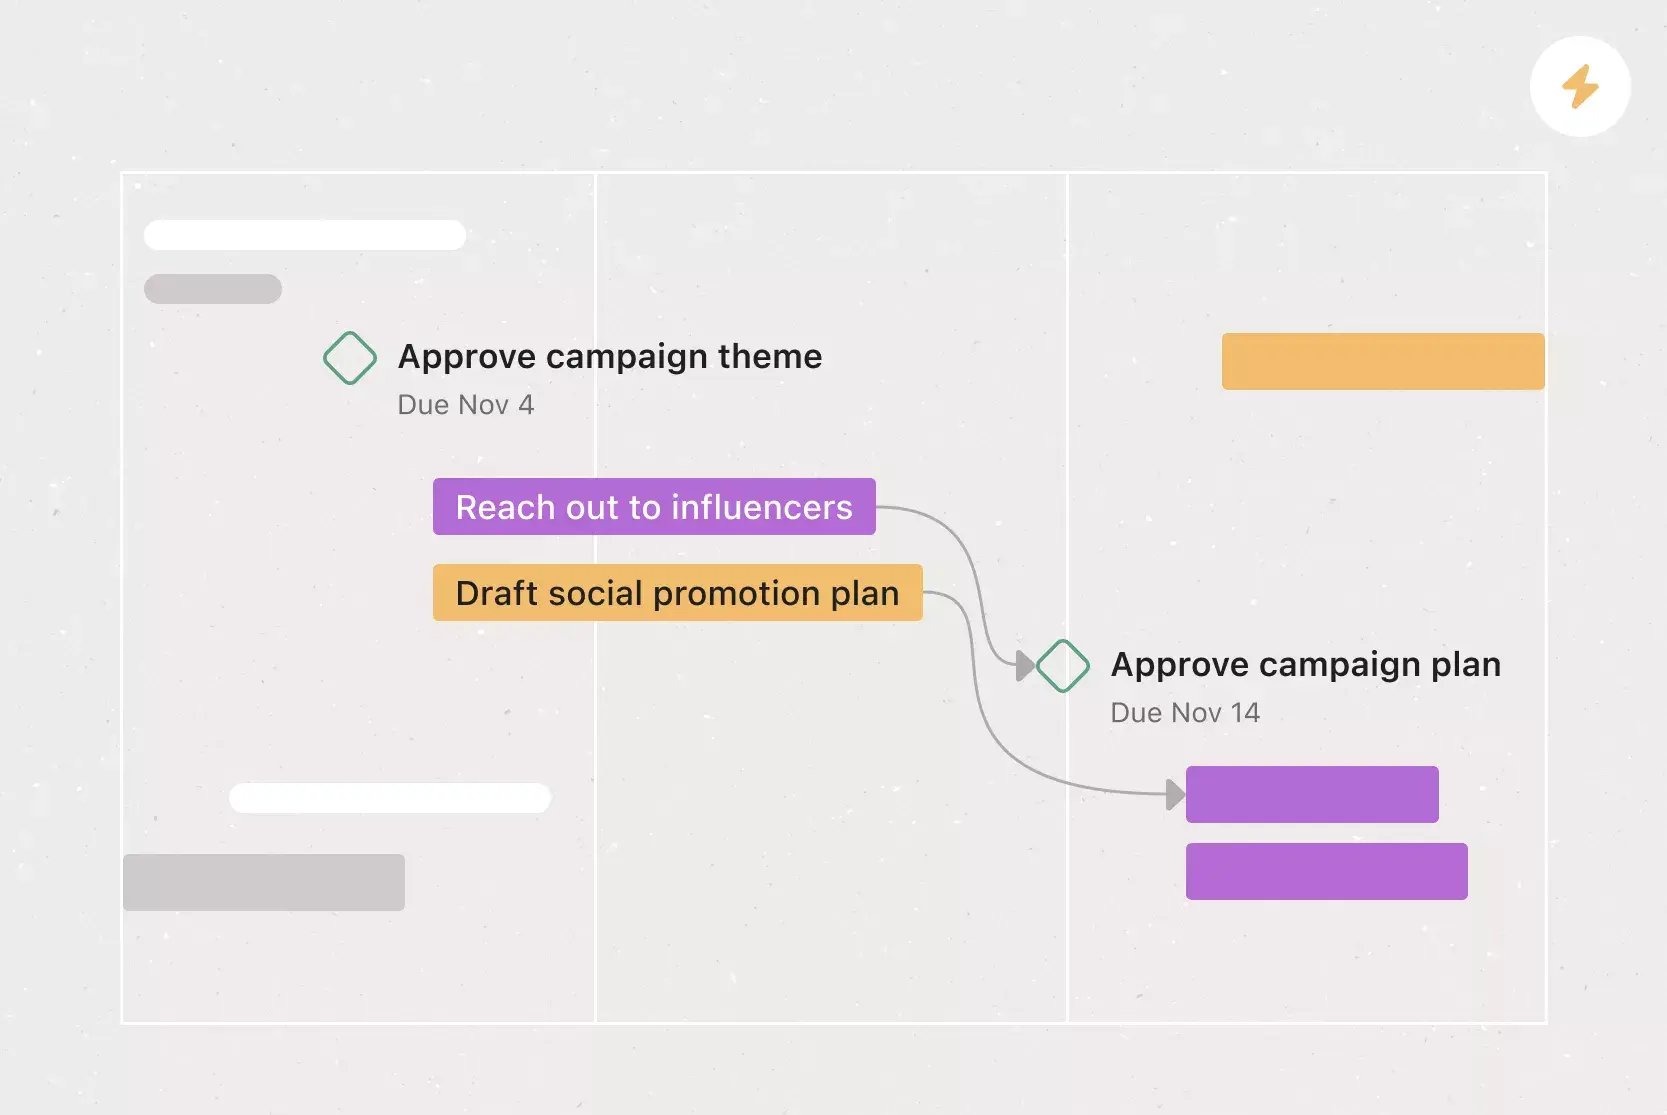
Switch to the Timeline view to visualize your schedule and catch any overlaps. Adjust times by dragging items to new slots, making it easier to coordinate transportation, accommodations, and activities. For more complex trips, group itinerary items by location or day to keep the view manageable.
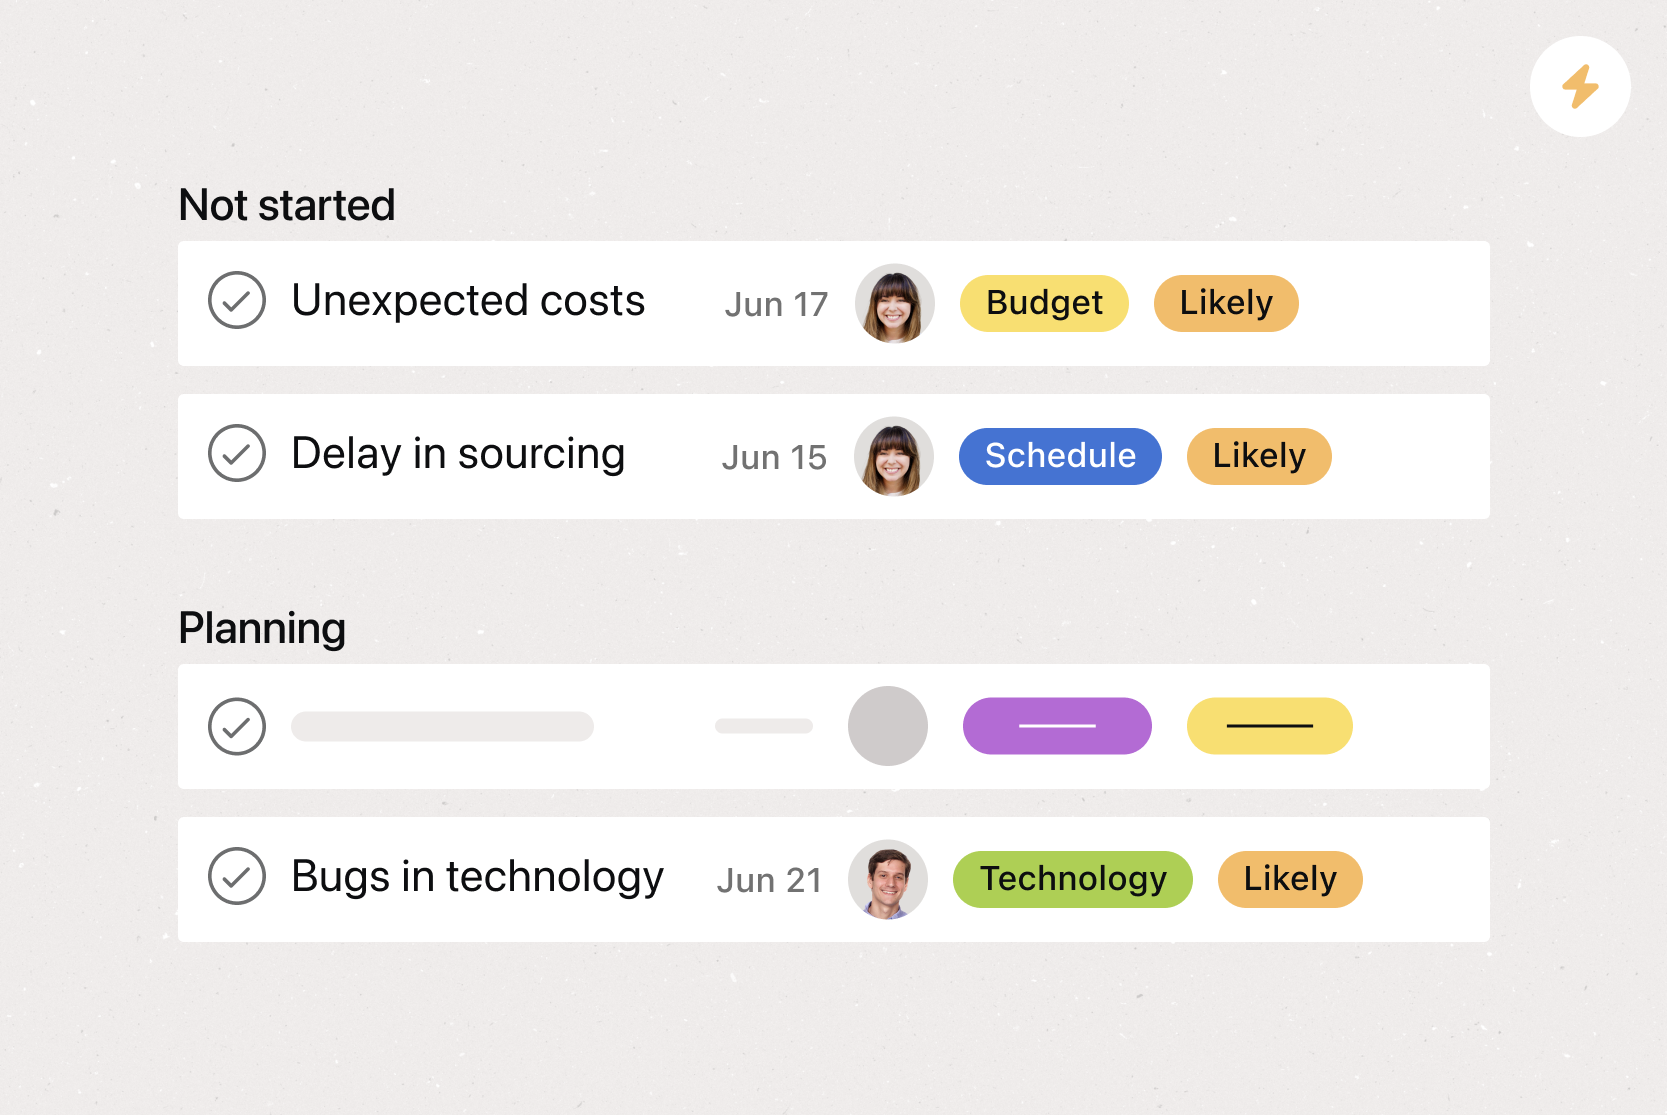
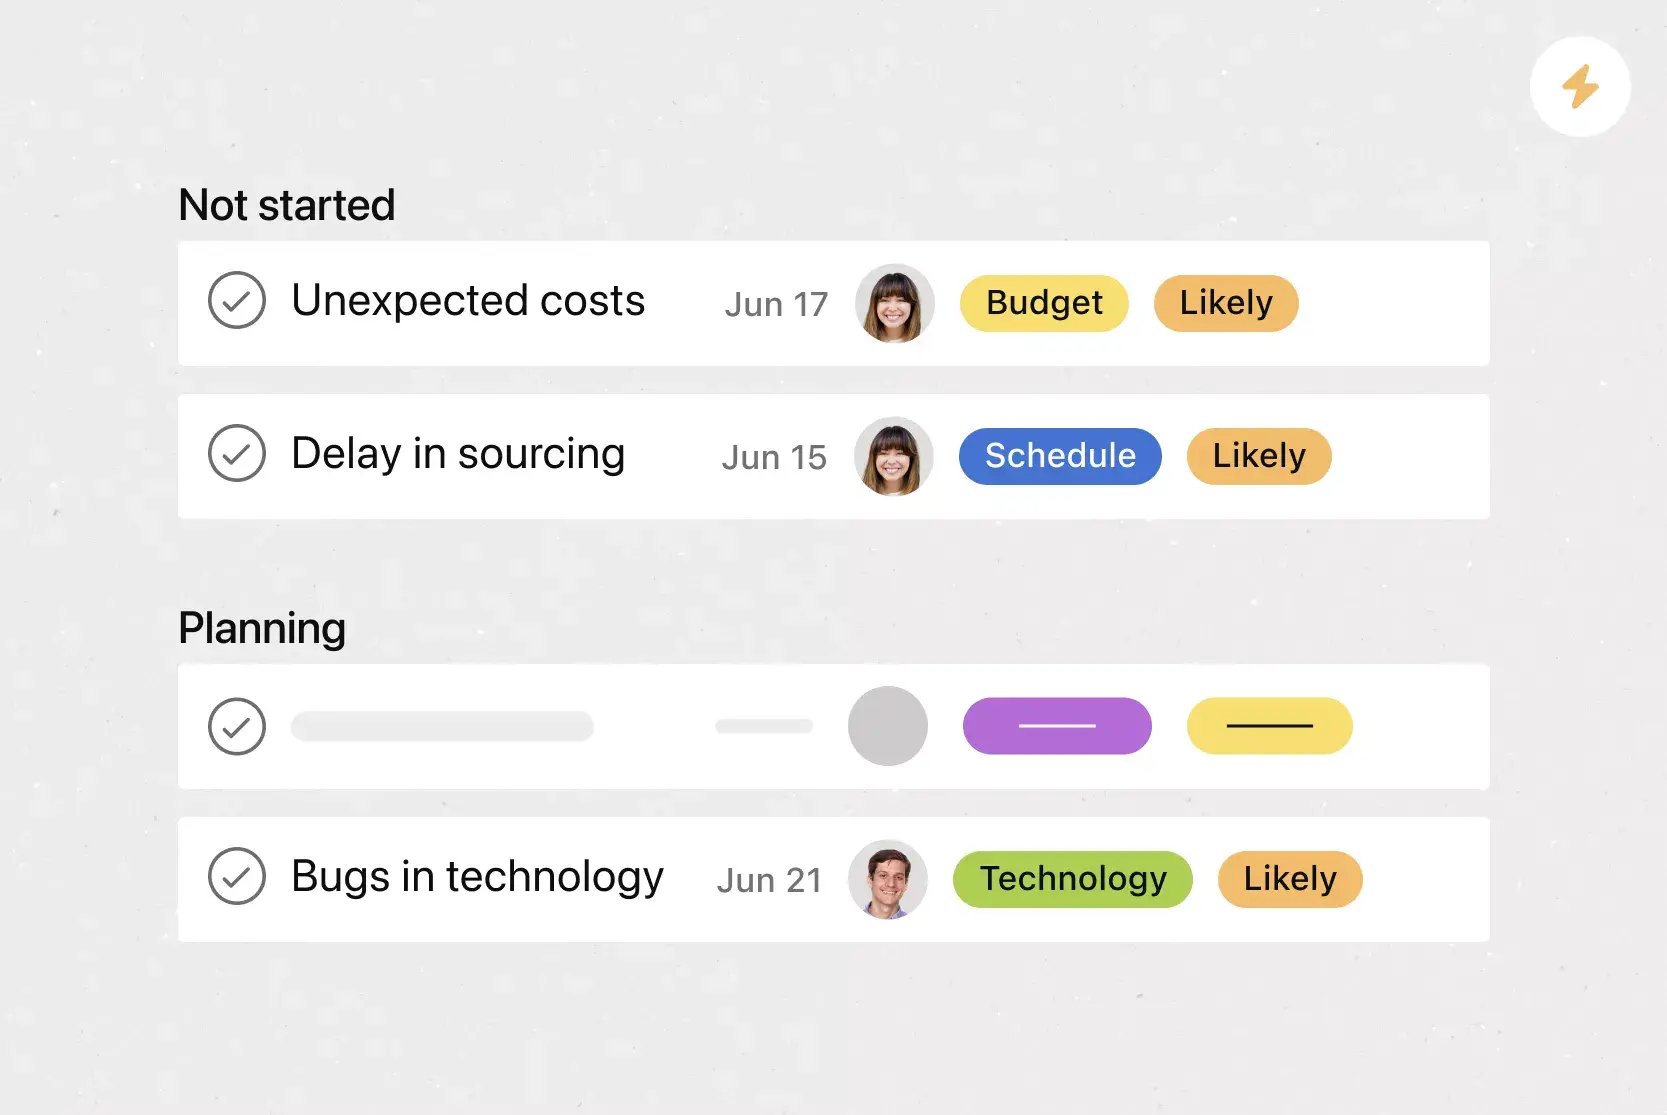
Step 3: Track the Budget
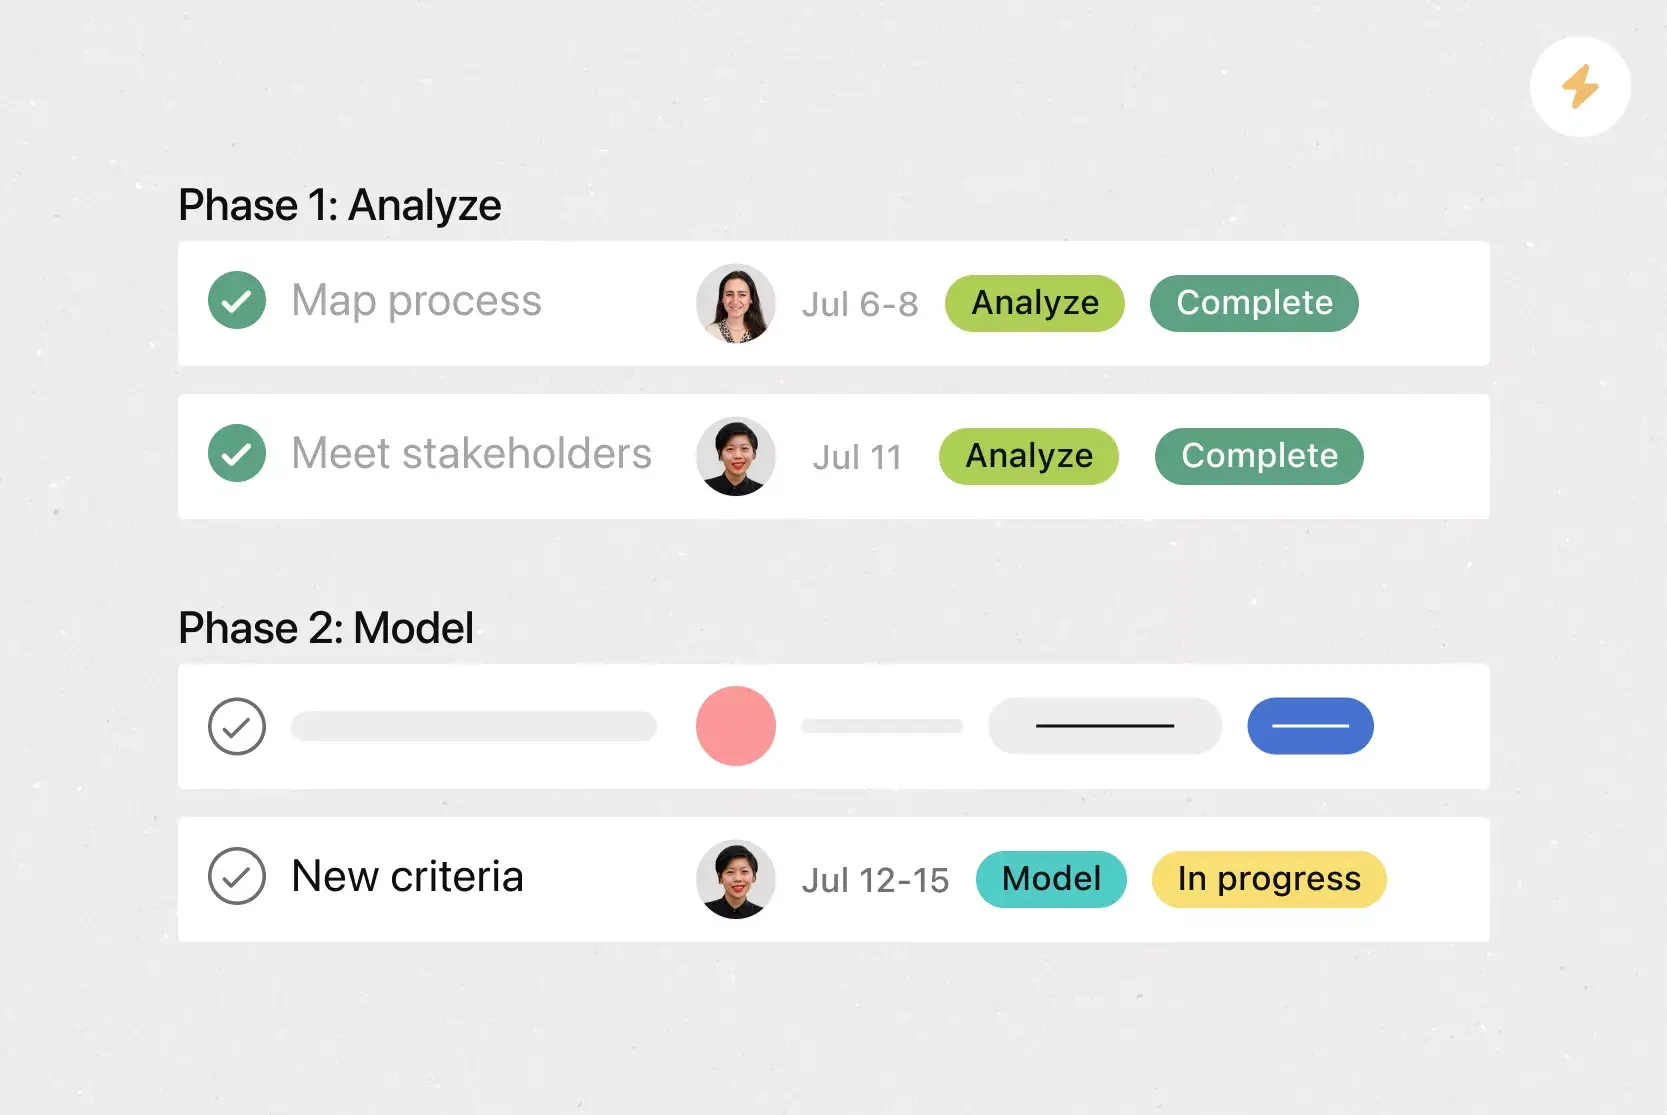
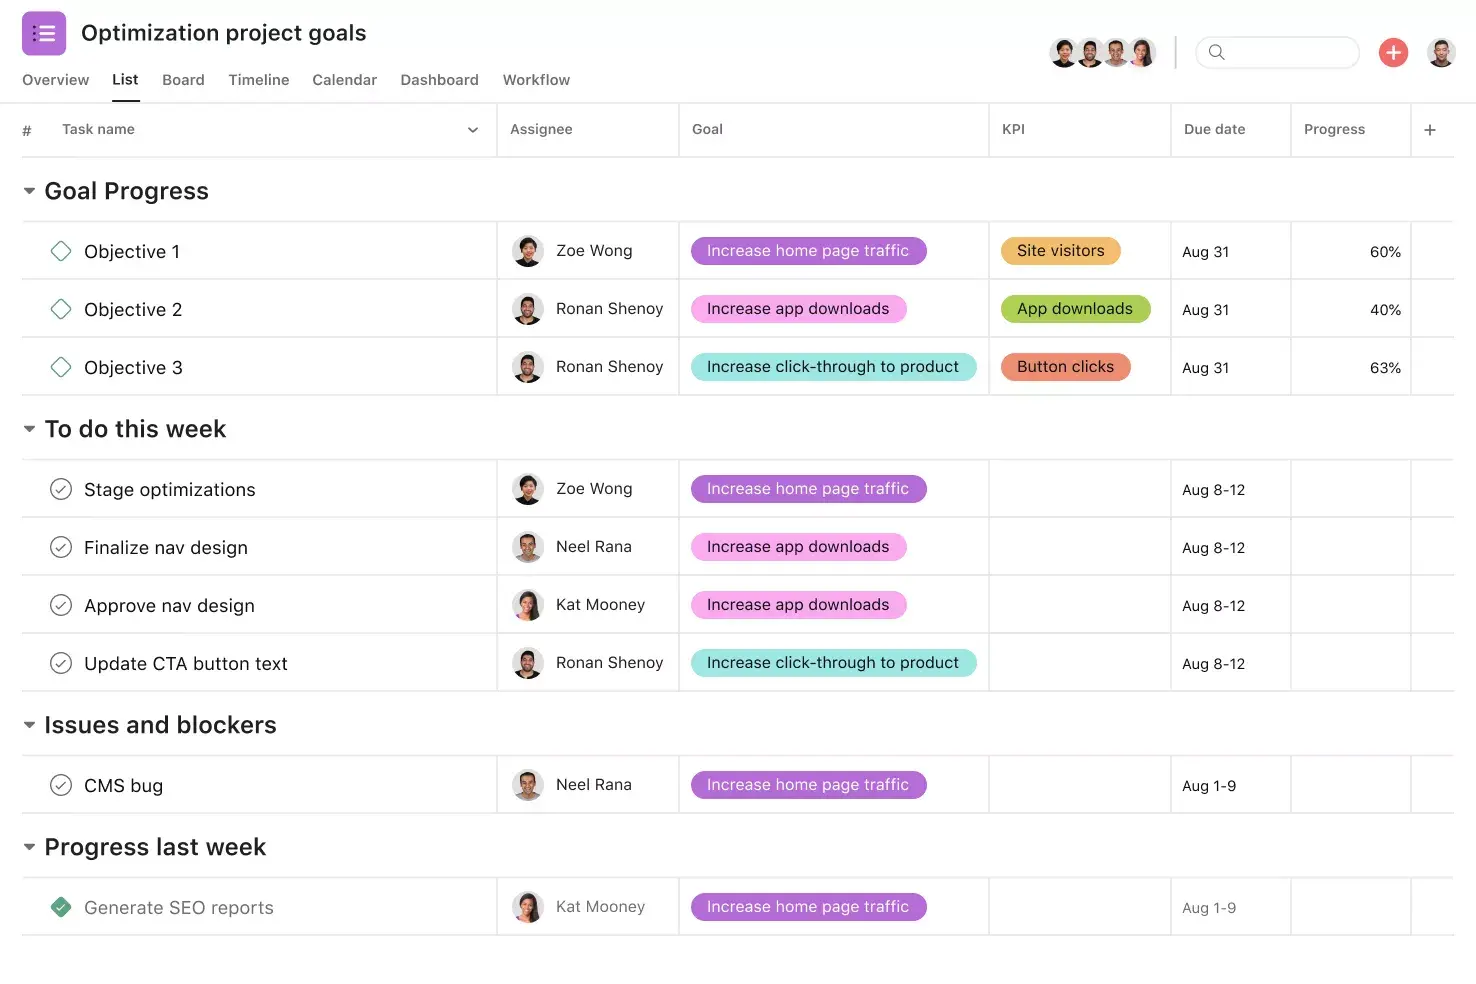
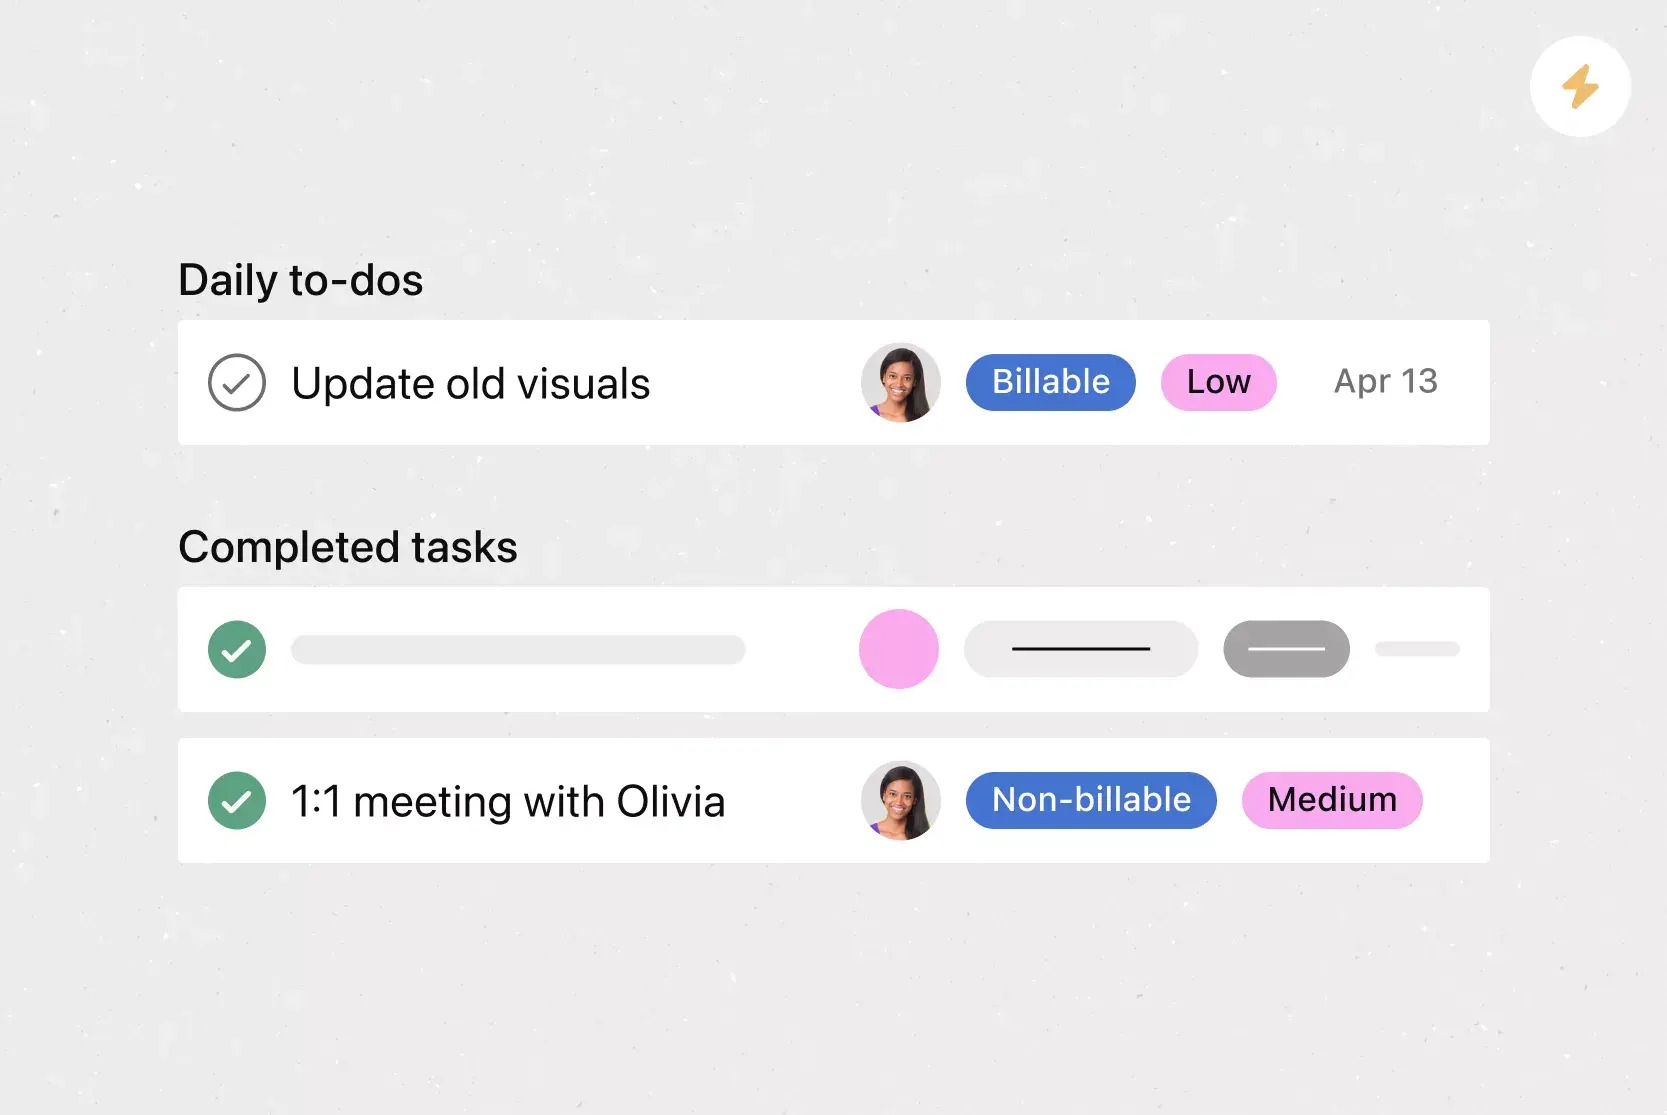
The Budget section ensures your spending stays within limits. Create tasks for each major cost category, such as transportation, accommodation, meals, and activities. Include cost estimates, actual amounts, and payment status for each.
Assign ownership for tracking each expense so no category is neglected. You can also use custom fields to label payments as “Pending” or “Paid,” making it easy to see where follow-up is needed. If the trip involves multiple travelers splitting costs, add subtasks for each person’s share.
Step 4: Create the Packing List
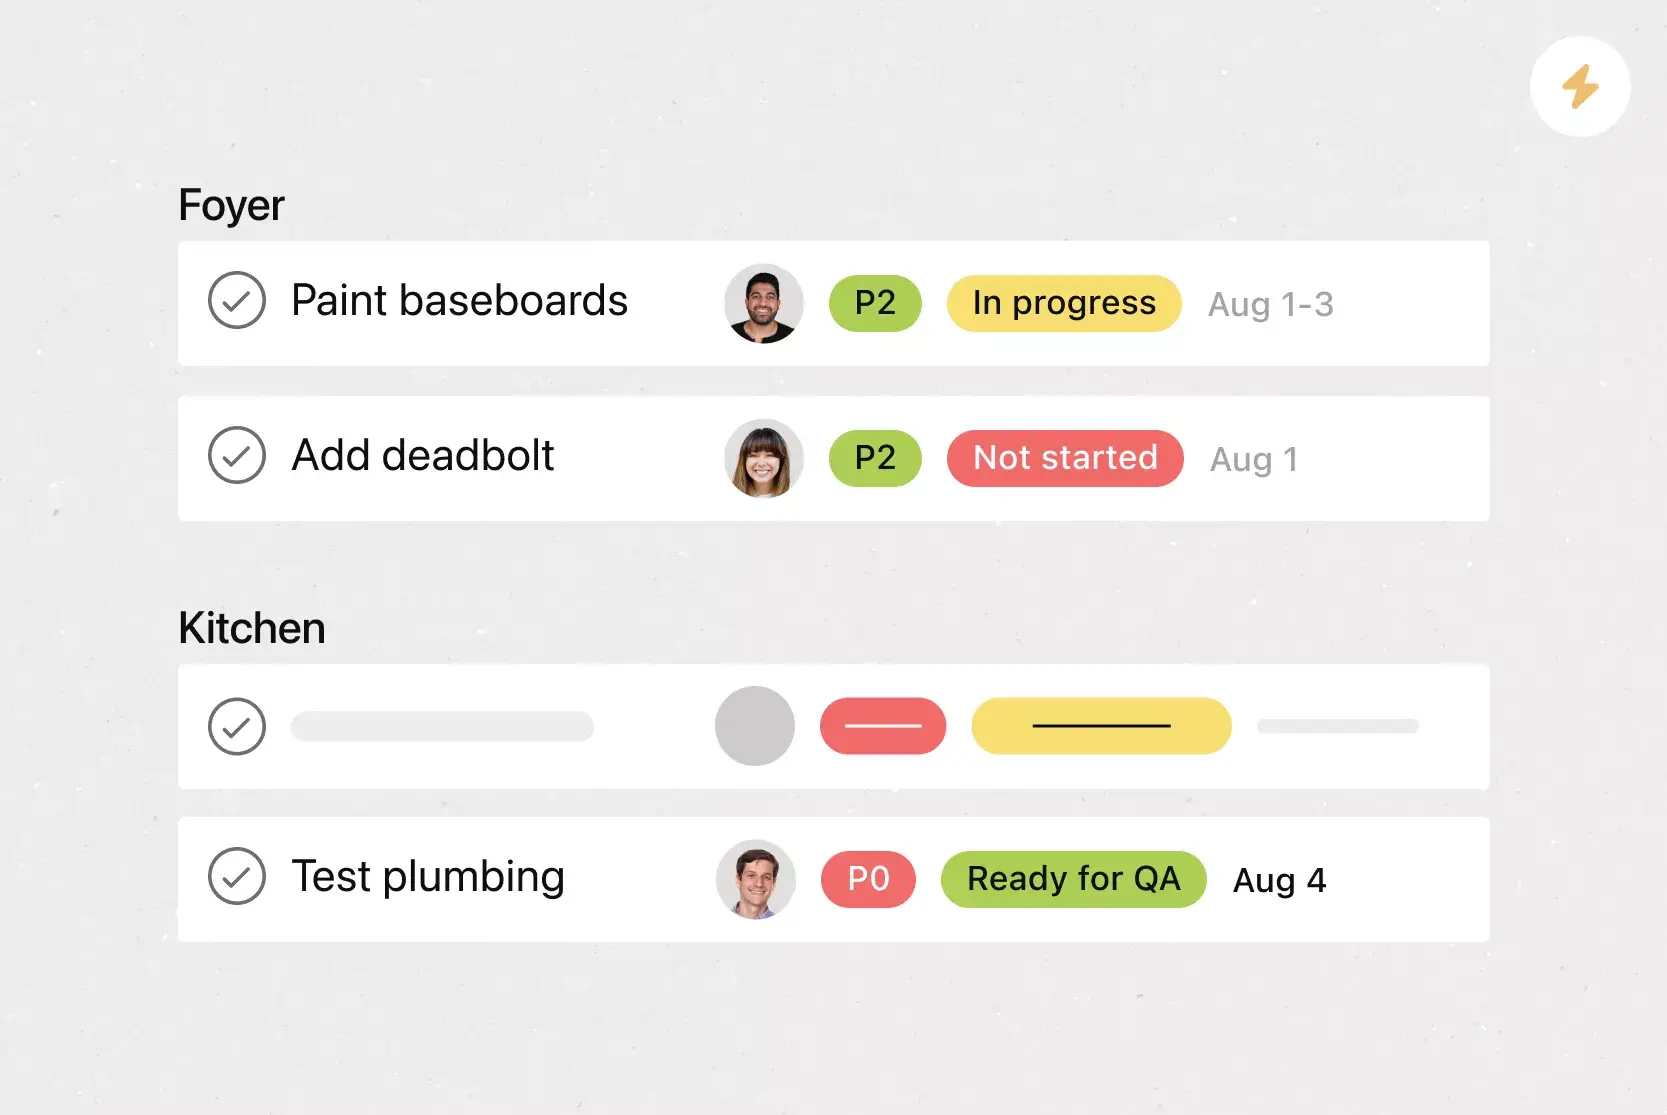
The Packing List section prevents forgotten essentials. Create separate tasks for clothing, electronics, documents, and any trip-specific gear. Add details about quantities, colors, or special requirements so there’s no confusion about what to pack.
For group trips, assign items to individuals and note shared items that only one person needs to bring. Mark tasks as complete when the item is packed, and encourage travelers to check this section a day before departure to confirm readiness.
Step 5: Add Local Information
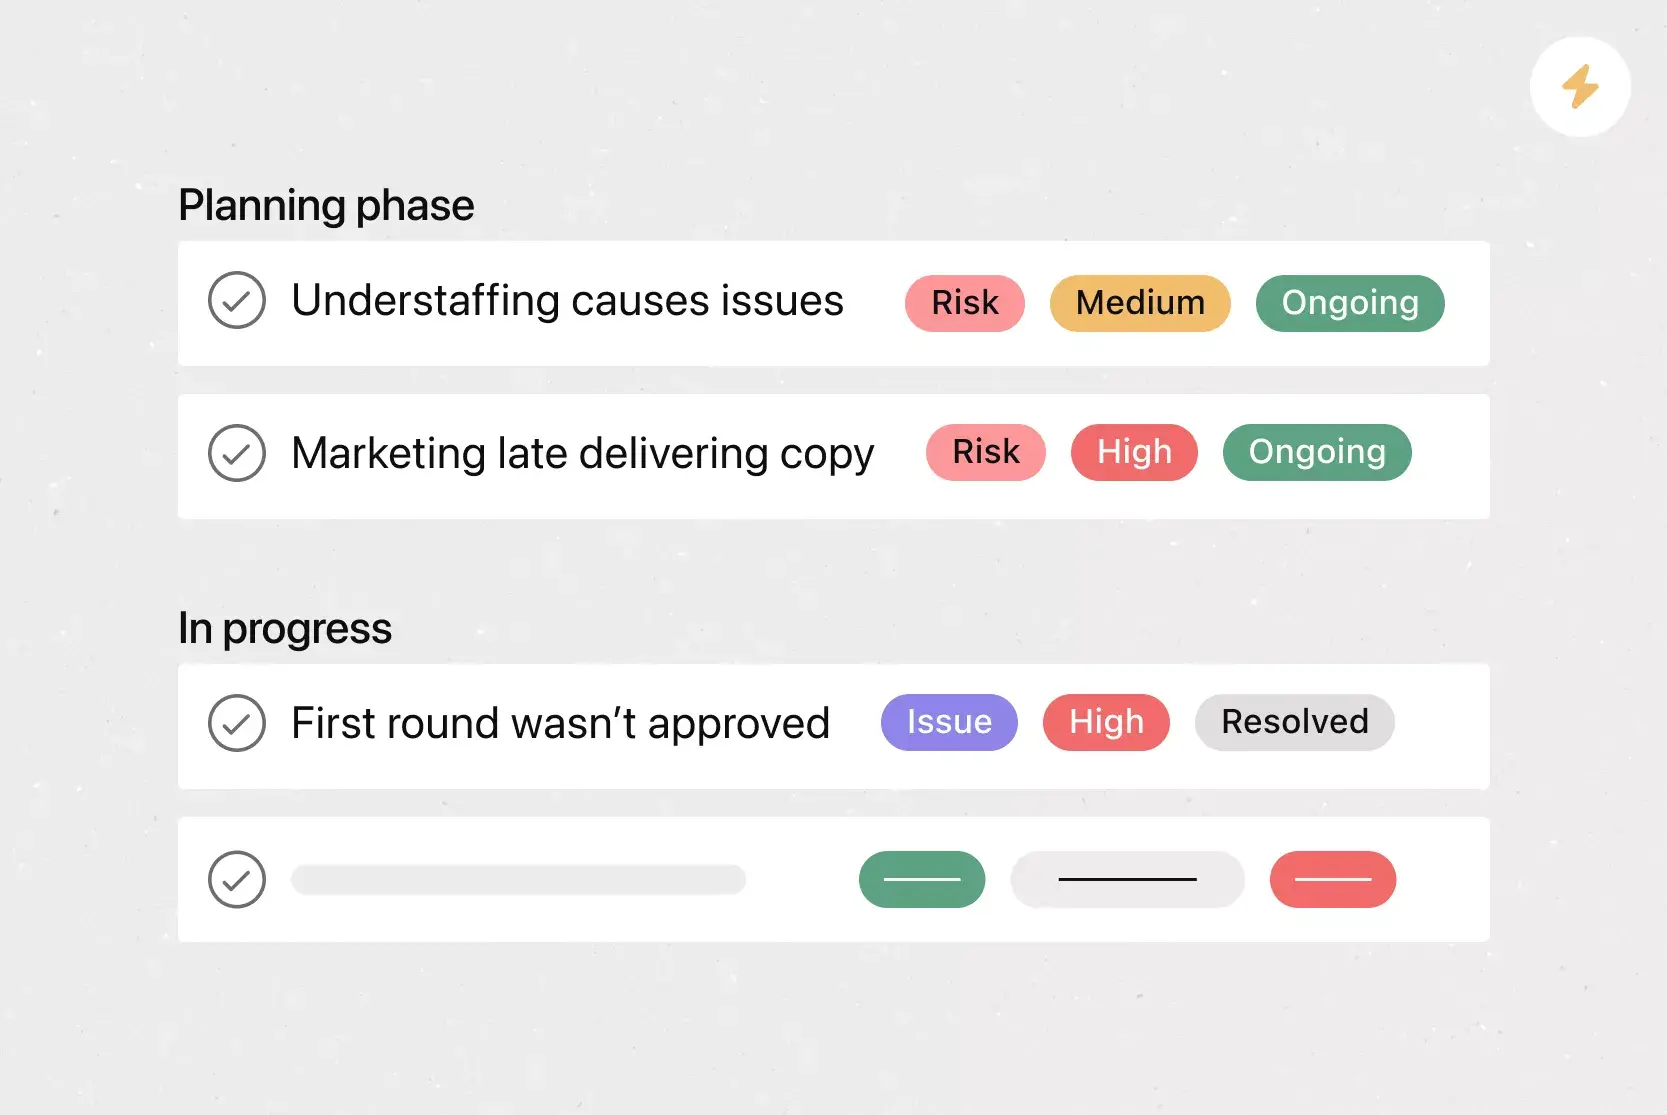
The Local Information section helps travelers adapt quickly to their destination. Include emergency contact numbers, addresses for hospitals and embassies, local transportation details, and useful apps or websites. You can also include cultural tips, such as everyday phrases, etiquette guidelines, and local customs regarding tipping.
Assign research tasks to team members or travelers and include links to reliable sources. Adding maps or images directly to tasks makes them even more helpful once you arrive.
Step 6: Organize Important Documents
The Important Documents section helps keep your travel paperwork organized. Create tasks for passports, tickets, confirmation numbers, and permits. Attach scanned copies or PDFs to each task so you can access them from your phone if needed.
Assign each document to the person responsible for carrying it. If your trip involves multiple border crossings or check-ins, create subtasks for each location to make it easier to find the correct document at the right time.
Step 7: Use the tabs to manage the trip in real time
The tabs at the top of your Asana project turn your travel planner into a live control center. Use the Dashboard to monitor booking statuses and track your budget. Messages let you communicate updates without needing to switch to another app. Files keeps all related documents, tickets, and maps in one place.
Workflow can automate repetitive actions such as moving “Pending” bookings to “Confirmed” once payment is marked complete. By using these views together, you can maintain complete oversight from the first day of planning to your return home.
Asana planning features
Asana features help you adapt a travel planner template to your specific trip planning workflow. They provide tools to visualize the schedule, manage responsibilities, and centralize information. You can see the full list of features at asana.com/features.
See the entire trip itinerary in a visual layout, making it easy to identify gaps or overlaps. Adjust activities by dragging them, ensuring transportation and accommodations stay in sync.
Track details like trip type, booking status, or expense category. For example, use a “Paid/Unpaid” field in the Budget section to quickly check payment progress.
View all trip tasks by date to coordinate activities and deadlines. This view works well for aligning bookings with the overall schedule.
Store documents, maps, and confirmation emails directly on related tasks. Travelers can open them instantly without having to search through inboxes.
Access the travel planner from anywhere, making it easy to check the itinerary, upload receipts, or confirm bookings on the go.
Recommended integrations
Integrations connect your travel planner template with other tools you use during trip planning. They allow you to keep communication, bookings, and documents in sync without switching between platforms.
Browse the complete list of integrations at the Asana App Directory.
Design visual itineraries, destination guides, or packing list graphics in Canva and attach them to your travel planner. The functionality supports creating minimalist layouts that are easy to read and share. You can also design social media posts to highlight trip milestones, then link them directly in your travel planner for quick access during the trip.
Export trip budgets, packing lists, or itineraries from Asana into Excel for advanced formatting or reporting. You can also import existing spreadsheets into Asana to build your travel planner from data you have already collected.
Sync trip budgets and itineraries for quick importing or exporting, which is especially useful for travel agents managing multiple clients.
Receive real-time notifications for booking confirmations or itinerary changes. Instant notifications help groups coordinate without needing to check the travel plan constantly.
Store travel documents, photos, and videos in organized folders. Link them to the corresponding tasks so files are always easy to locate.
Link virtual meeting details for pre-trip briefings or remote check-ins during the trip. Travelers can join sessions directly from the task.
FAQs about travel planning templates
What is a travel planner template?
Can I use this free travel planner template for both personal and business trips?
What should I include in a travel itinerary planner template?
How does Asana’s travel itinerary template improve the travel planning process?
Can I share a travel planner template with other travelers or coordinators?
Related templates

![[Templates] Marketing Project Plan (Card) image](https://assets.asana.biz/transform/af70ac54-97b9-4639-b639-be3a3d951e3e/TG23-web-thumbnail-016-stakeholderregister-static-2x?io=transform:fill,width:2560&format=webp)
![[Template] IT project plan (Card image)](https://assets.asana.biz/transform/8aa523a9-4dcb-4053-8e69-7bdf900b48b9/web-product-template-thumbnail-IT-EN-US?io=transform:fill,width:2560&format=webp)

![[Templates] Operations Project Plan (Card)](https://assets.asana.biz/transform/ec3bf1b9-cbcd-413c-a20c-82bf1dbe10d2/TG23-web-thumbnail-008-risk-management?io=transform:fill,width:2560&format=webp)
![[Templates] RFP Process (Card image)](https://assets.asana.biz/transform/14aa111b-ab22-483f-bfd1-3090acb7d2a5/RFP-process-premium-m?io=transform:fill,width:2560&format=webp)

![[HR Project Plan] template Card Image](https://assets.asana.biz/transform/663b8e5e-89c9-4b0b-b48b-1b17e01d1889/TG23-web-thumbnail-033-process-improvement-static-2x?io=transform:fill,width:2560&format=webp)
![[Templates] Waterfall project management (card image)](https://assets.asana.biz/transform/d87fc21c-53f0-4bc9-9094-9789b963be9b/article-project-management-waterfall-project-management-methodology-2x?io=transform:fill,width:2560&format=webp)
![[Templates] Status report (card image)](https://assets.asana.biz/transform/9c82d399-782b-40d3-9eb1-fd7544bef794/article-project-management-project-management-maturity-model-2x?io=transform:fill,width:2560&format=webp)
![[Templates] Event Marketing Plan (Card image)](https://assets.asana.biz/transform/6c7b9329-b612-4732-910a-7917fa079f0b/TG23-web-thumbnail-014-project-chart-static-2x?io=transform:fill,width:2560&format=webp)

![[Templates] Communication plan (card image)](https://assets.asana.biz/transform/3dc9eadf-9d2d-40a2-a05d-63adb32a1de7/article-collaboration-synchronous-vs-asynchronous-communication-2x?io=transform:fill,width:2560&format=webp)

![[Templates] Design Project Plan (Card image)](https://assets.asana.biz/transform/c768a28c-822f-420f-93f9-f2eea4c93780/TG23-web-thumbnail-032-bill-of-materials-static-2x?io=transform:fill,width:2560&format=webp)
Create templates with Asana
Learn how to create a customizable template in Asana. Get started today.