Project closure template
Use a repeatable 7-step process to wrap up work, get approvals, document results, and hand off next steps without missing any details.
Create your templateSign up to create your own template.
INTEGRATED FEATURES
Recommended apps

Summary
Even after you've hit your final milestone, there's still work to do: sharing results, completing remaining tasks, and deciding on next steps. It's easy to skip these steps when celebrating a successful project, but a project closure template helps your team tie up loose ends without missing a beat. In this guide, you'll learn what a project closure template is, why it matters, what to include, and how to close a project step by step.
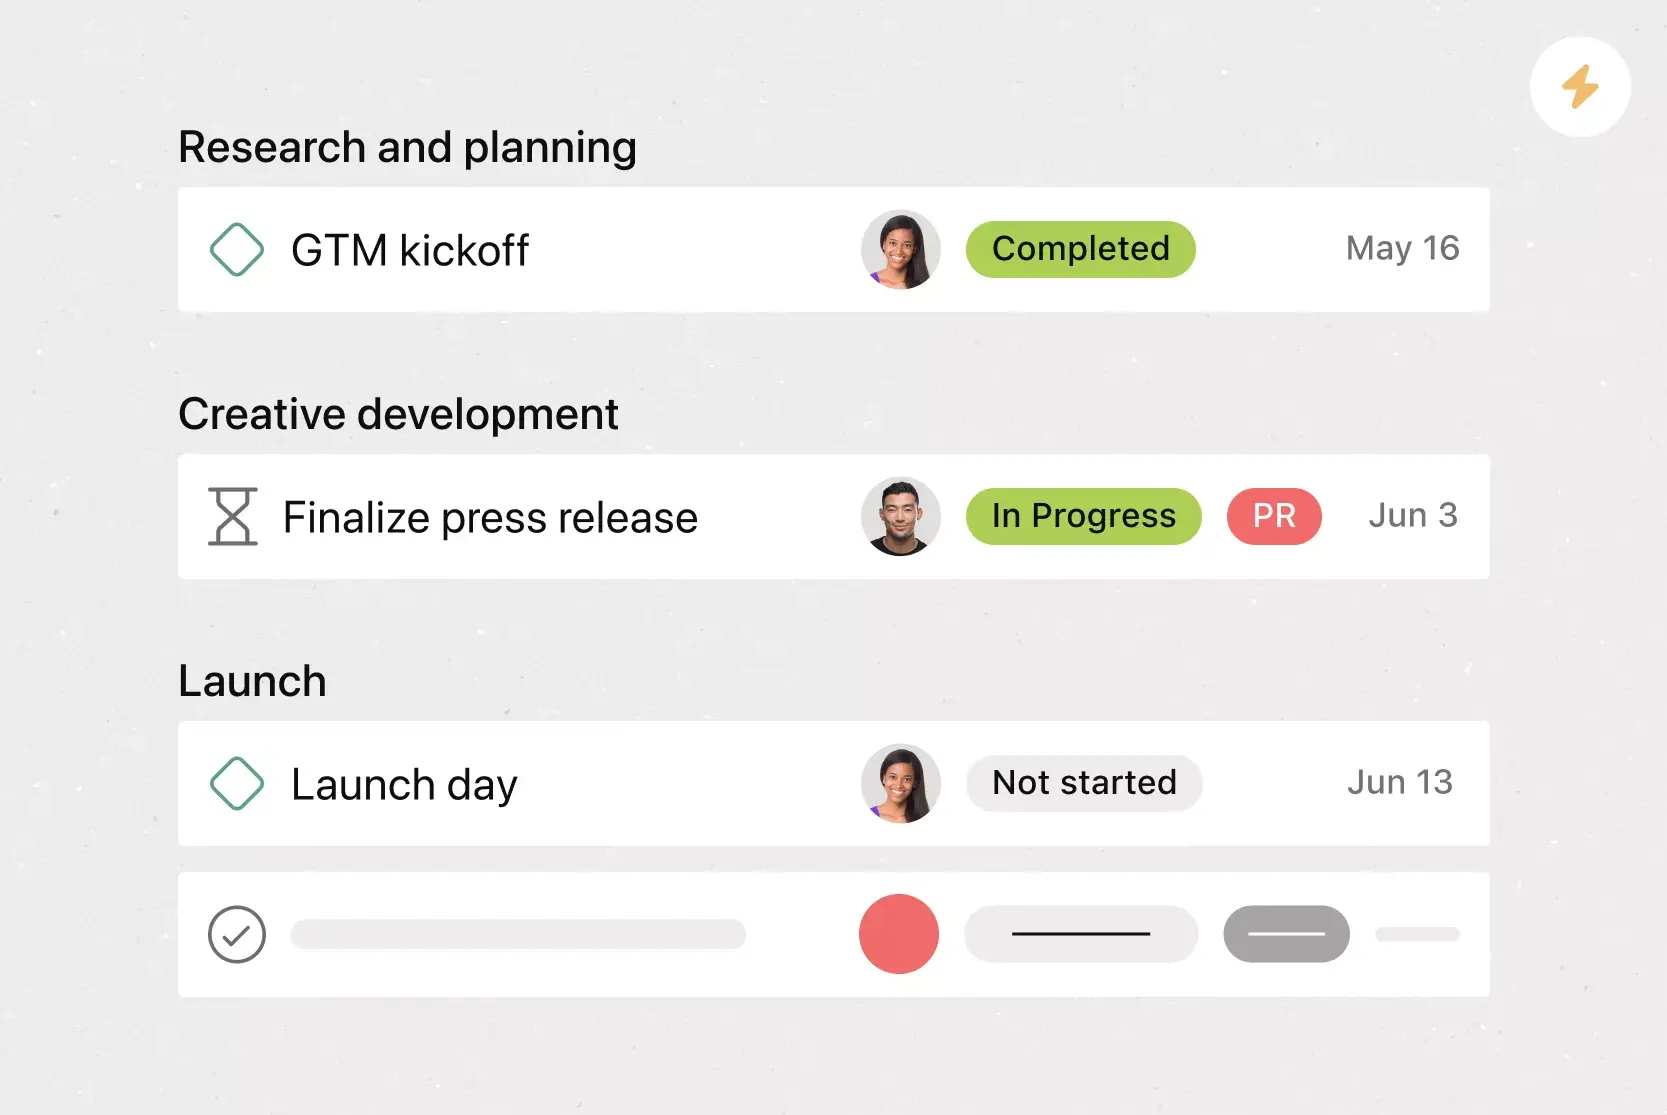
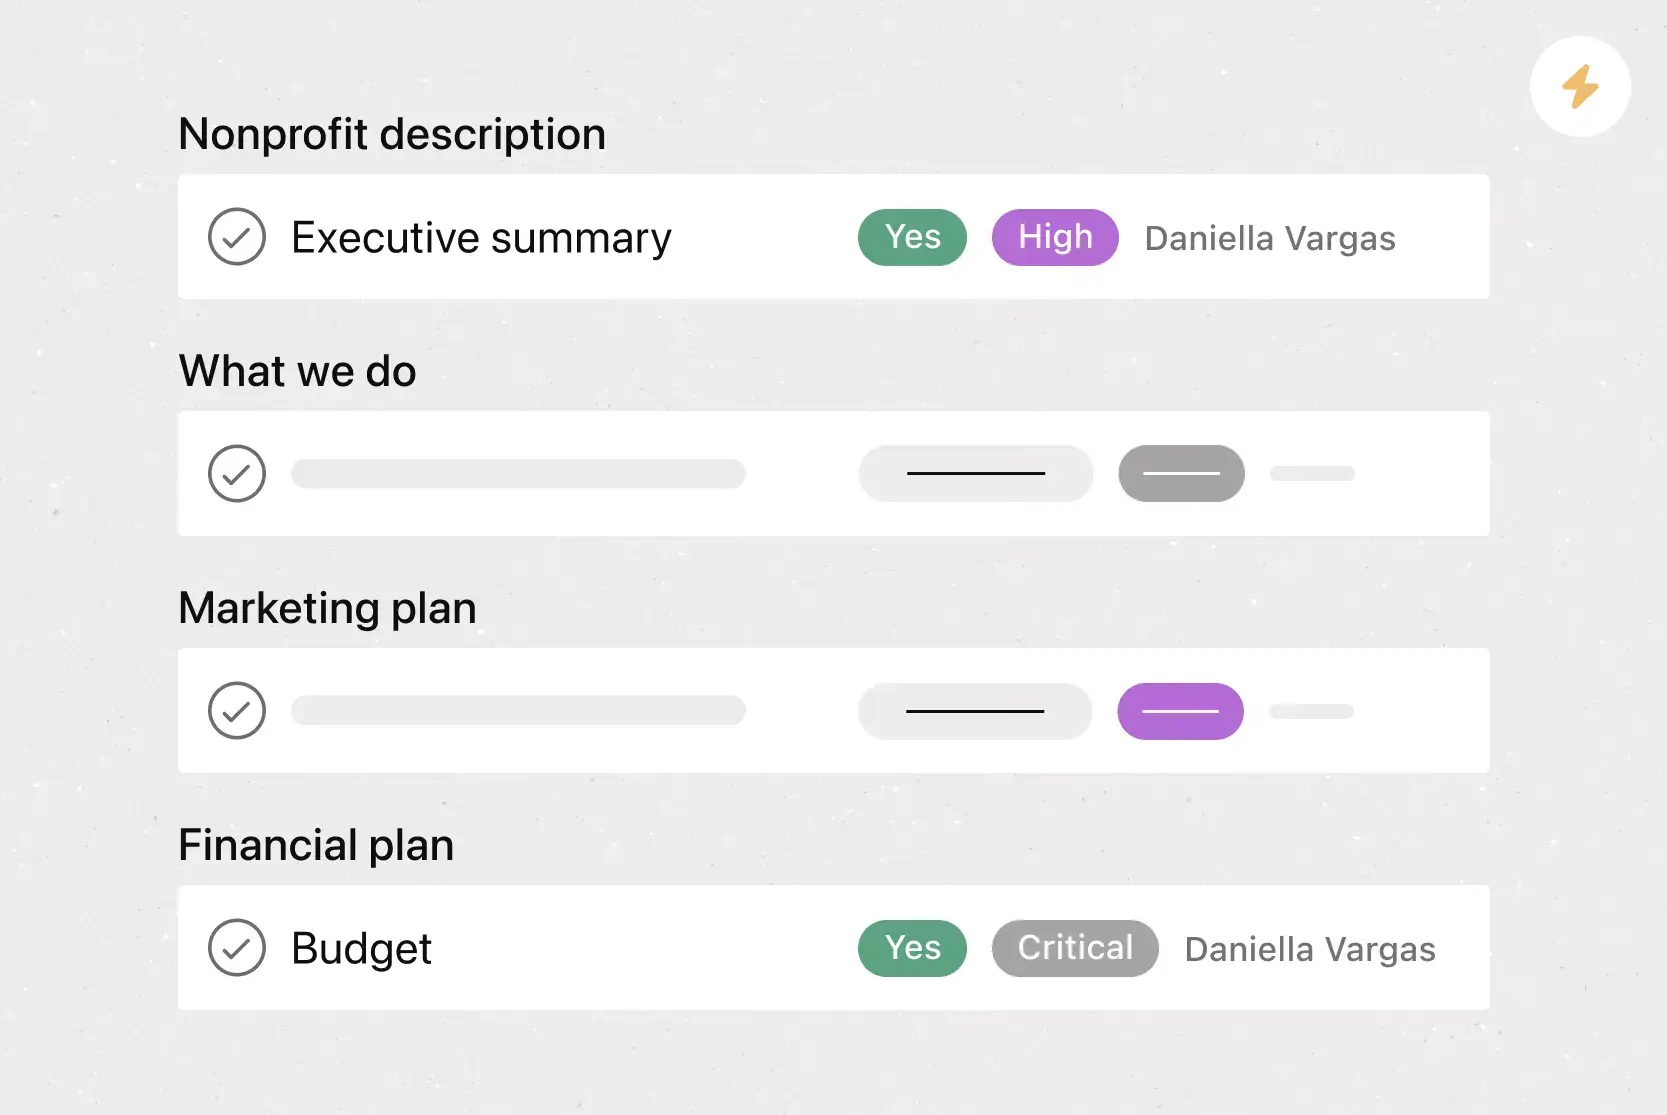
![[product ui] Project closure template in Asana, Gantt style project view (Timeline)](https://assets.asana.biz/transform/a848d701-9cb4-4dc1-aa49-ace9c572871d/TG23-web-hero-53-project-closure-static-2x?io=transform:fill,width:2560&format=webp)
What is a project closure template?
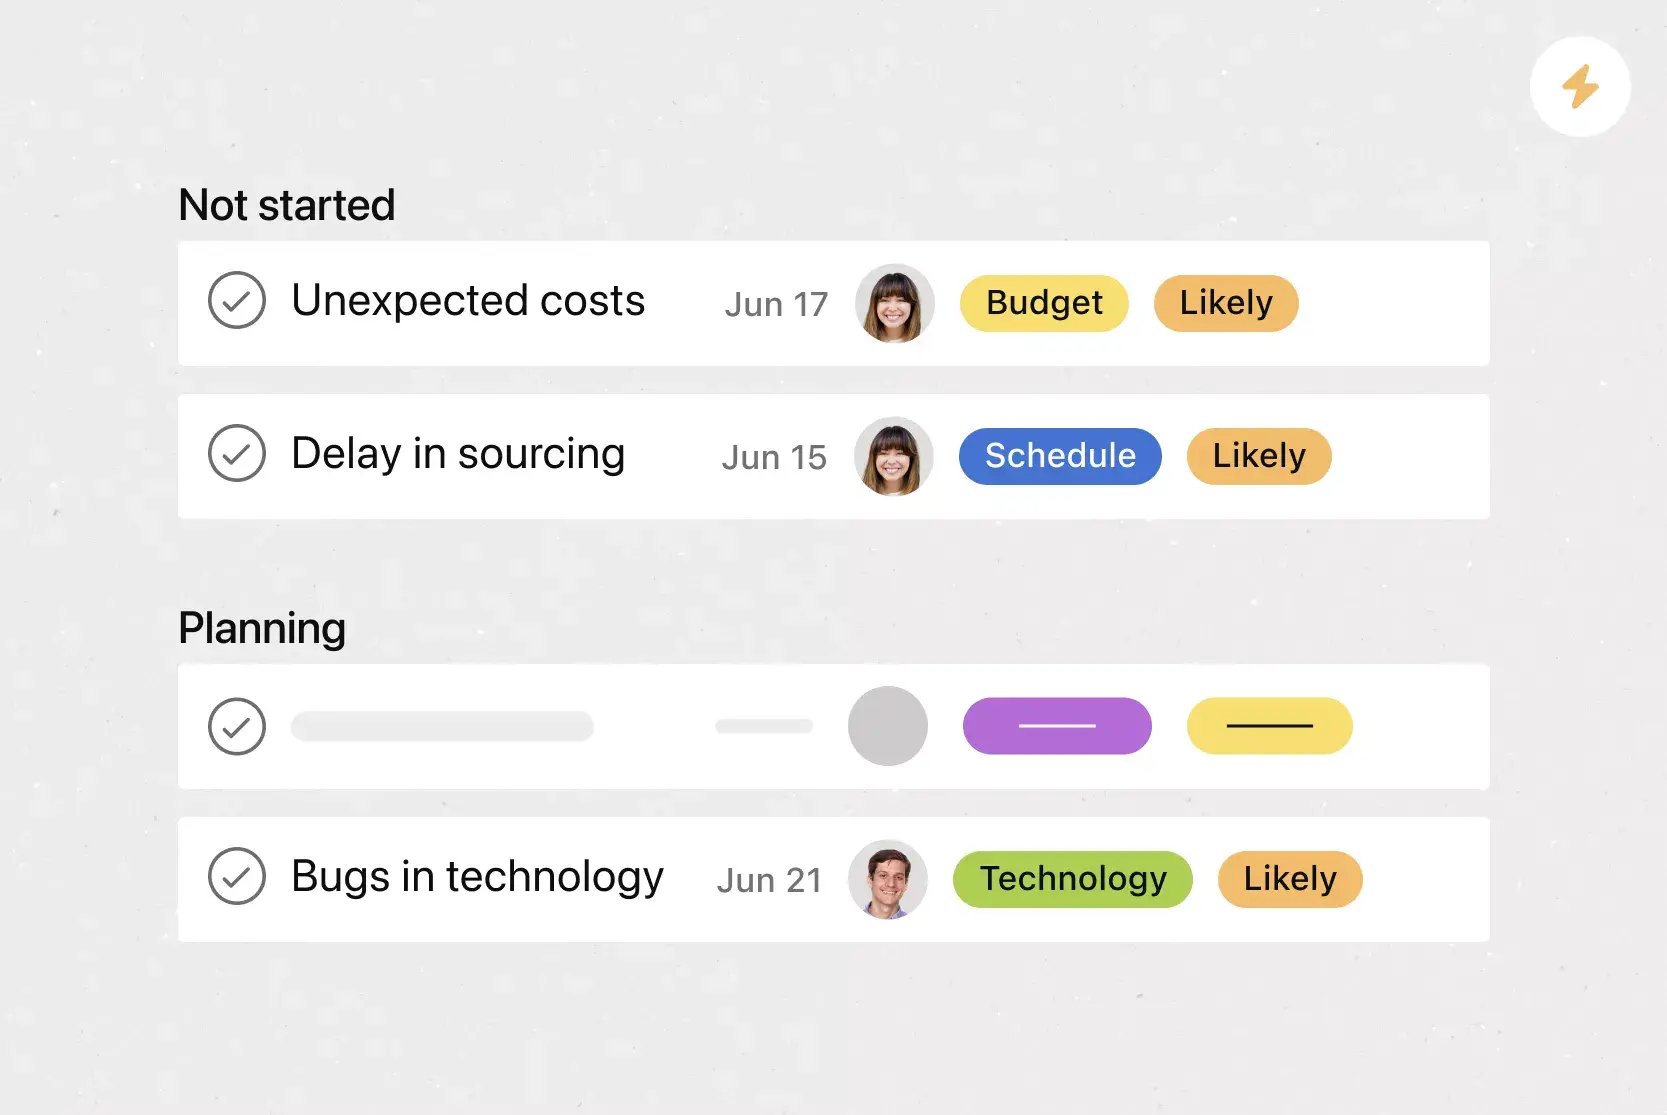
A project closure template is a reusable checklist that guides teams through finalizing tasks, verifying deliverables, and recording outcomes before a project officially ends. It helps you evaluate project success consistently, so you don't have to rebuild your closure process from scratch every time.
Create a project closure templateBenefits of digital project closure templates
A digital project closure template helps your team wrap up work in an organized, visible way, rather than scrambling at the end. Rather than relying on spreadsheets or siloed documents, you can track remaining tasks, approvals, and stakeholder feedback in one Asana project, so it's always clear what's done, what needs attention, and who owns each step.
With Asana's digital project closure templates, you can:
Ensure teams follow a consistent closure process to prevent missing important items.
Monitor final tasks, approvals, and milestones as the final project concludes.
Share progress with stakeholders without requiring additional project reports or status updates.
Visualize closeout with dashboards, such as Gantt charts or Kanban boards.
Store key documents, like project charters or project overviews, within tasks for easy reference.
Facilitate project handovers and knowledge transfers upon project completion.
Why project closure matters
It’s easy to jump to the next project as soon as one ends, but skipping the closure phase can cause problems later. Without a proper close, teams might lose important information, leave contracts unfinished, or bring unresolved issues into future projects.
A structured closure process helps your organization in several ways:
Preserves institutional knowledge: When you document what happened, including what worked and what didn't, that knowledge stays with the organization rather than leaving with individual team members.
Ensures accountability: Formal sign-offs confirm that stakeholders agree the project met its goals and that all deliverables have been accepted.
Reduces risk: Closing contracts, reconciling budgets, and verifying scope completion help you avoid financial surprises or legal exposure after the project ends.
Improves future projects: Teams that consistently close projects well learn from each experience and apply those insights to support continuous improvement in future work.
Frees up resources: A clear endpoint lets you reassign team members and reallocate budgets so nothing stays tied up unnecessarily.
In short, project closure isn't just an administrative checkbox. It's the step that turns a completed project into a lasting asset for your team.
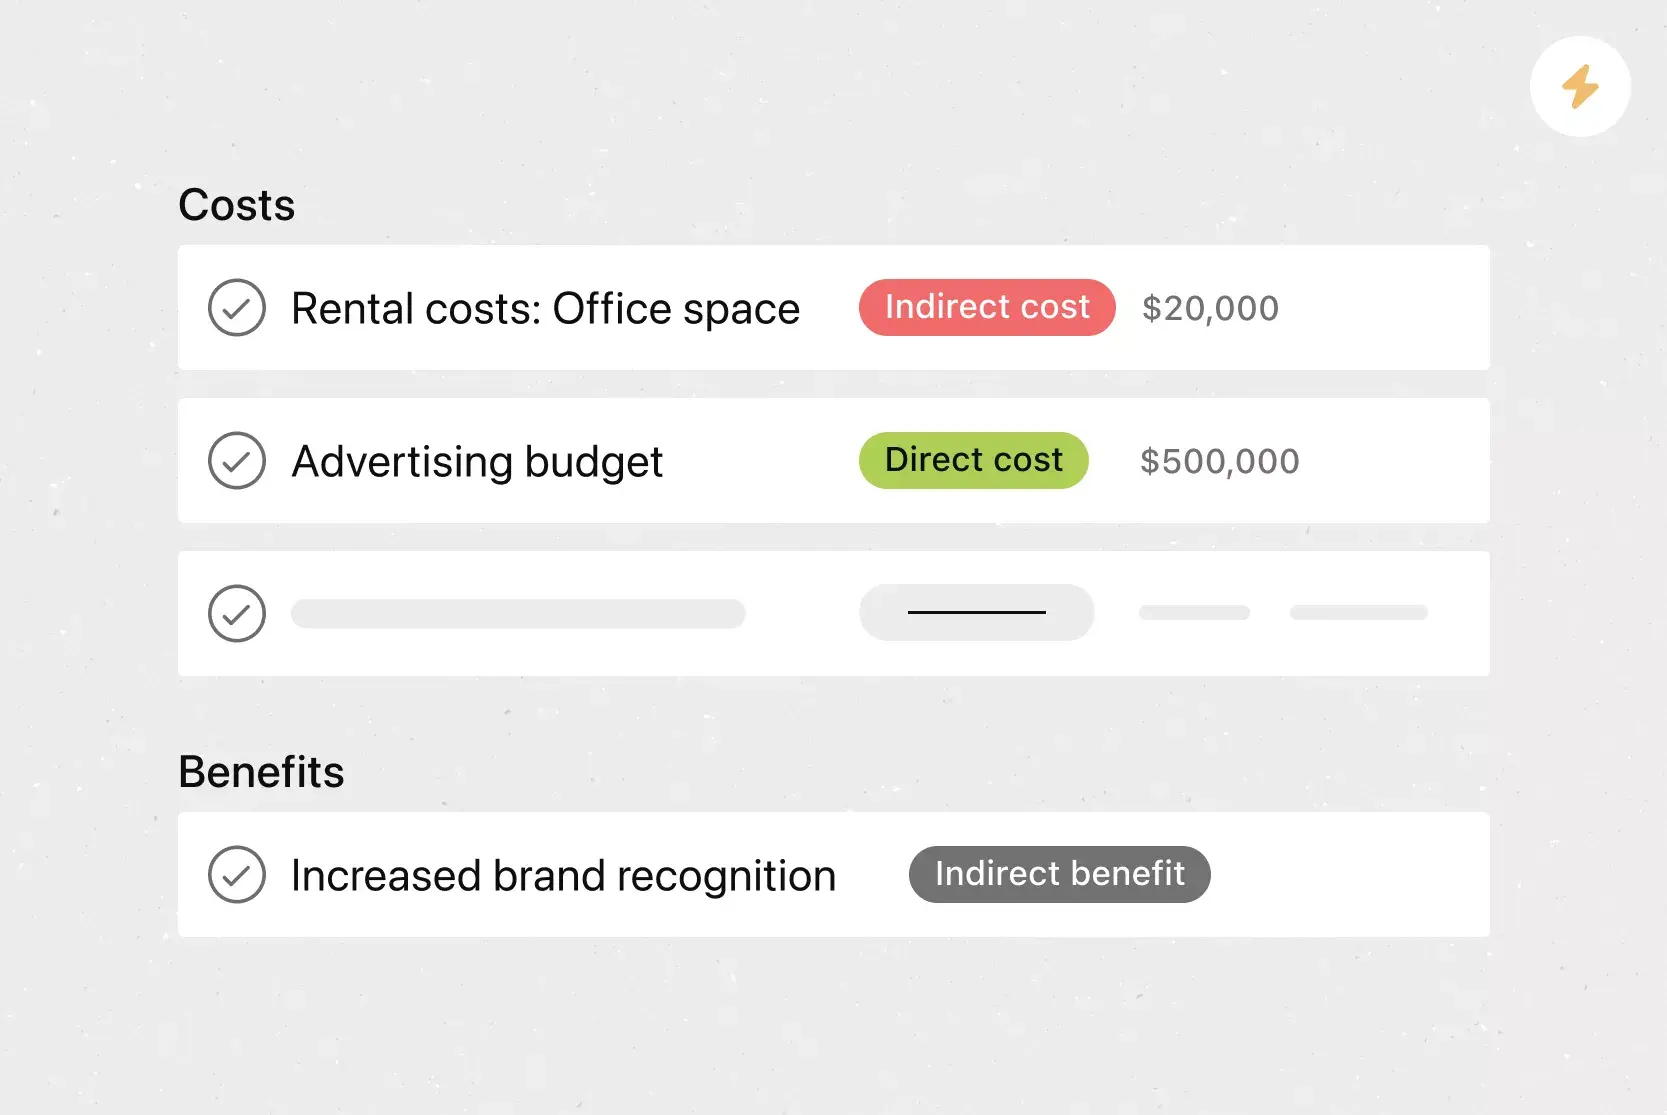
What to include in your project closure template
A well-designed project closure template enables teams to conclude work systematically, document outcomes, and prepare for future initiatives. It should guide the review of planned versus actual results, capture key decisions, and ensure the project ends with a shared understanding.
Your project closure template should include:
Project name: A clear identifier to ensure closure records are easy to reference, especially for future project tracking.
Project plan review: A summary comparing the original project plan to actual delivery, noting any changes from the baseline.
Budget summary: A final budget comparison of planned and actual spending, highlighting any significant variances.
Project outcomes: A brief summary of results, goals achieved, and overall value delivered.
Sign-offs: A section to record final approvals from project owners and key stakeholders.
Post-mortem notes: Reflections on successes, challenges, and lessons learned to apply in similar projects.
Handoffs: Follow-up project deliverables and any remaining action items you need to assign after your project is complete.
By capturing these elements in a project closure report, teams preserve project context and position themselves for more efficient execution in future projects.
Integrated features
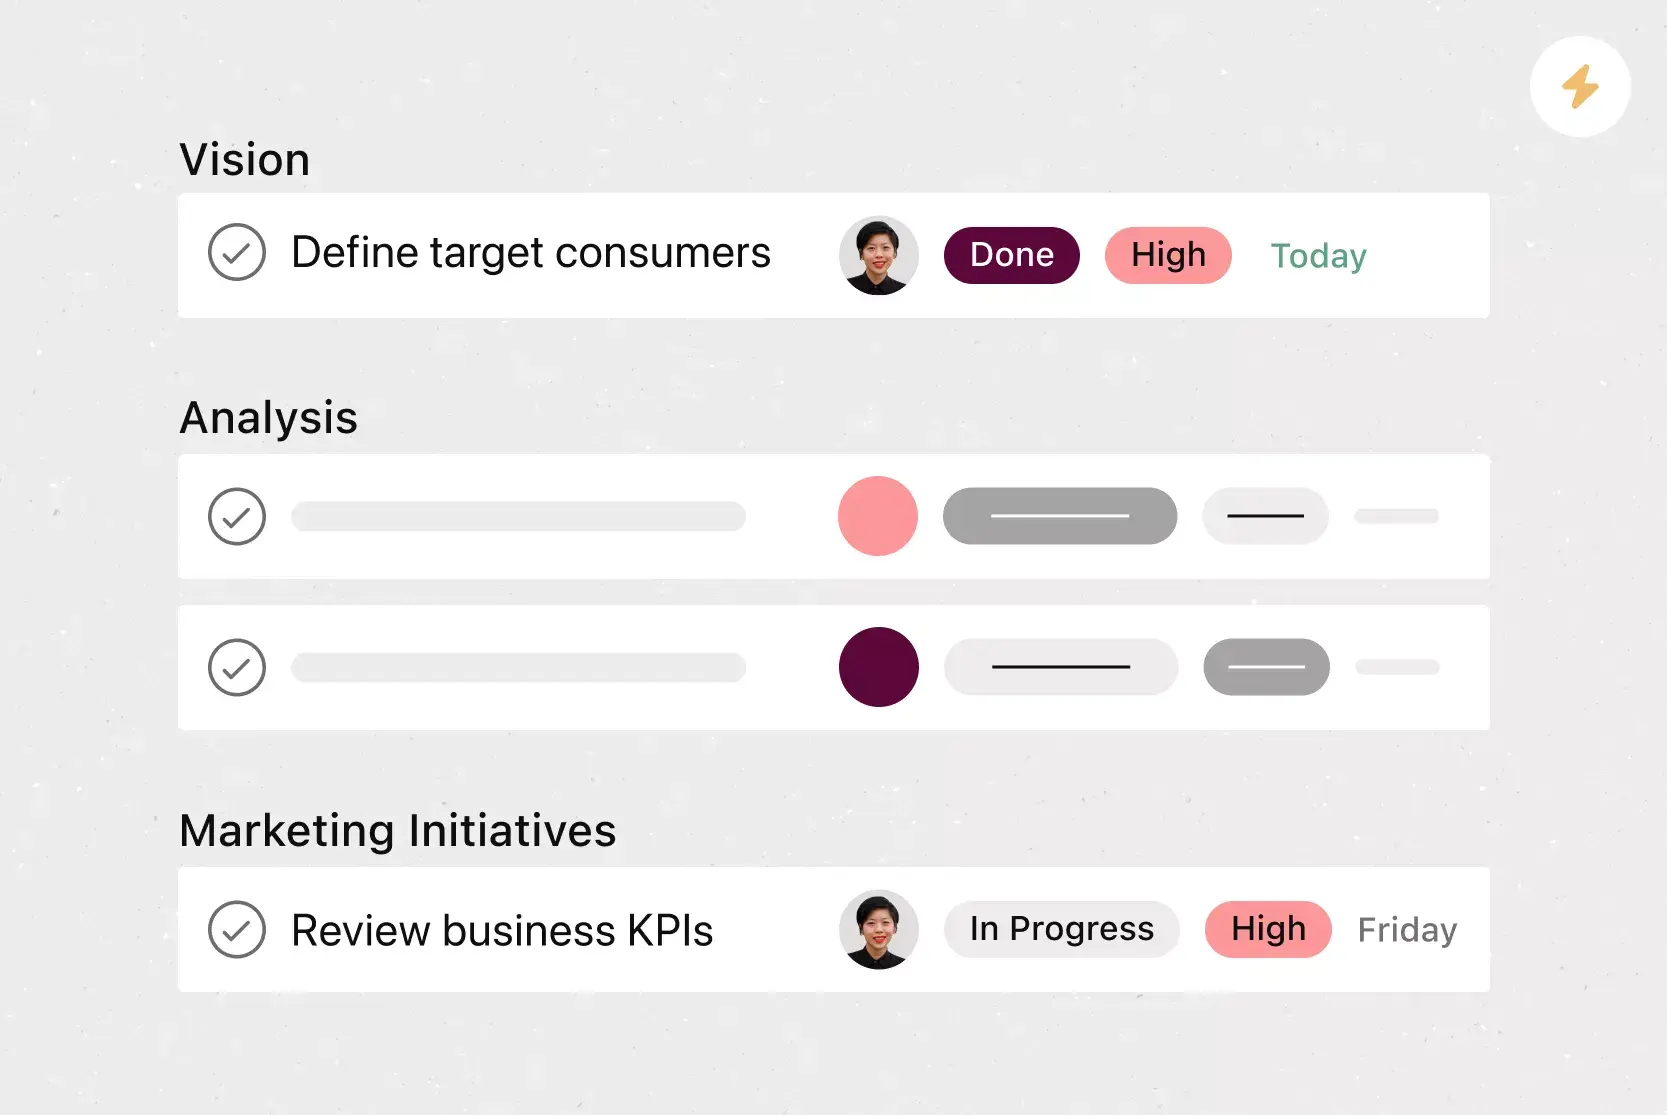
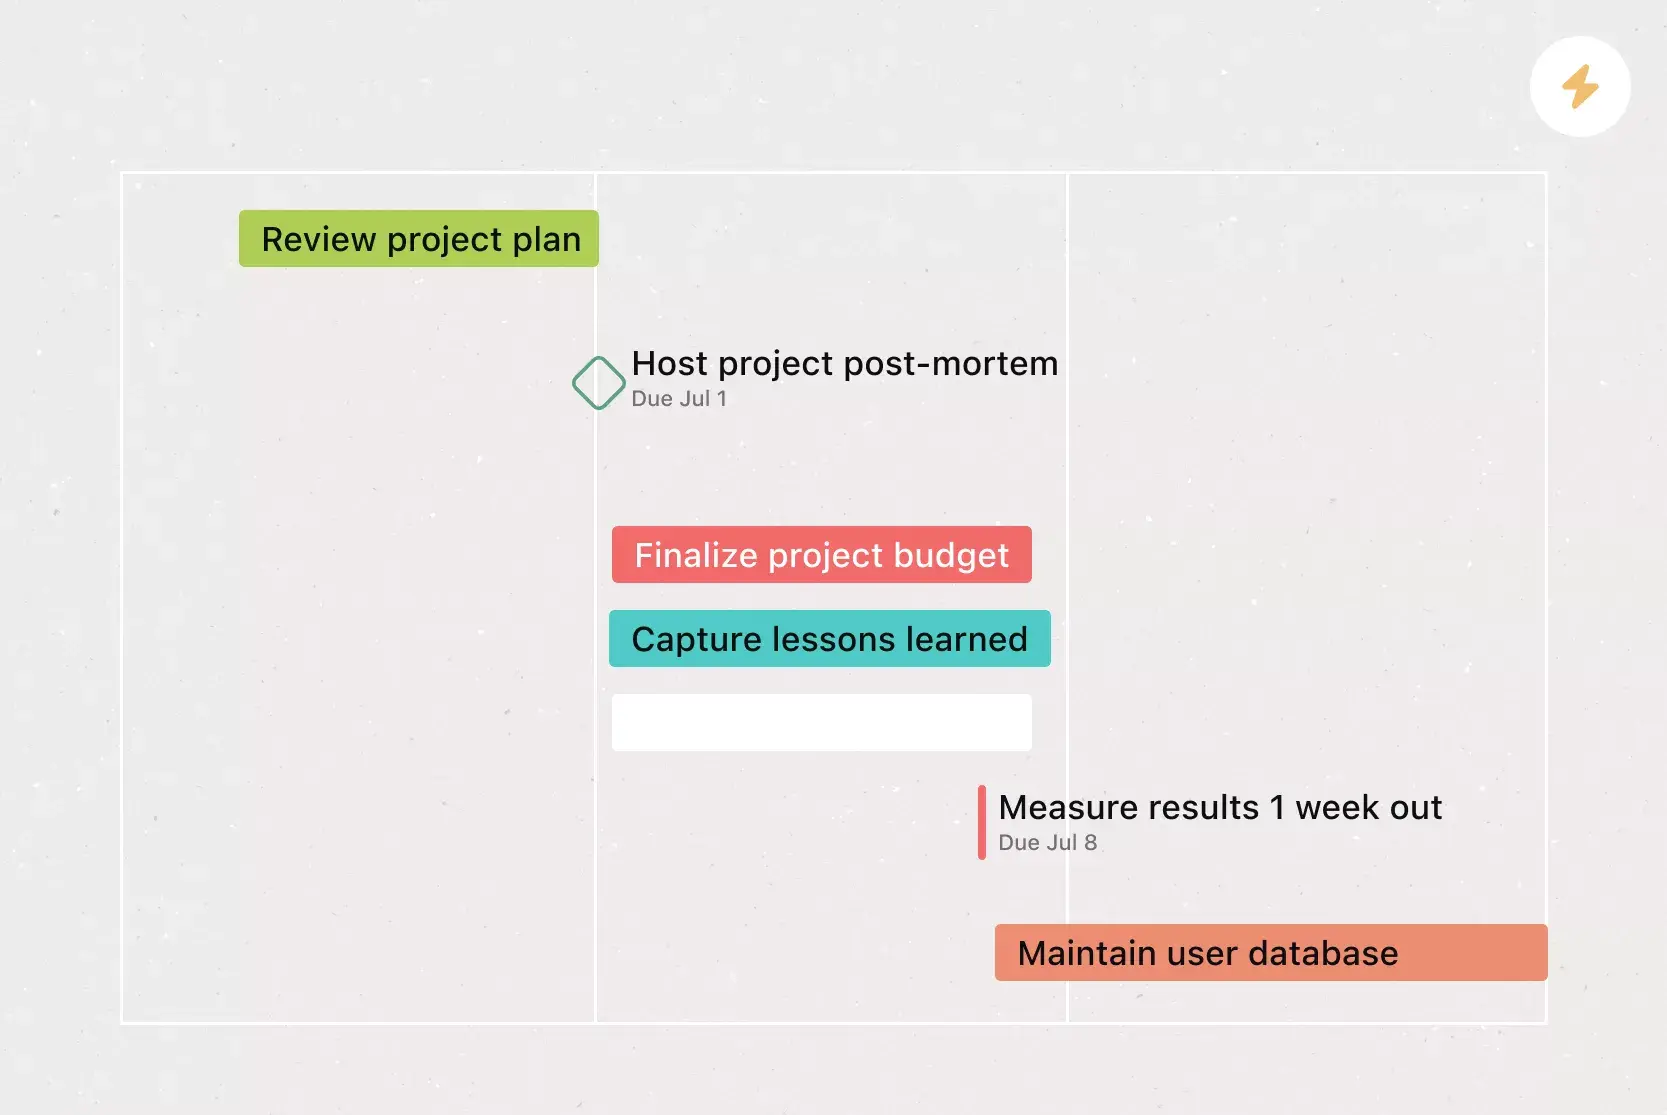
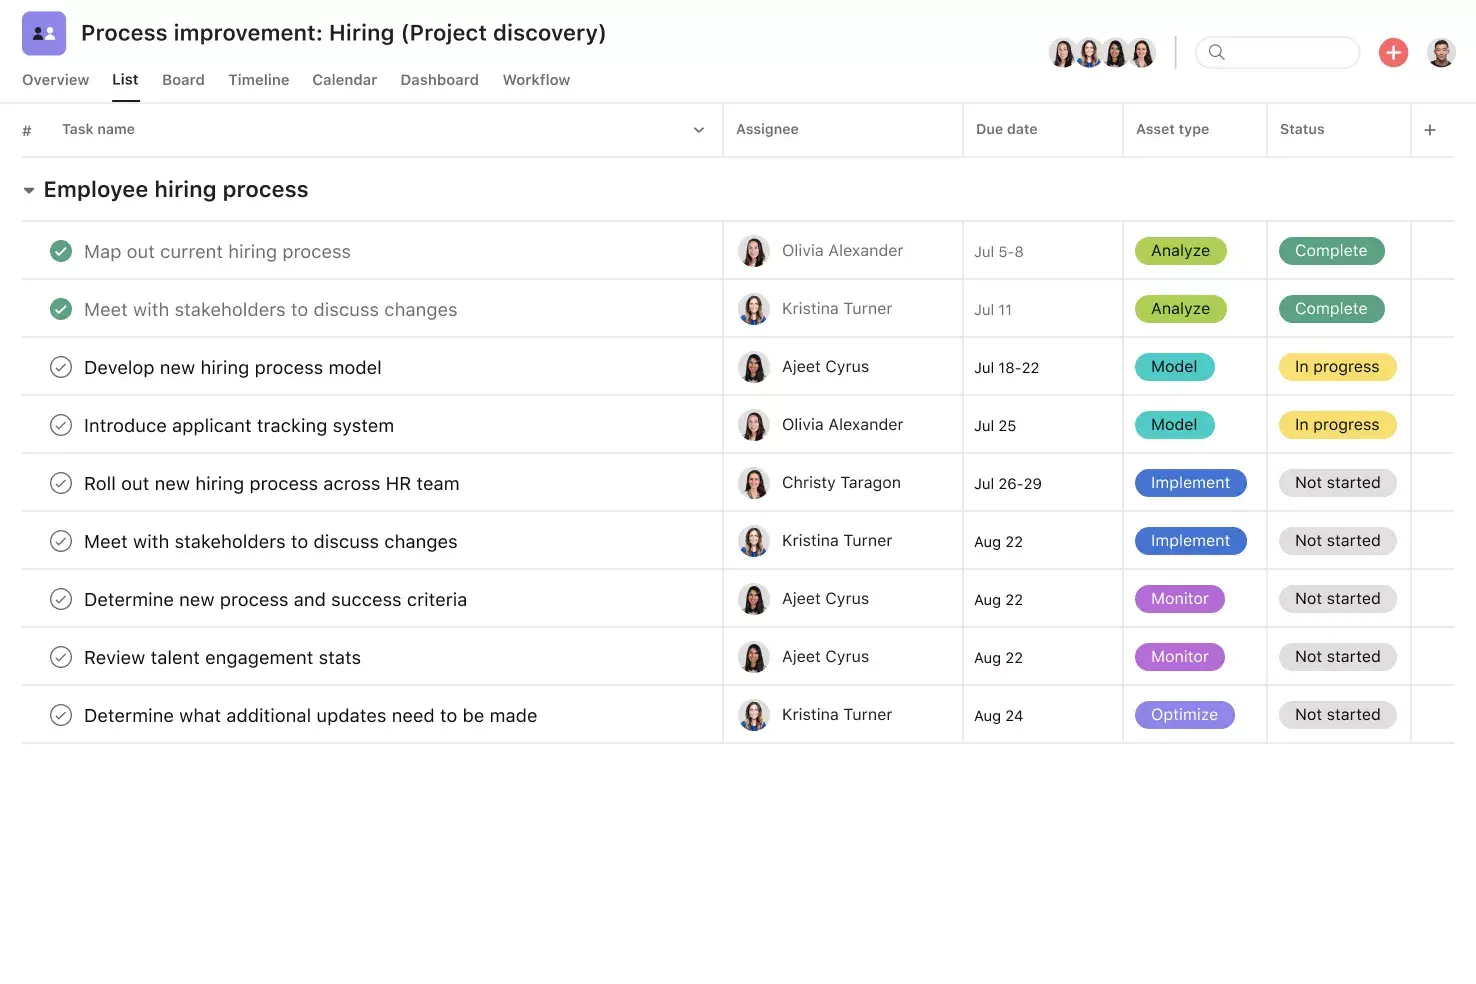
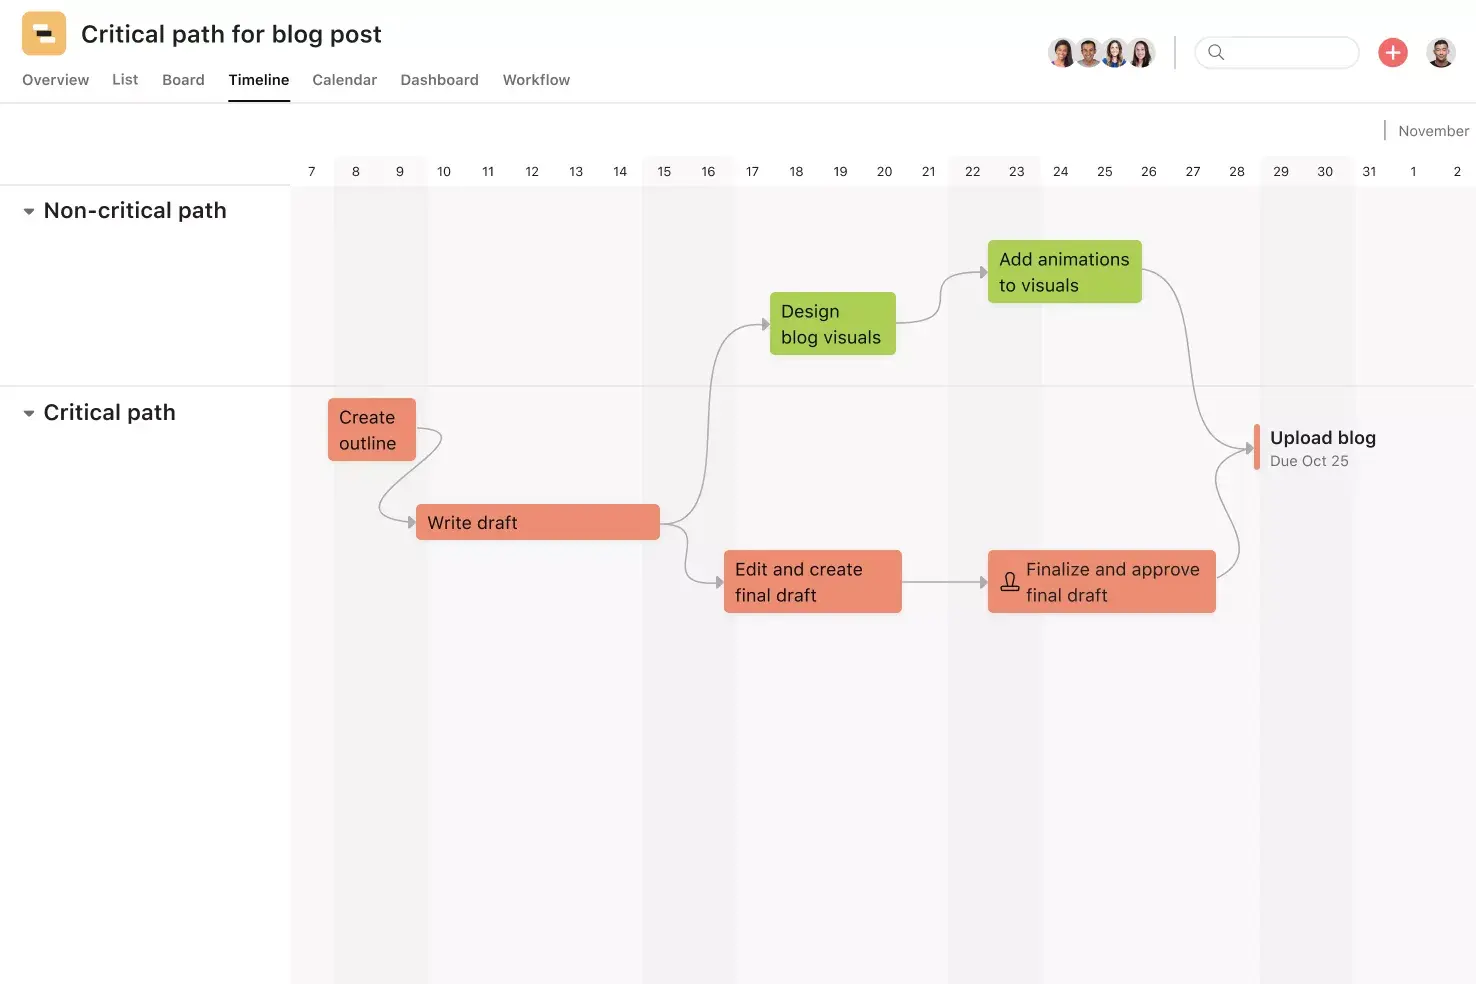
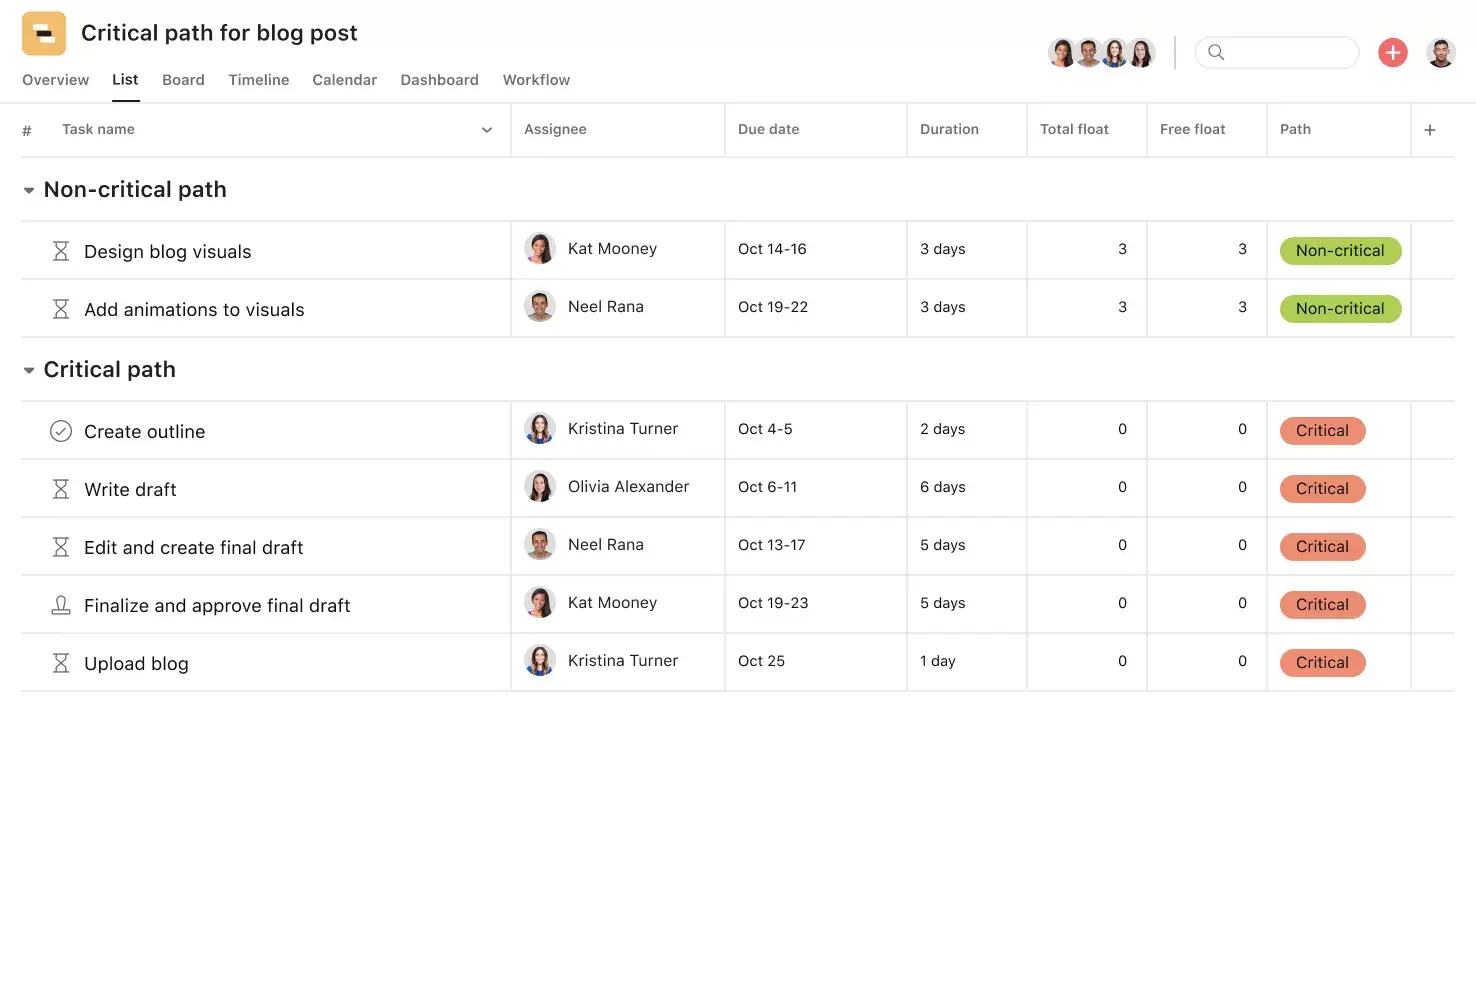
Timeline View. View tasks on a Gantt-style timeline with start and end dates, as well as dependencies, to help teams identify conflicts early and maintain project schedules.
Approvals. Request explicit approve, reject, or revision decisions on deliverables, so owners know exactly what to do next.
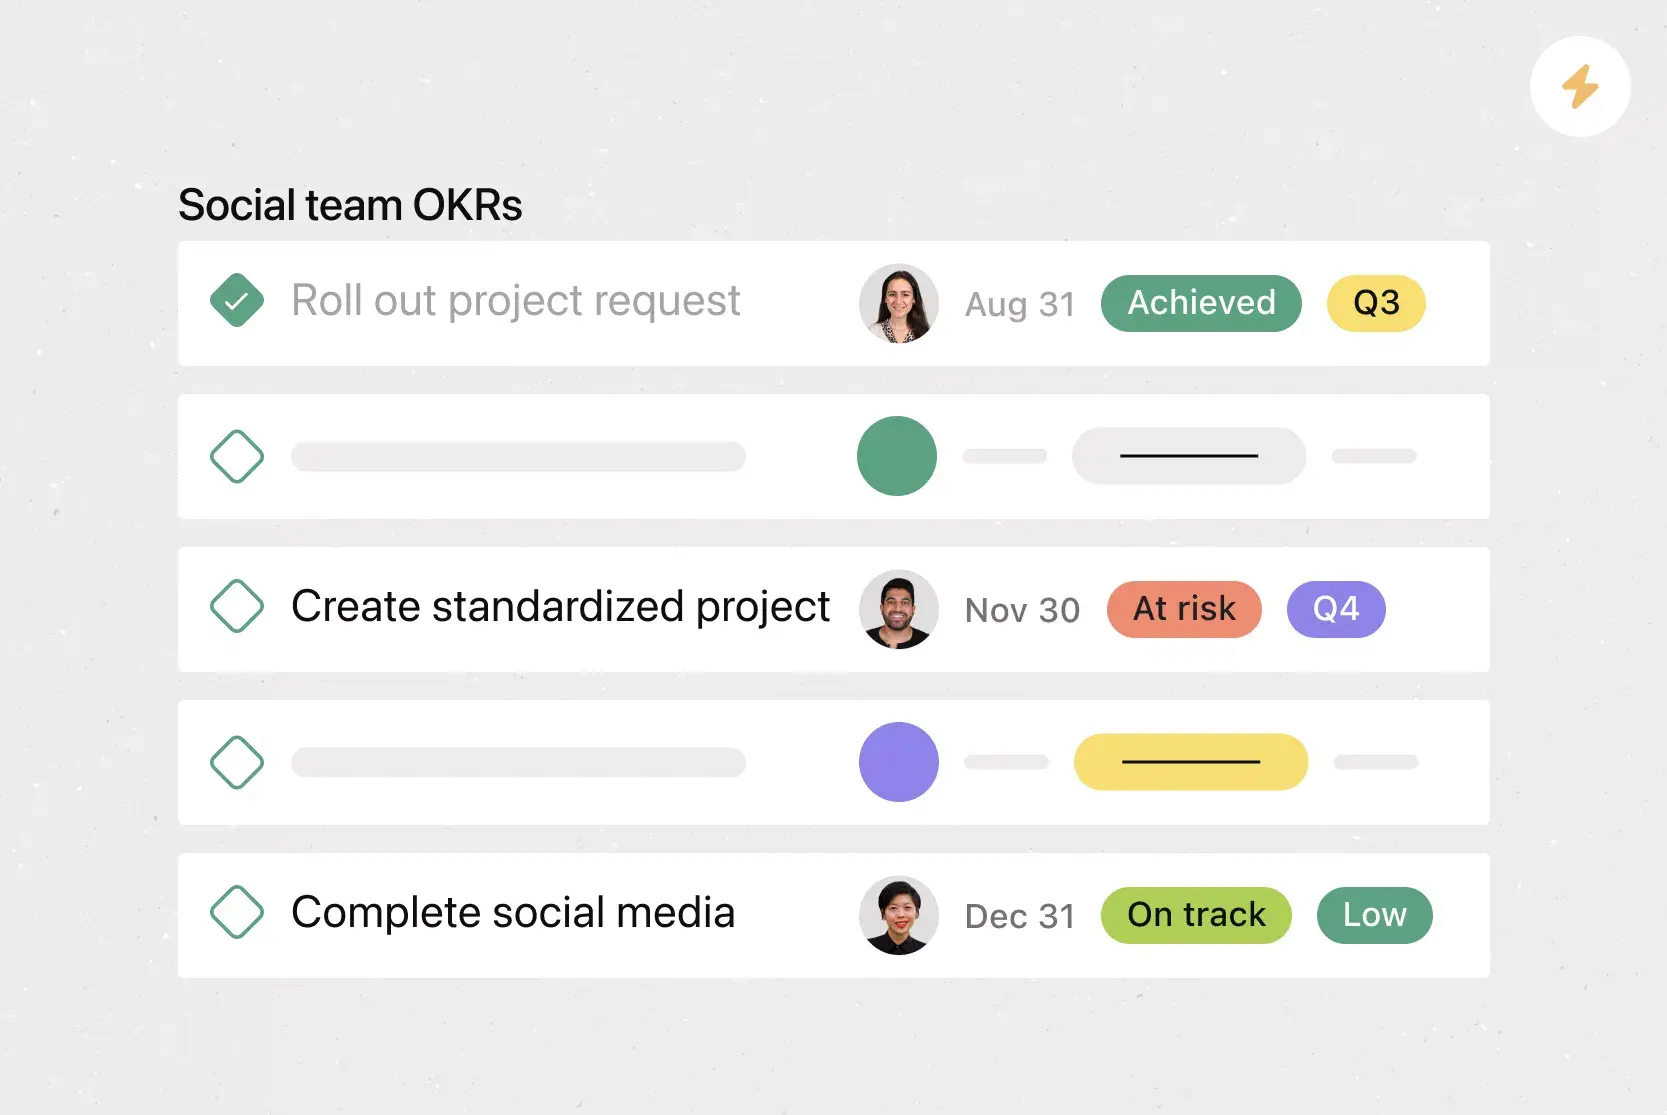
Milestones. Define key checkpoints to track progress toward goals and keep teams and stakeholders aligned on timelines.
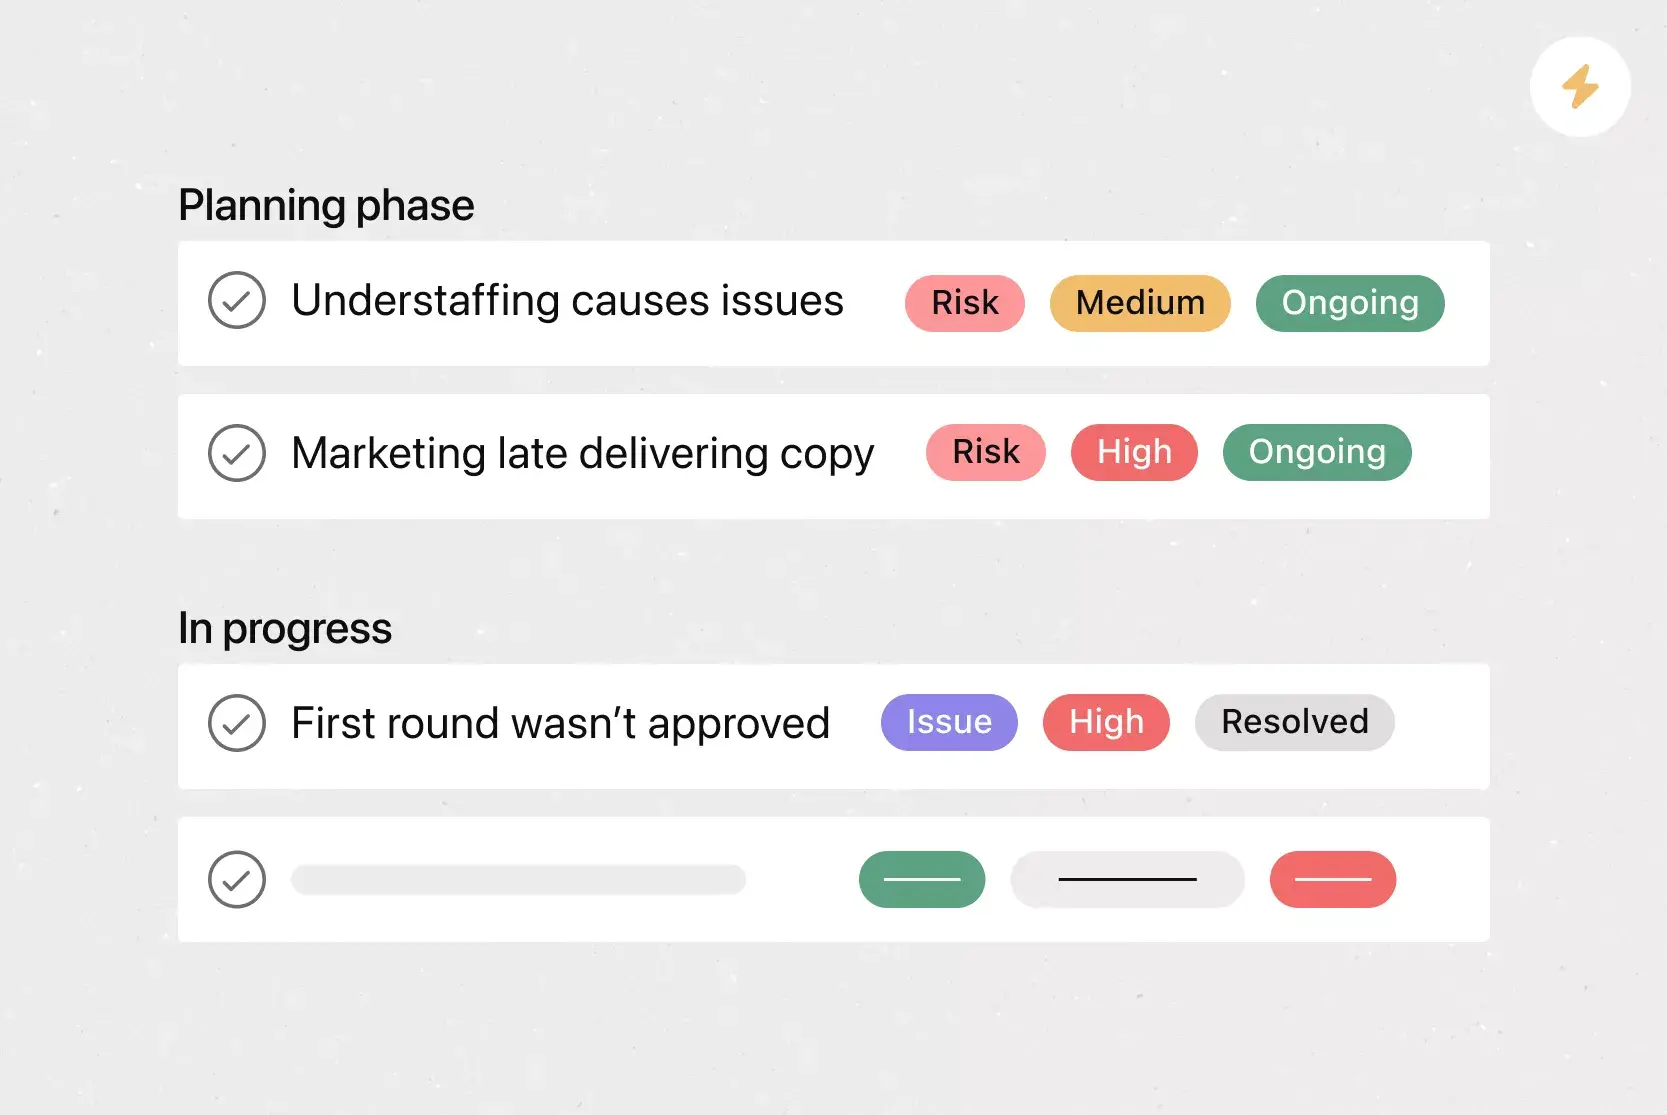
Custom fields. Tag and filter work by priority, status, or other criteria, enabling teams to organize tasks and focus on critical items.
Recommended apps
Google Workplace. Attach Drive files to tasks using the integrated file picker.
Salesforce. Connect sales, service, and delivery teams by creating trackable tasks and sharing information across systems.
Hubspot. Automatically trigger tasks based on CRM activity to ensure seamless handoffs when deals or tickets close.
Jira. Connect business and technical work by creating and tracking Jira issues directly from Asana.
How to close a project in 7 steps
It’s one thing to know what goes in your template, but actually using it is another step. Follow these steps each time to close any project.
1. Verify scope and deliverables
Before you begin closing the project, confirm that all requirements have been met and every deliverable is complete.
Cross-reference your scope: Compare your original project scope with the scope that was actually delivered.
Document changes: Record any approved scope changes that occurred along the way so nothing slips through the cracks.
2. Obtain stakeholder sign-off
Present your completed deliverables to stakeholders and request formal approval. This sign-off confirms that the work meets expectations and officially transfers ownership of the final output. Use Asana's Approvals feature to route requests and track decisions in one place.
3. Close contracts and vendor agreements
Review all vendor contracts and third-party agreements tied to the project. Confirm that all obligations have been fulfilled, process final payments, and formally close out each contract. This protects your organization from unexpected costs or disputes after the project ends.
4. Reconcile the project budget
Compare your planned budget to actual spending and document any significant variances.
Process remaining invoices: Verify that all costs are accounted for and finalize payments.
Create a financial summary: This record is invaluable for estimating costs on future projects.
5. Conduct a lessons learned session
Gather your team for a post-mortem meeting to discuss what went well, what didn't, and what you'd do differently next time.
Be specific: Focus on actionable takeaways rather than general observations.
Document everything: Record these lessons learned so future project teams can build on your experience.
6. Archive project documentation
Store all project records, including plans, reports, contracts, and communication logs, in a centralized location for future reference. In Asana, you can attach key files to tasks or use integrations like Google Workplace to keep everything organized and accessible.
7. Release resources and celebrate
Formally reassign team members, return any shared equipment or tools, and update resource plans so your organization knows who's available for new work. Just as important, take a moment to recognize your team's efforts. Celebrating wins, no matter the project size, builds morale and sets a positive tone for the next initiative.
Start managing projects with Asana
A project closure template makes it easier to finish your work without confusion. When you make closure part of your team’s routine, you keep important knowledge, improve accountability, and help future projects succeed.
With Asana, you can create reusable project closure templates, track final tasks and approvals, and keep your entire team aligned through the last step. Ready to bring more clarity to how your team finishes work? Get started with Asana today.
Create a project closure templateFAQs about using project closure templates
What are the 7 steps to closing a project?
How do you write a project closure?
Do I need a project closure template?
When should I create a project closure template?
Who should I share my project closure template with?
Related templates

![[Templates] Product Roadmap (Card image)](https://assets.asana.biz/transform/2728edf4-eb35-4dd5-8d03-25ba8cbe5864/TG23-web-thumbnail-028-scrumban-feature-static-2x?io=transform:fill,width:2560&format=webp)


Create templates with Asana
Learn how to create a customizable template in Asana. Get started today.