
Stensul + Asana
Dramatically reduce email creation time by sending Stensul email drafts to Asana.
What is Stensul?
Stensul is an agile email creation platform built for the enterprise. Stensul dramatically reduces email creation time by up to 90% to help teams focus on improving email performance. With the Stensul Email Creation Hub, teams launch campaigns faster by streamlining the collaboration process and simplifying creation for all marketers, so they can build emails that drive results.
With the Stensul + Asana integration, users can create email drafts in Stensul and send them to Asana. Email drafts from Stensul are sent to existing tasks as a comment in a specific Asana project. Stensul can connect with multiple Asana user accounts, allowing a proof to be sent under a specific Asana user.
How to connect Stensul + Asana?
Before connecting this integration, make sure you have existing Asana and Stensul accounts.
Set up in Asana
- Navigate to the Asana developer console in your Asana instance.
- Click Create new app.
- The newly created app will auto-generate a Client ID and Secret that will be used in Stensul to authenticate your account.
- Add a name for the integration.
- Add the following redirect URL (substitute your Stensul instance name where applicable):
https://[Instance Name].stensul.com/auth/integrations/oauth-session/asana
Set up in Stensul
Note that only Stensul Admins can access integrations.
- Navigate to Stensul's integration page on the admin panel:
https://[Instance Name].stensul.com/admin#/integrations/available - Locate "Asana" and select "Connect" to connect a new Asana integration instance.
- Enter a name to later identify the integration.
- Enter the Client ID (auto-generated in Asana in the steps above).
- Enter the Secret (auto-generated in Asana in the steps above).
- Select "Save."
- After saving, you will be redirected to
https://[Instance Name].stensul.com/admin#/integrations - Select the "Configure" tab of the newly created integration and log in to your Asana account as directed.
- Select the Asana workspace from the dropdown and select "Save."
- Navigate to the Stensul Library where you want to use the Asana integration:
https://[Instance Name].stensul.com/admin#/libraries - Locate the library and select "Edit."
- In the Library, toggle the "Enable Workflows" field on.
- In the dropdown menu, select the respective Asana integration instance(s). You can add multiple instances to each library if applicable.
- Select "Save" to confirm your updates.
Using the integration
- In Stensul, create an email using the library with the enabled Asana integration.
- When ready, in the email builder, select "Send for Review" and then "Send outside Stensul."
- An upload modal will appear with the Asana integration(s) that have been installed.
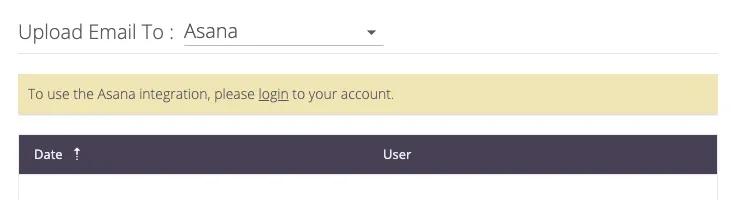
- Log in to your Asana account when prompted.
- Once logged in, the modal will populate with the supported fields to send the email to Asana.
Learn more and get support
To learn more about using the Stensul + Asana integration, visit Stensul.
If you have questions, feedback, or need support, visit the Stensul contact page or email the Stensul support team.
Asana does not endorse or certify apps built by third-party developers. If you encounter inappropriate content or behavior, please report it here. Otherwise, please contact the app developer for support.
Collaborate effortlessly with Asana
From the small stuff to the big picture, Asana organizes work so teams know what to do, why it matters, and how to get it done. It's free to get started, simple to use, and powerful enough to run your entire business. Learn more about Asana today.