Project templates
- Skip Ahead to
- Enhancements to project templates
- Creating a project using project templates from an existing Project
- Setting project dates for a custom template
- Customizing your template
- Project roles
- Template settings
- Creating a project from scratch using project templates
- Deleting a template
Overview
Custom templates can save your team a significant amount of time by allowing you to create standardized projects to streamline your workflow. Our enhanced project templates builder allows for you to see at a glance all elements and aspects of your project template and those of your team.
The new project templates will allow you to create custom, reusable templates to help your team kick off new projects in a matter of seconds.
Through the ability to now create project templates from scratch, you can tailor their associative tasks, collaborators and timelines to your liking.
Learn how to save time and standardize processes with custom templates. Join our Creating basic workflows in Asana webinar now.
Creating a project using project templates from an existing project

- Click on the arrow icon next to the project title
- Click on ‘Save as template’
From here, you can name your project template and share it with your team. You can also tailor the privacy settings for the template to be shared with your team, give your team edit access or make it private to project members. Once this is done, click Create a new template.
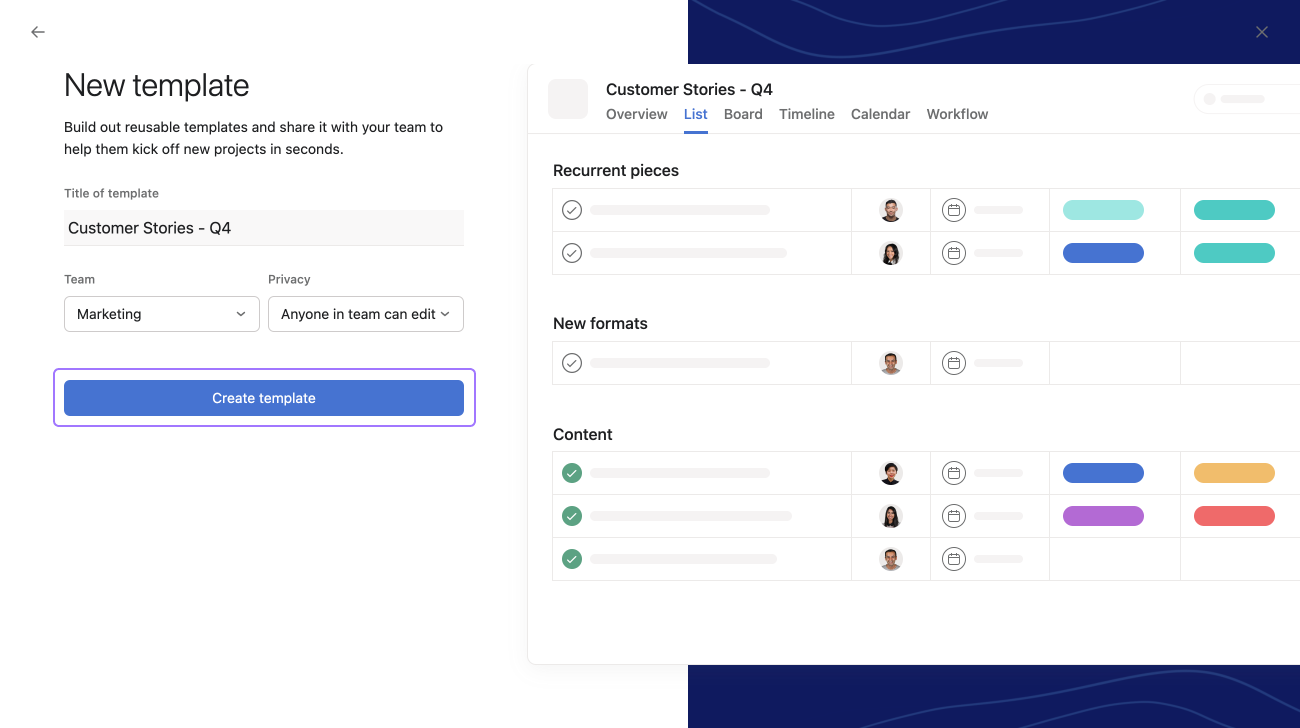
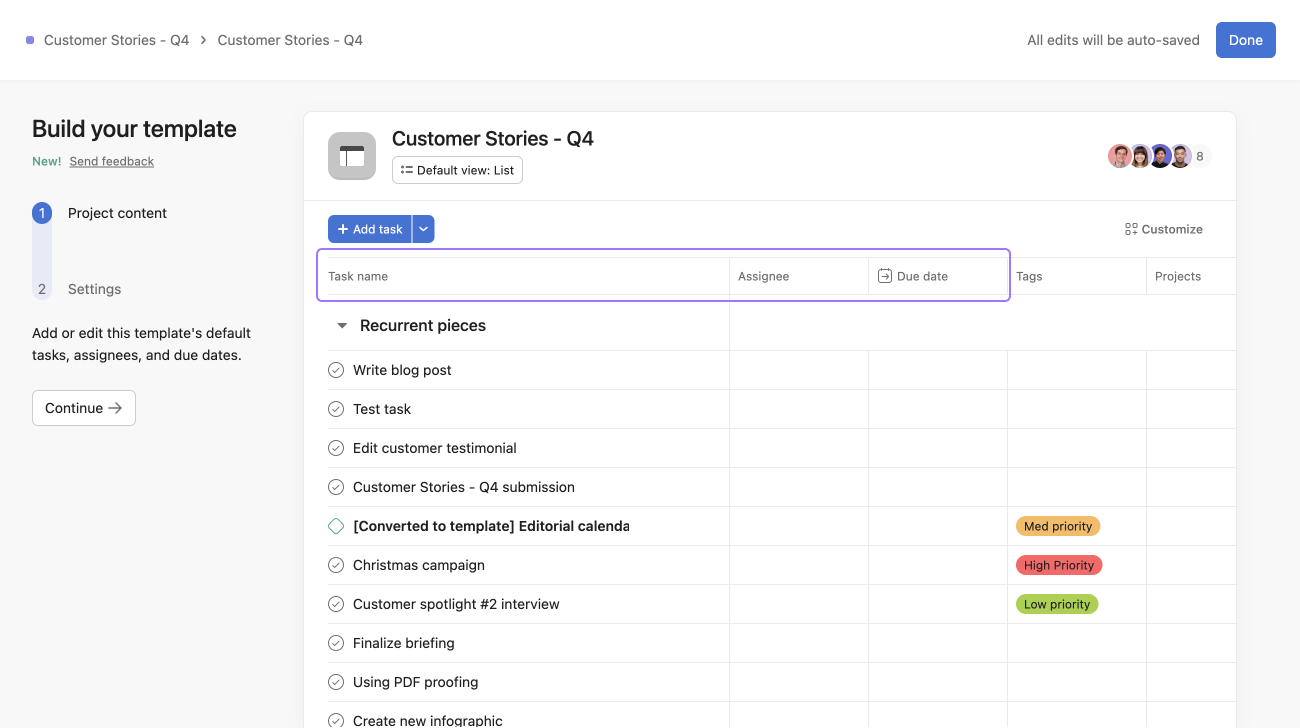
Your template will now be generated, allowing you to start to build and tailor it to your needs.
Setting project dates for a custom template
Dates within project templates are relative. This makes it easier to track tasks by showing how many days apart they are from either the start date or the end date of the project.
Dates within project templates are now relative to the start date or the end date of the project created from the template.
Navigating to the date picker will let you set start dates and/or end dates when creating your project template within which Asana will schedule all associated tasks. Only relative dates (e.g 3 days after the project has started) will be displayed within this picker.
Setting the reference date

When setting a schedule you can:
-
Either choose From project start date to make all task dates relative to the start date of the project when it’s created from the template.
-
Or choose From project due date to make all task dates relative to the due date of the project when it’s created from the template.
You also have the option to not include dates or to skip weekends.
Once you have chosen dates, you will also have the option to click on the Add time in the bottom left-hand corner of the date picker screen. This will automatically prompt you towards a due time with a corresponding start time.
Customizing your template
Templates can be tailored and customized by navigating to the Customize tab in the right hand corner of the template.

From here you will be able to customize by fields, forms, task templates and rules.
Additionally, you have the option of adding, editing or deleting any field of your choice. Once you have decided on the task dates and custom fields, click on Continue to the left of your project template.
Assigning tasks in a project template will not show up in the assignee’s My tasks.
Learn how to save time and standardize processes with custom templates. Join our Streamline work webinar now.
Project roles
You can now add roles to project templates. Roles create placeholders which automatically assign tasks to the right teammate when the template is used. Project roles are available with an Asana Business or Enterprise subscription.
Adding roles to a project template:
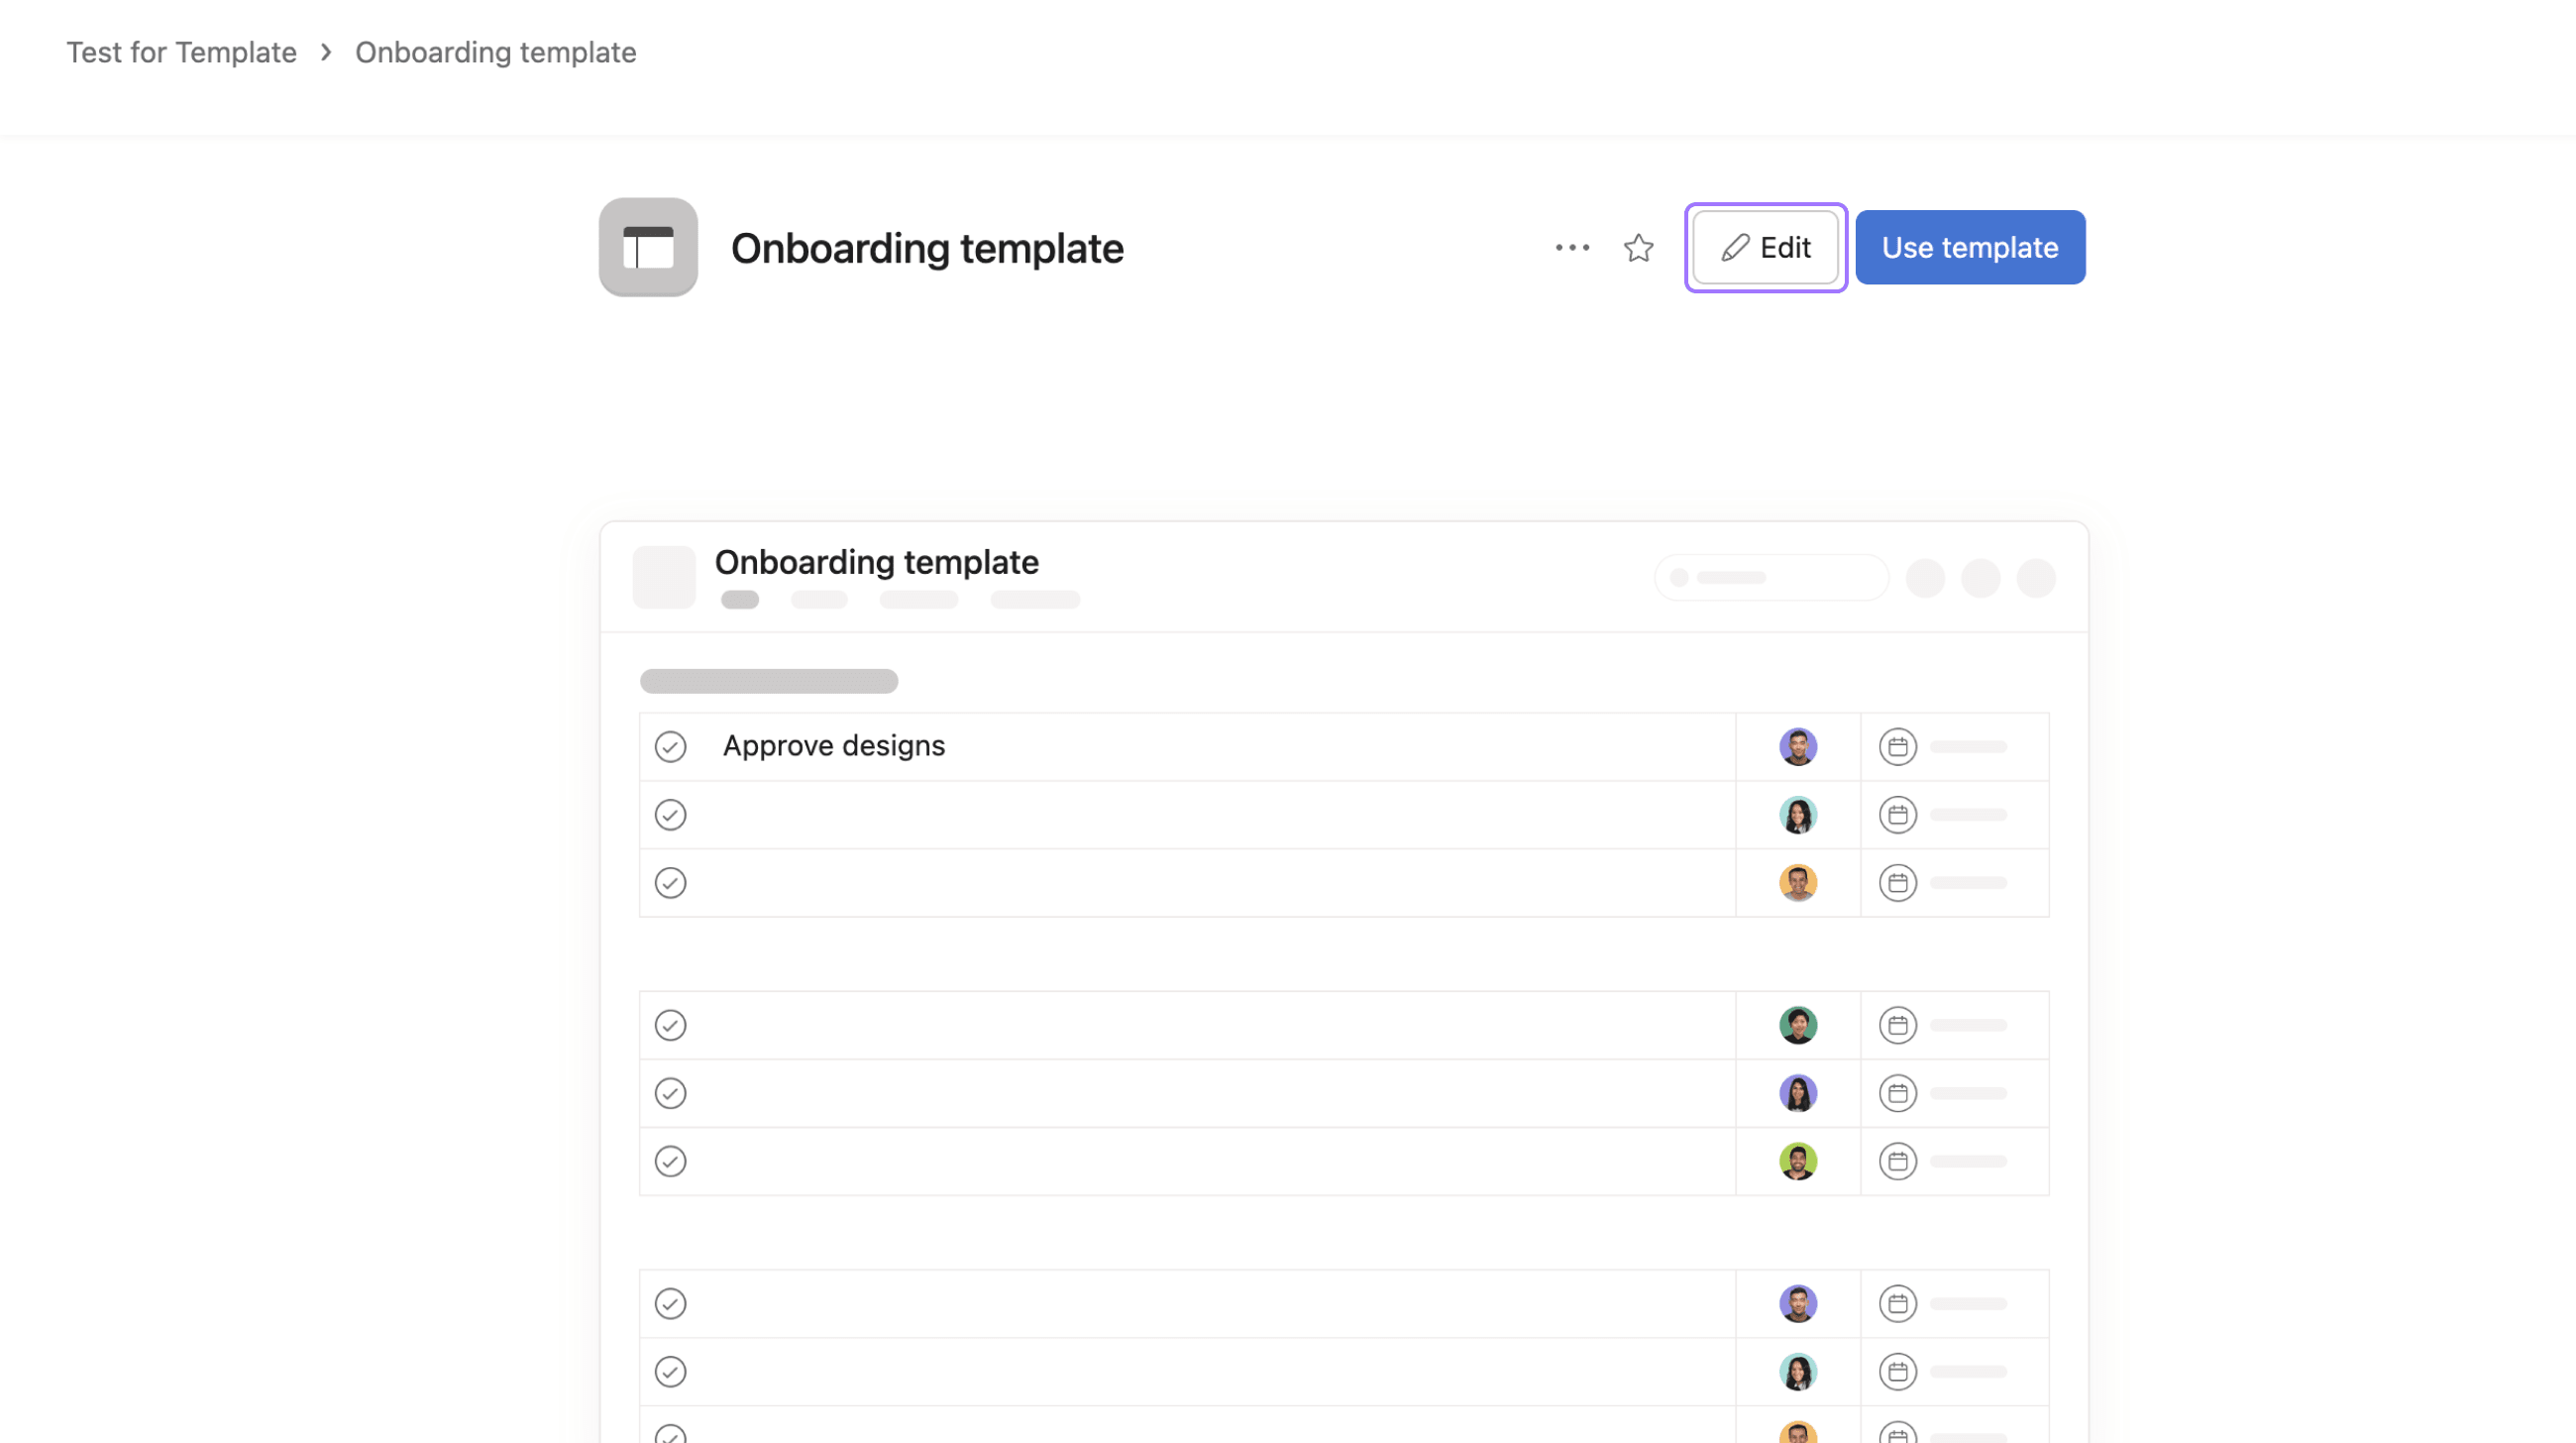
To add a role to a project template, firstly create a new project template or click Edit in the top-right corner of an existing template.
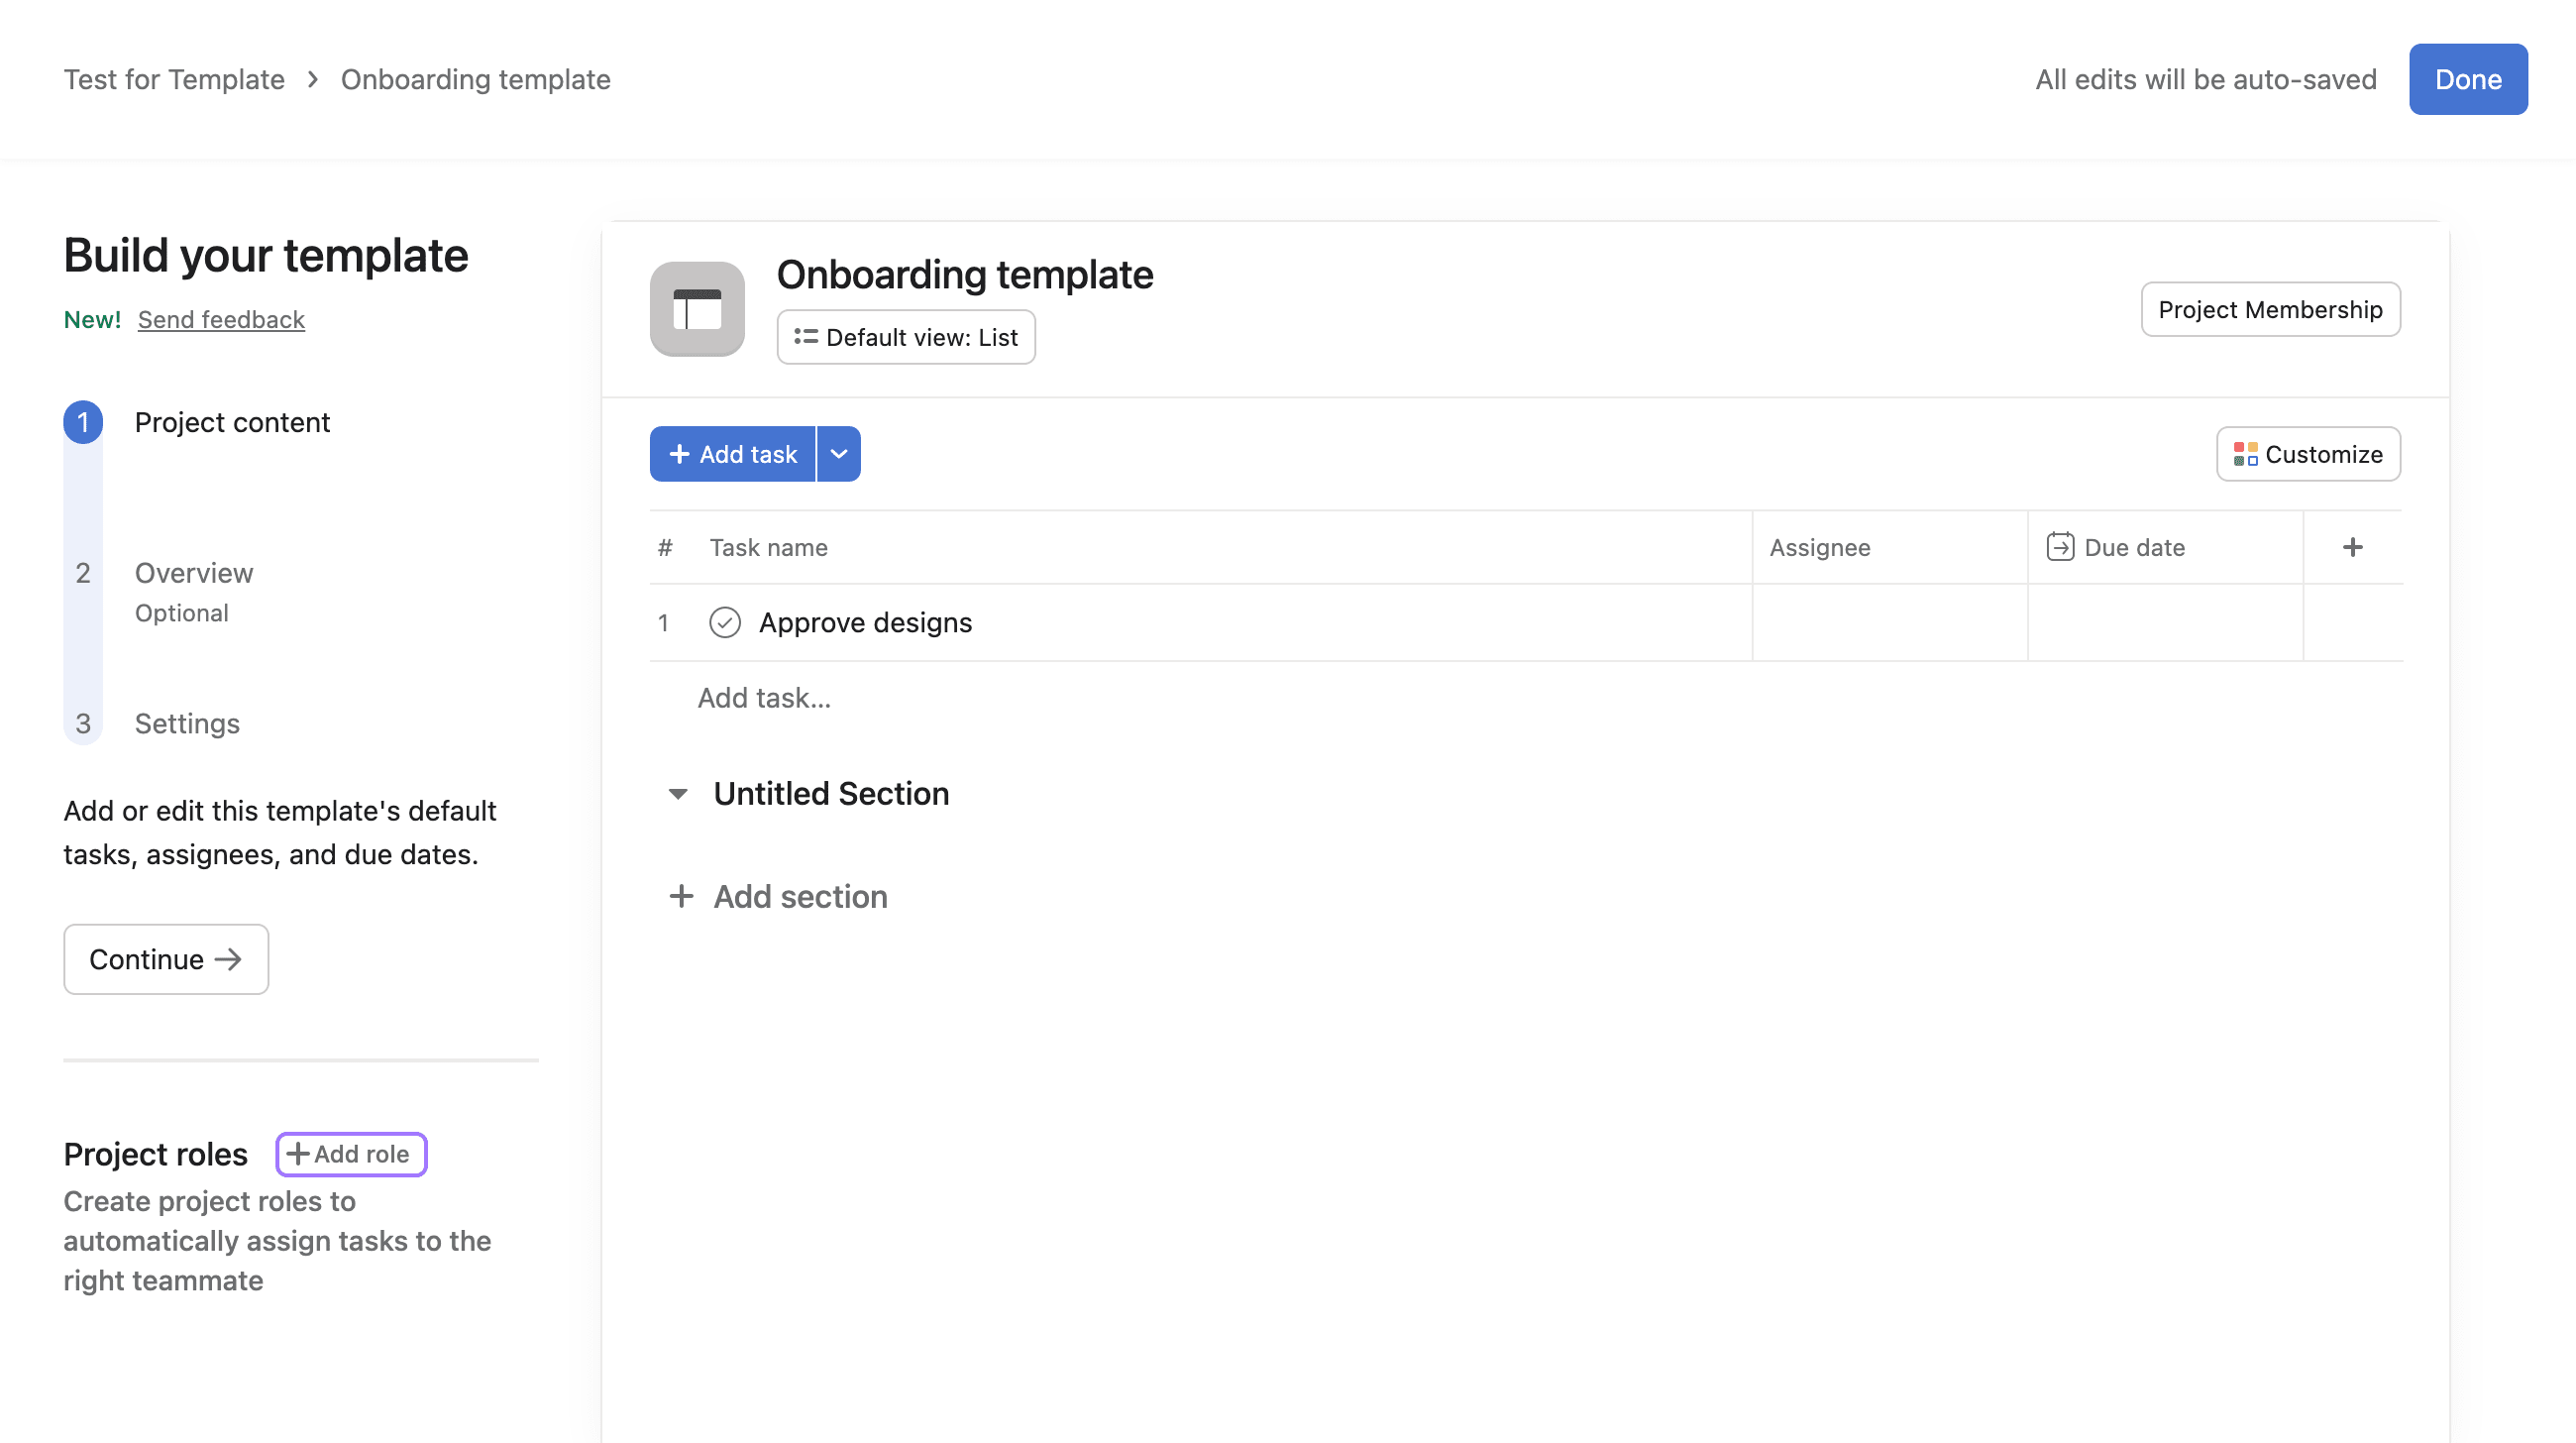
Click the + Add role button in the sidebar to begin adding project roles.
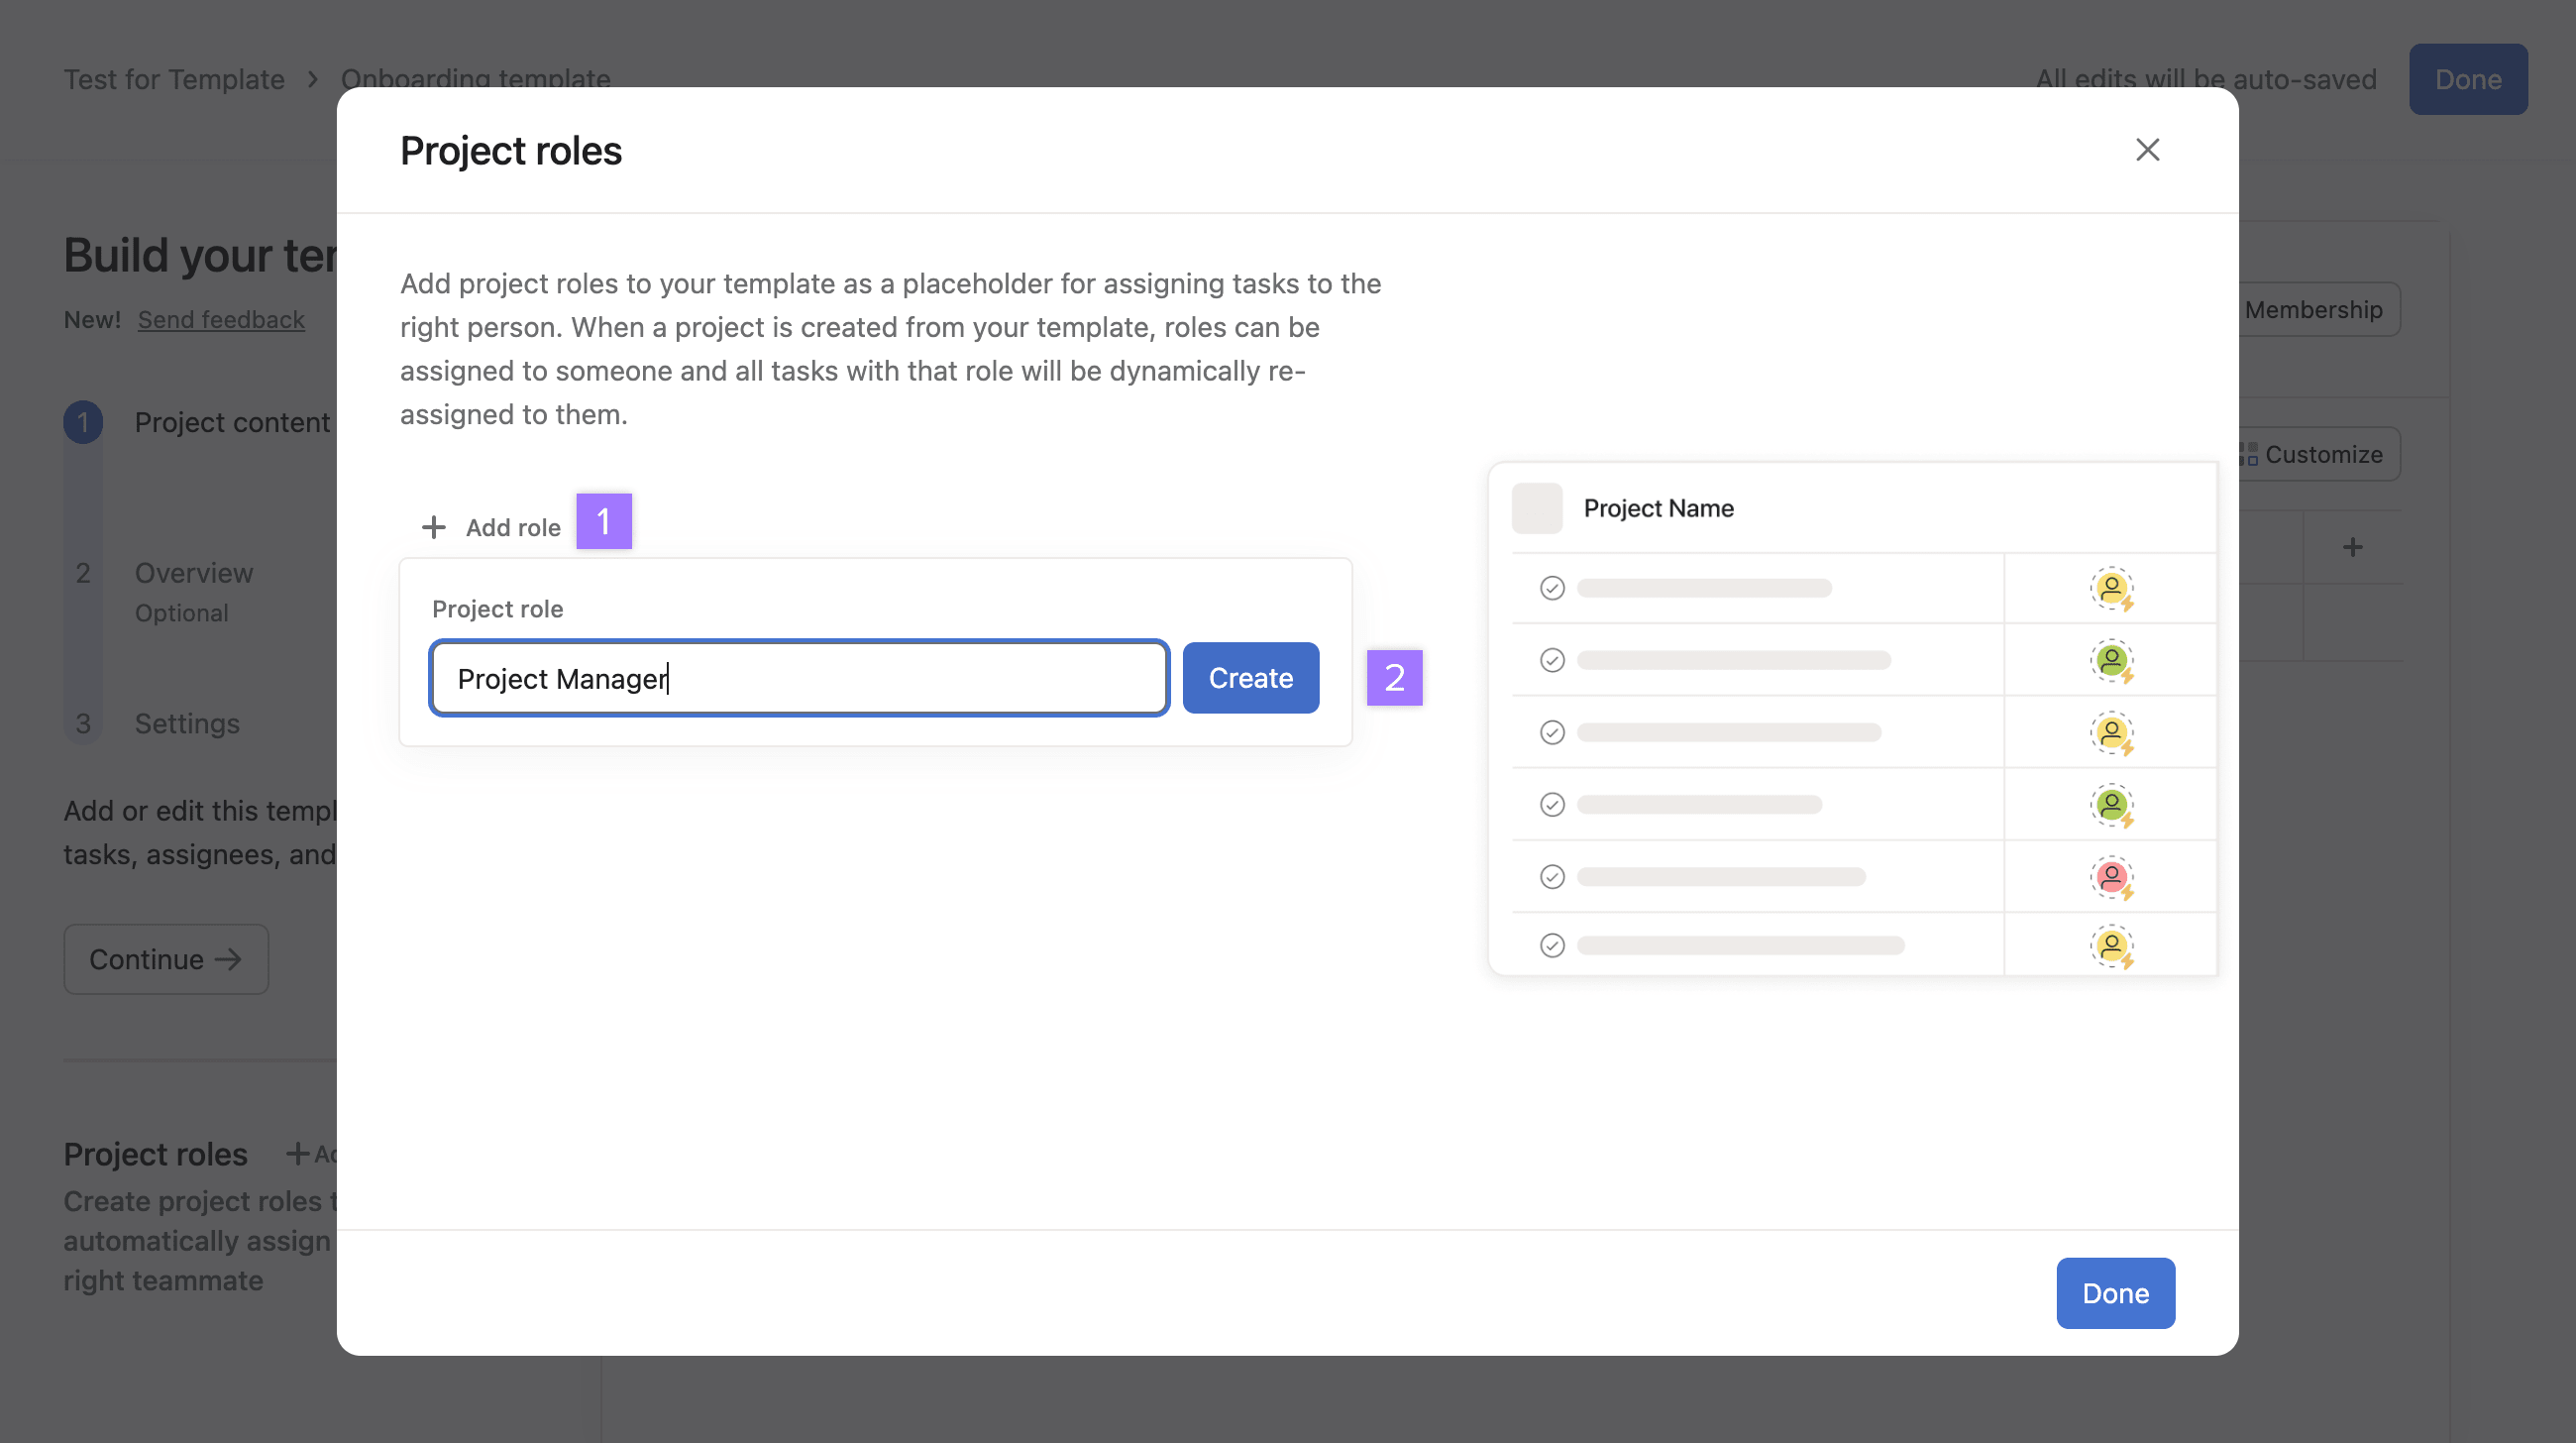
- Click + Add role and enter the relevant role name; Project Manager or Designer, for example.
- Click Create to save the role name.
Editing or adding additional project roles:
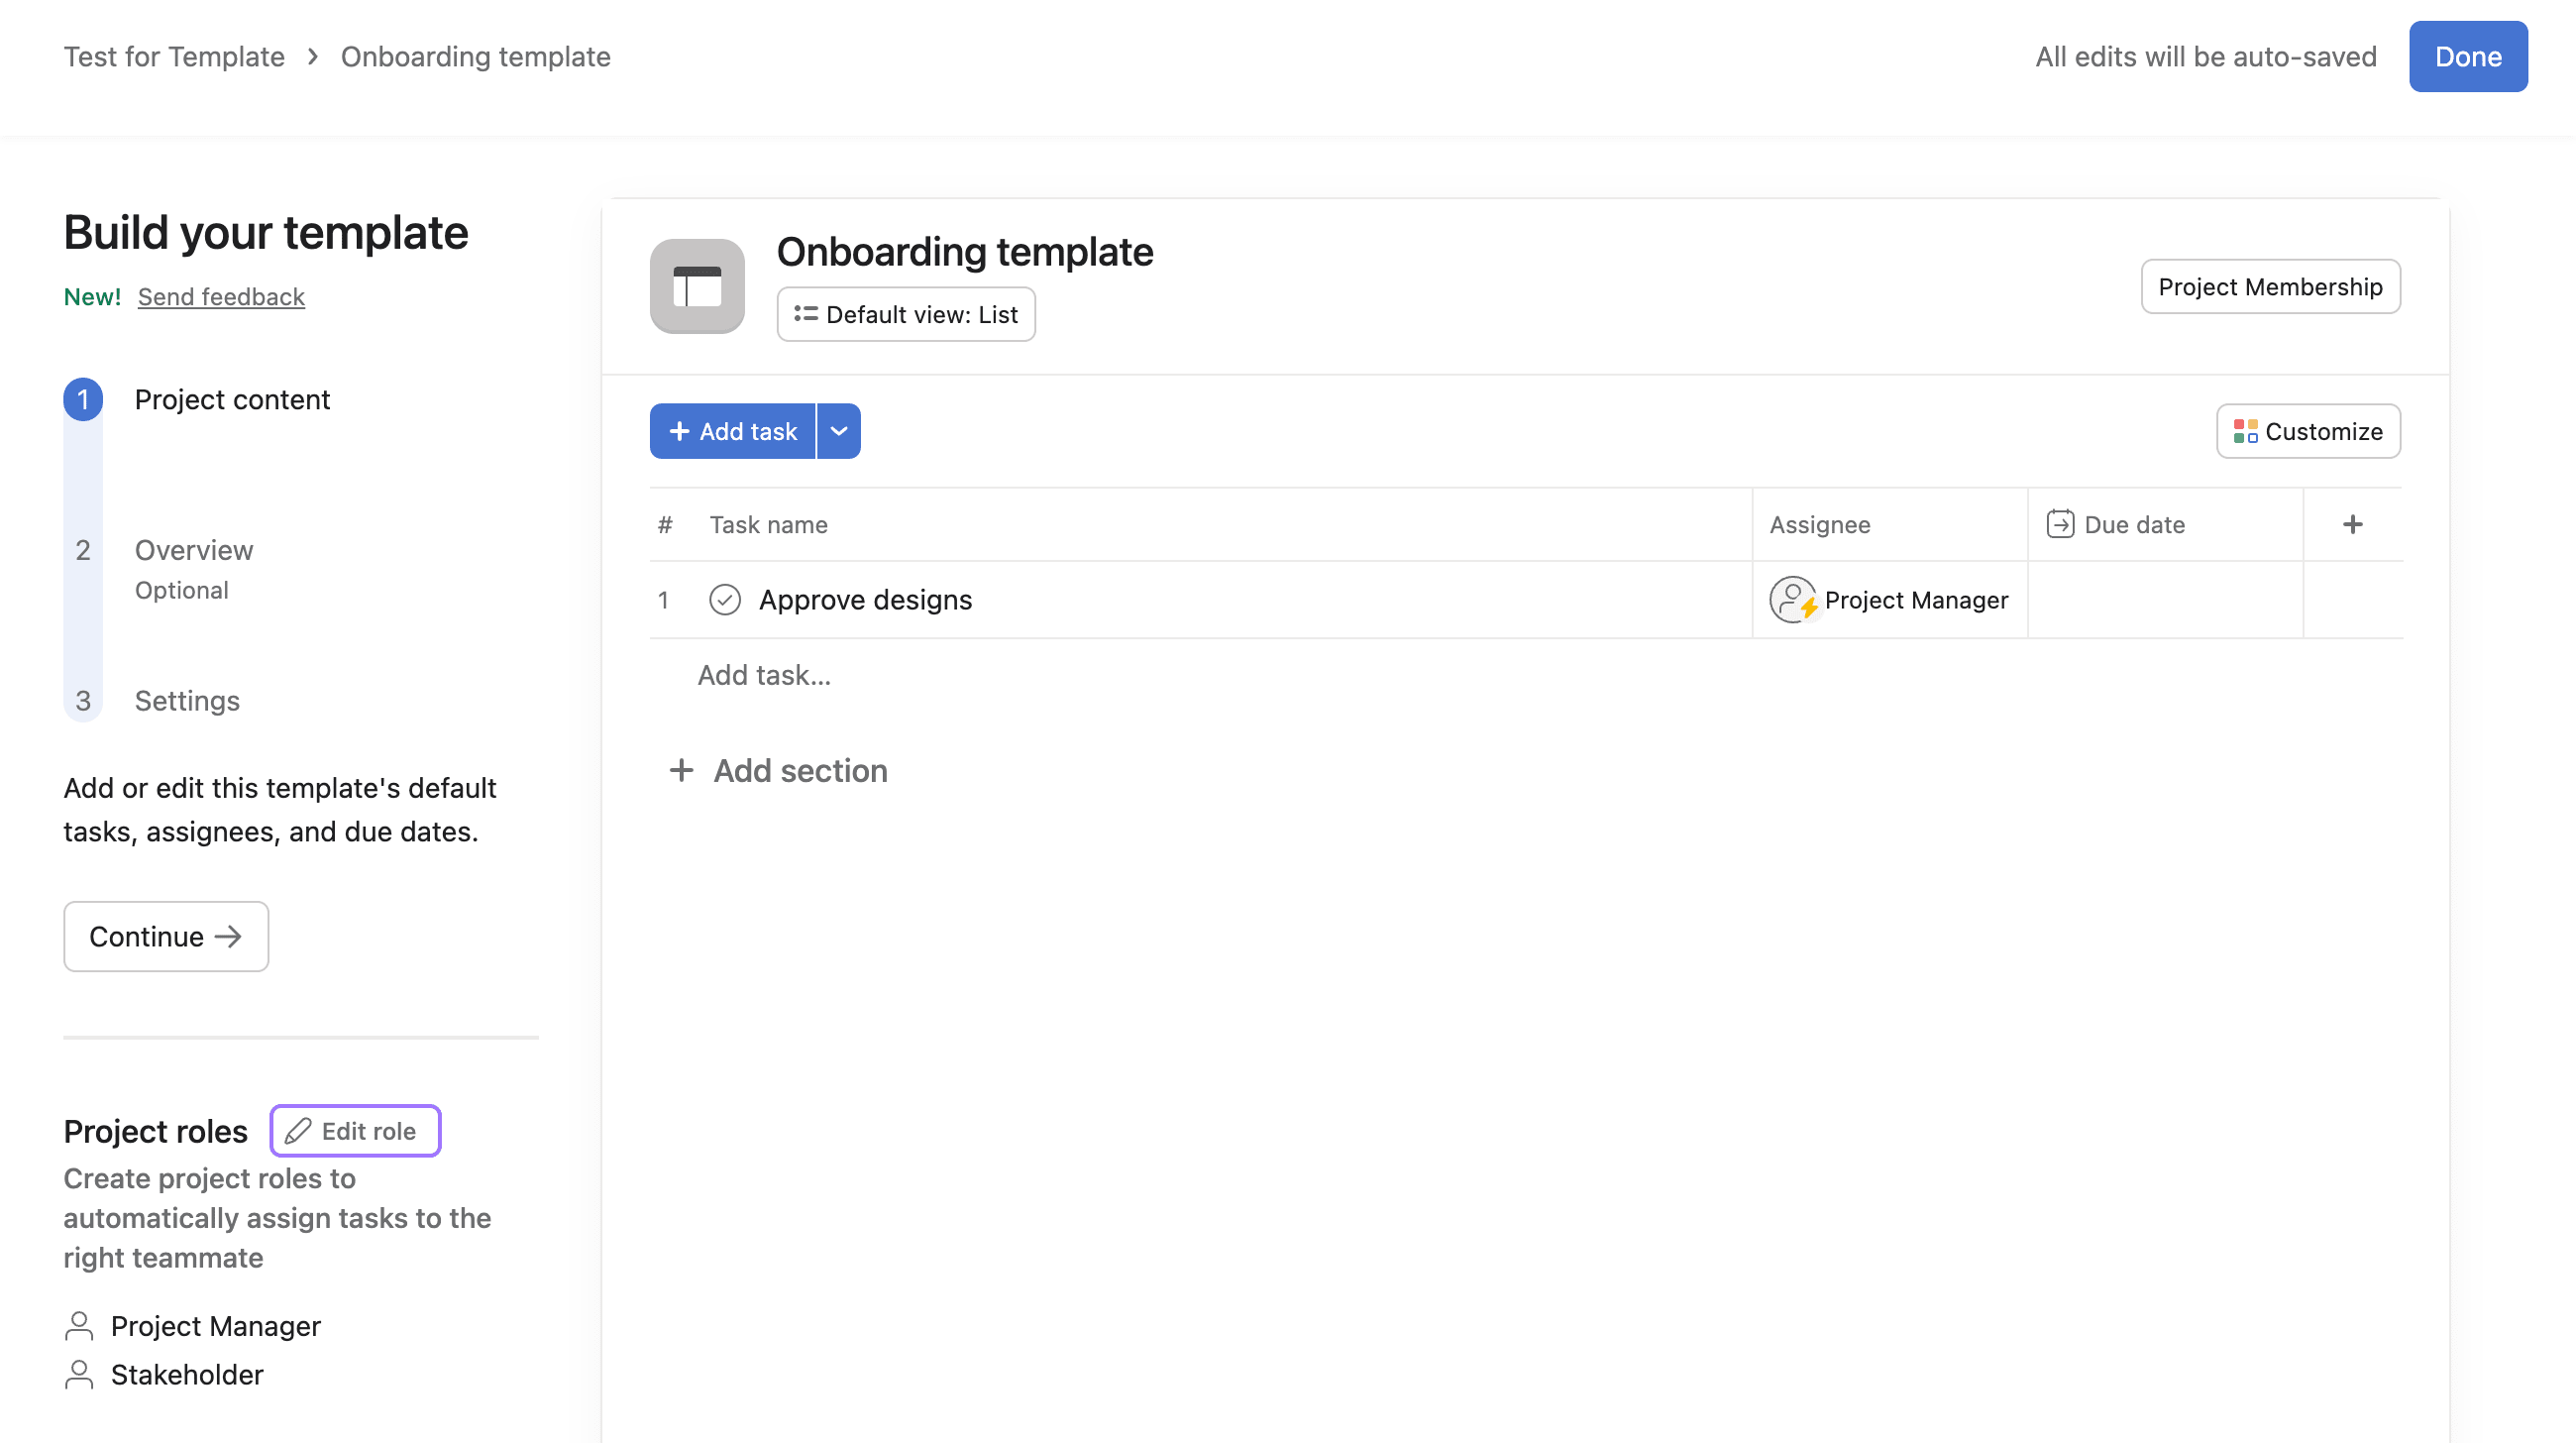
- Click Edit role under Project roles in the sidebar
- Click + Add role to add an additional project role
- Click on any existing role to edit or make changes
To remove a project role:
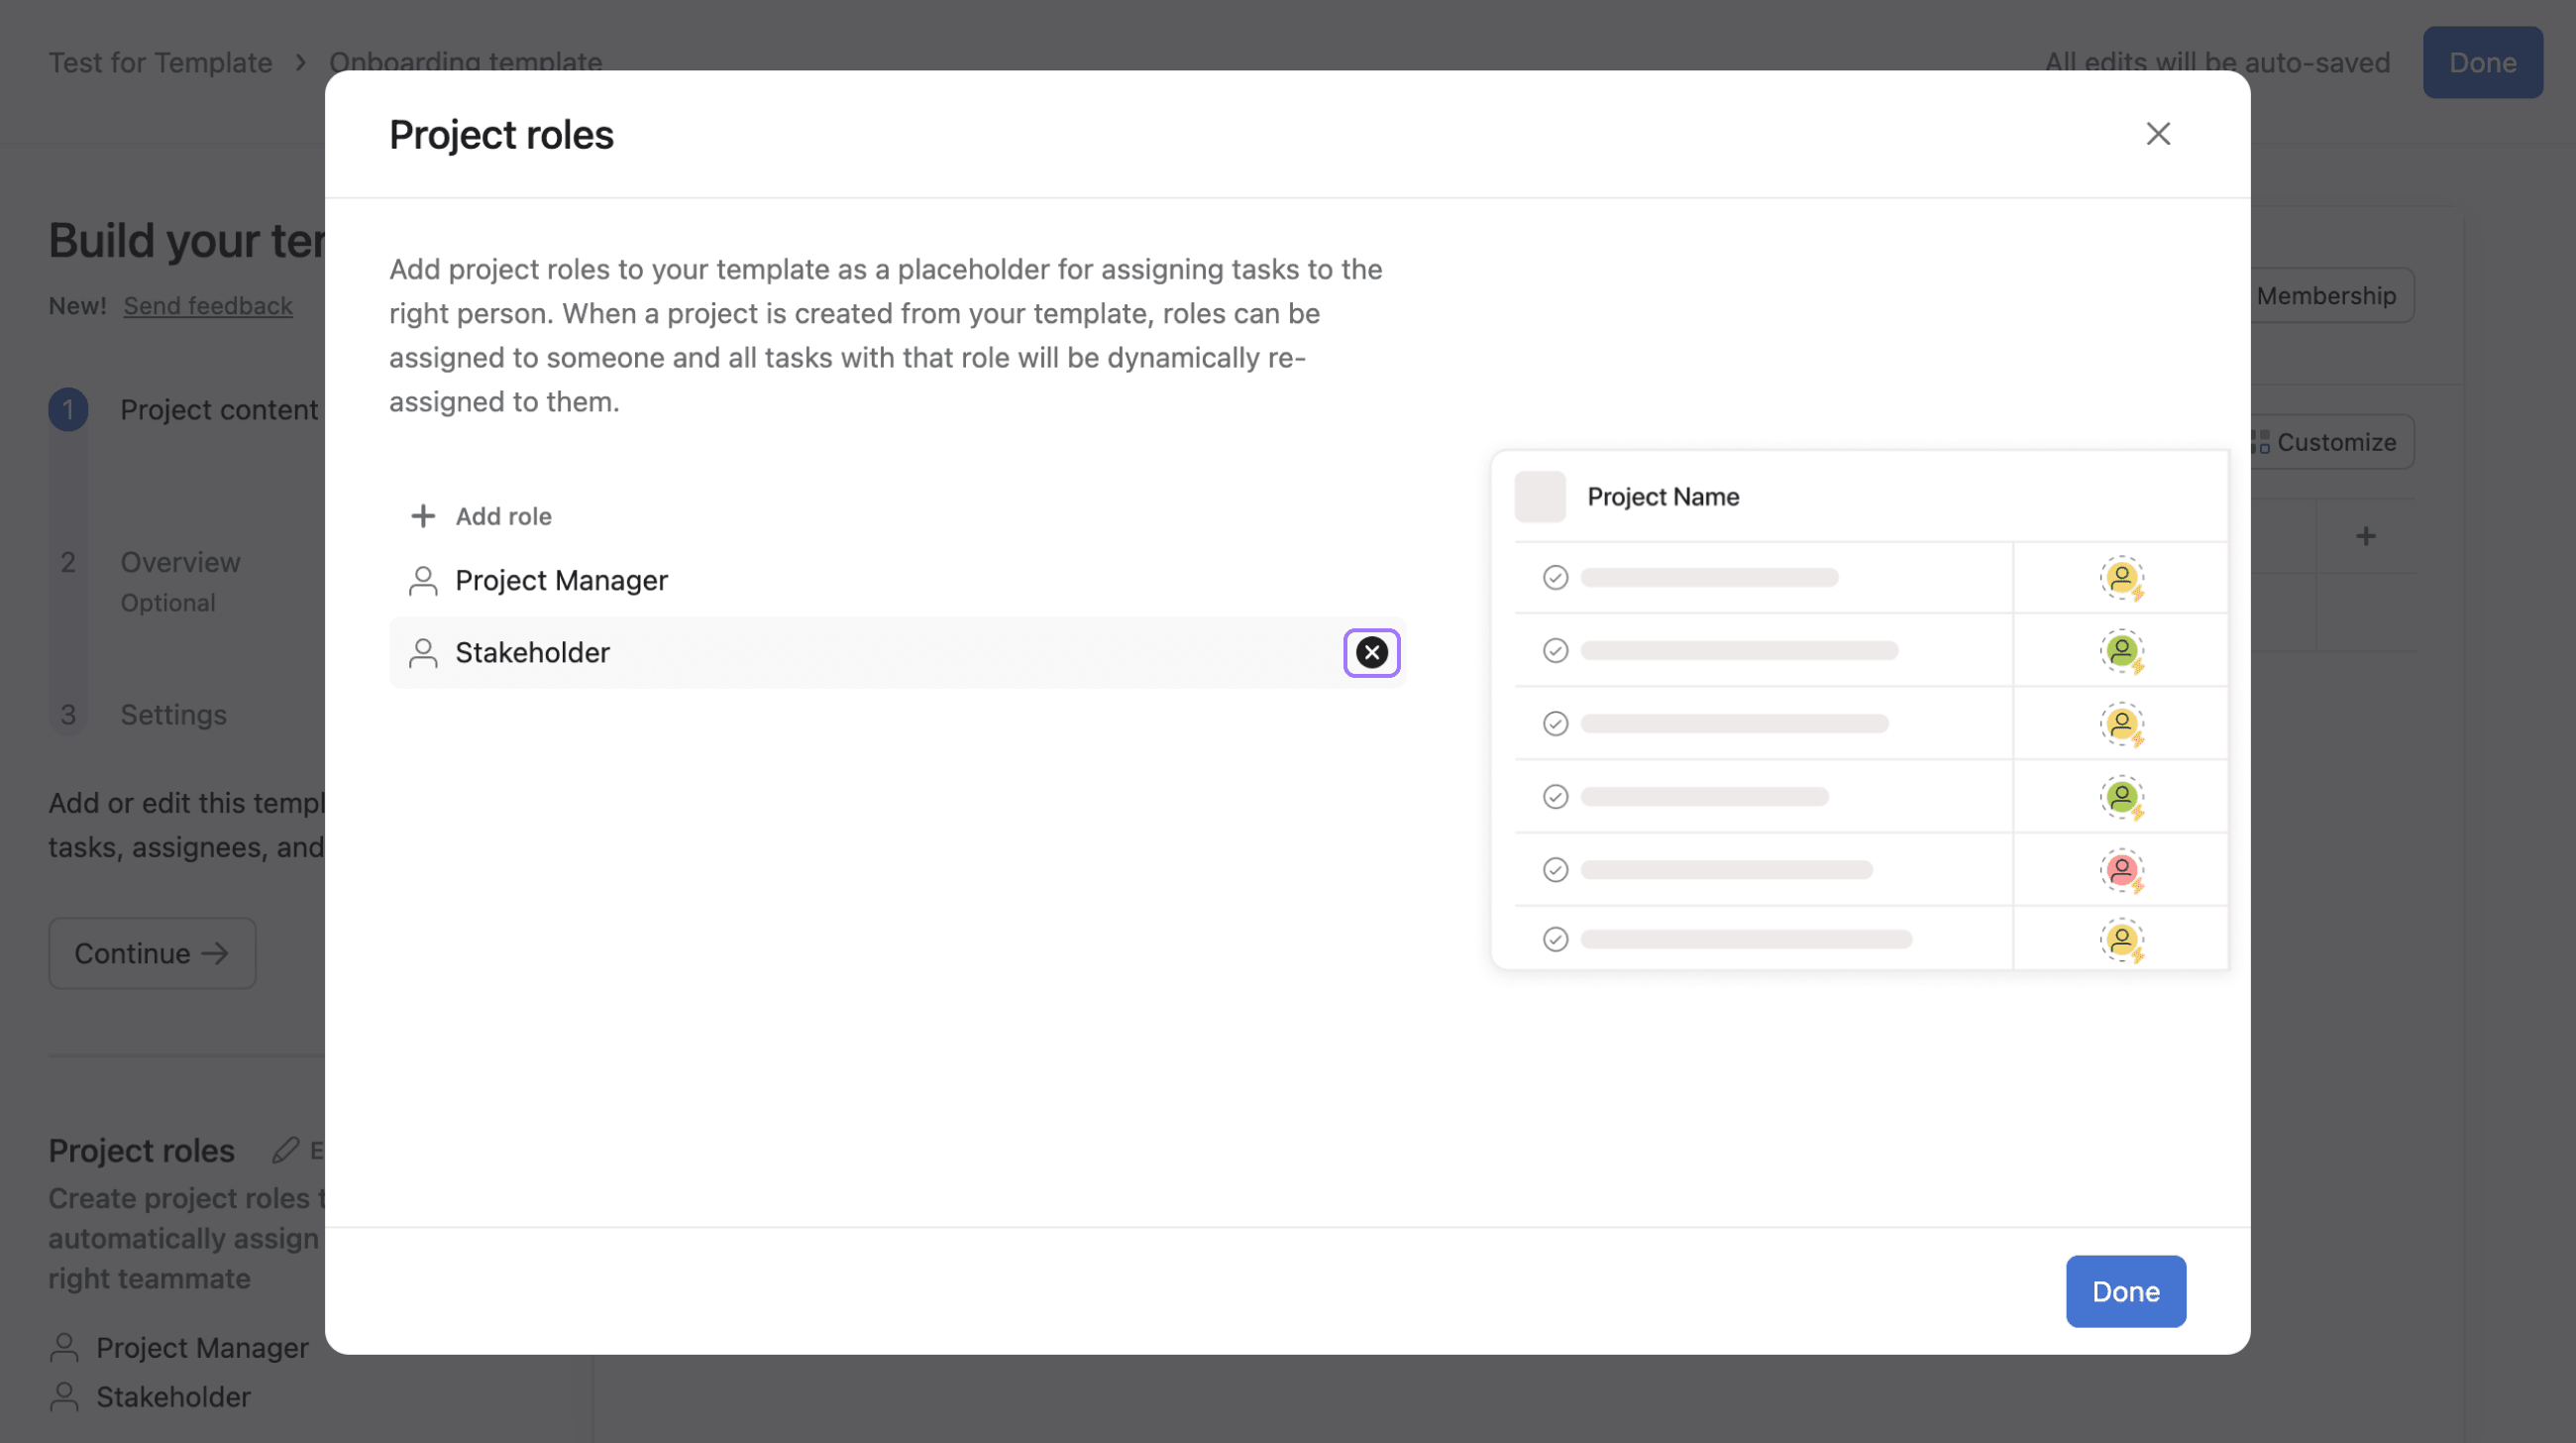
- Click on Edit role
- Hover over the role you wish to remove and click on the x that appears and then click Remove
- Click Done to return to your template
Assigning project roles:
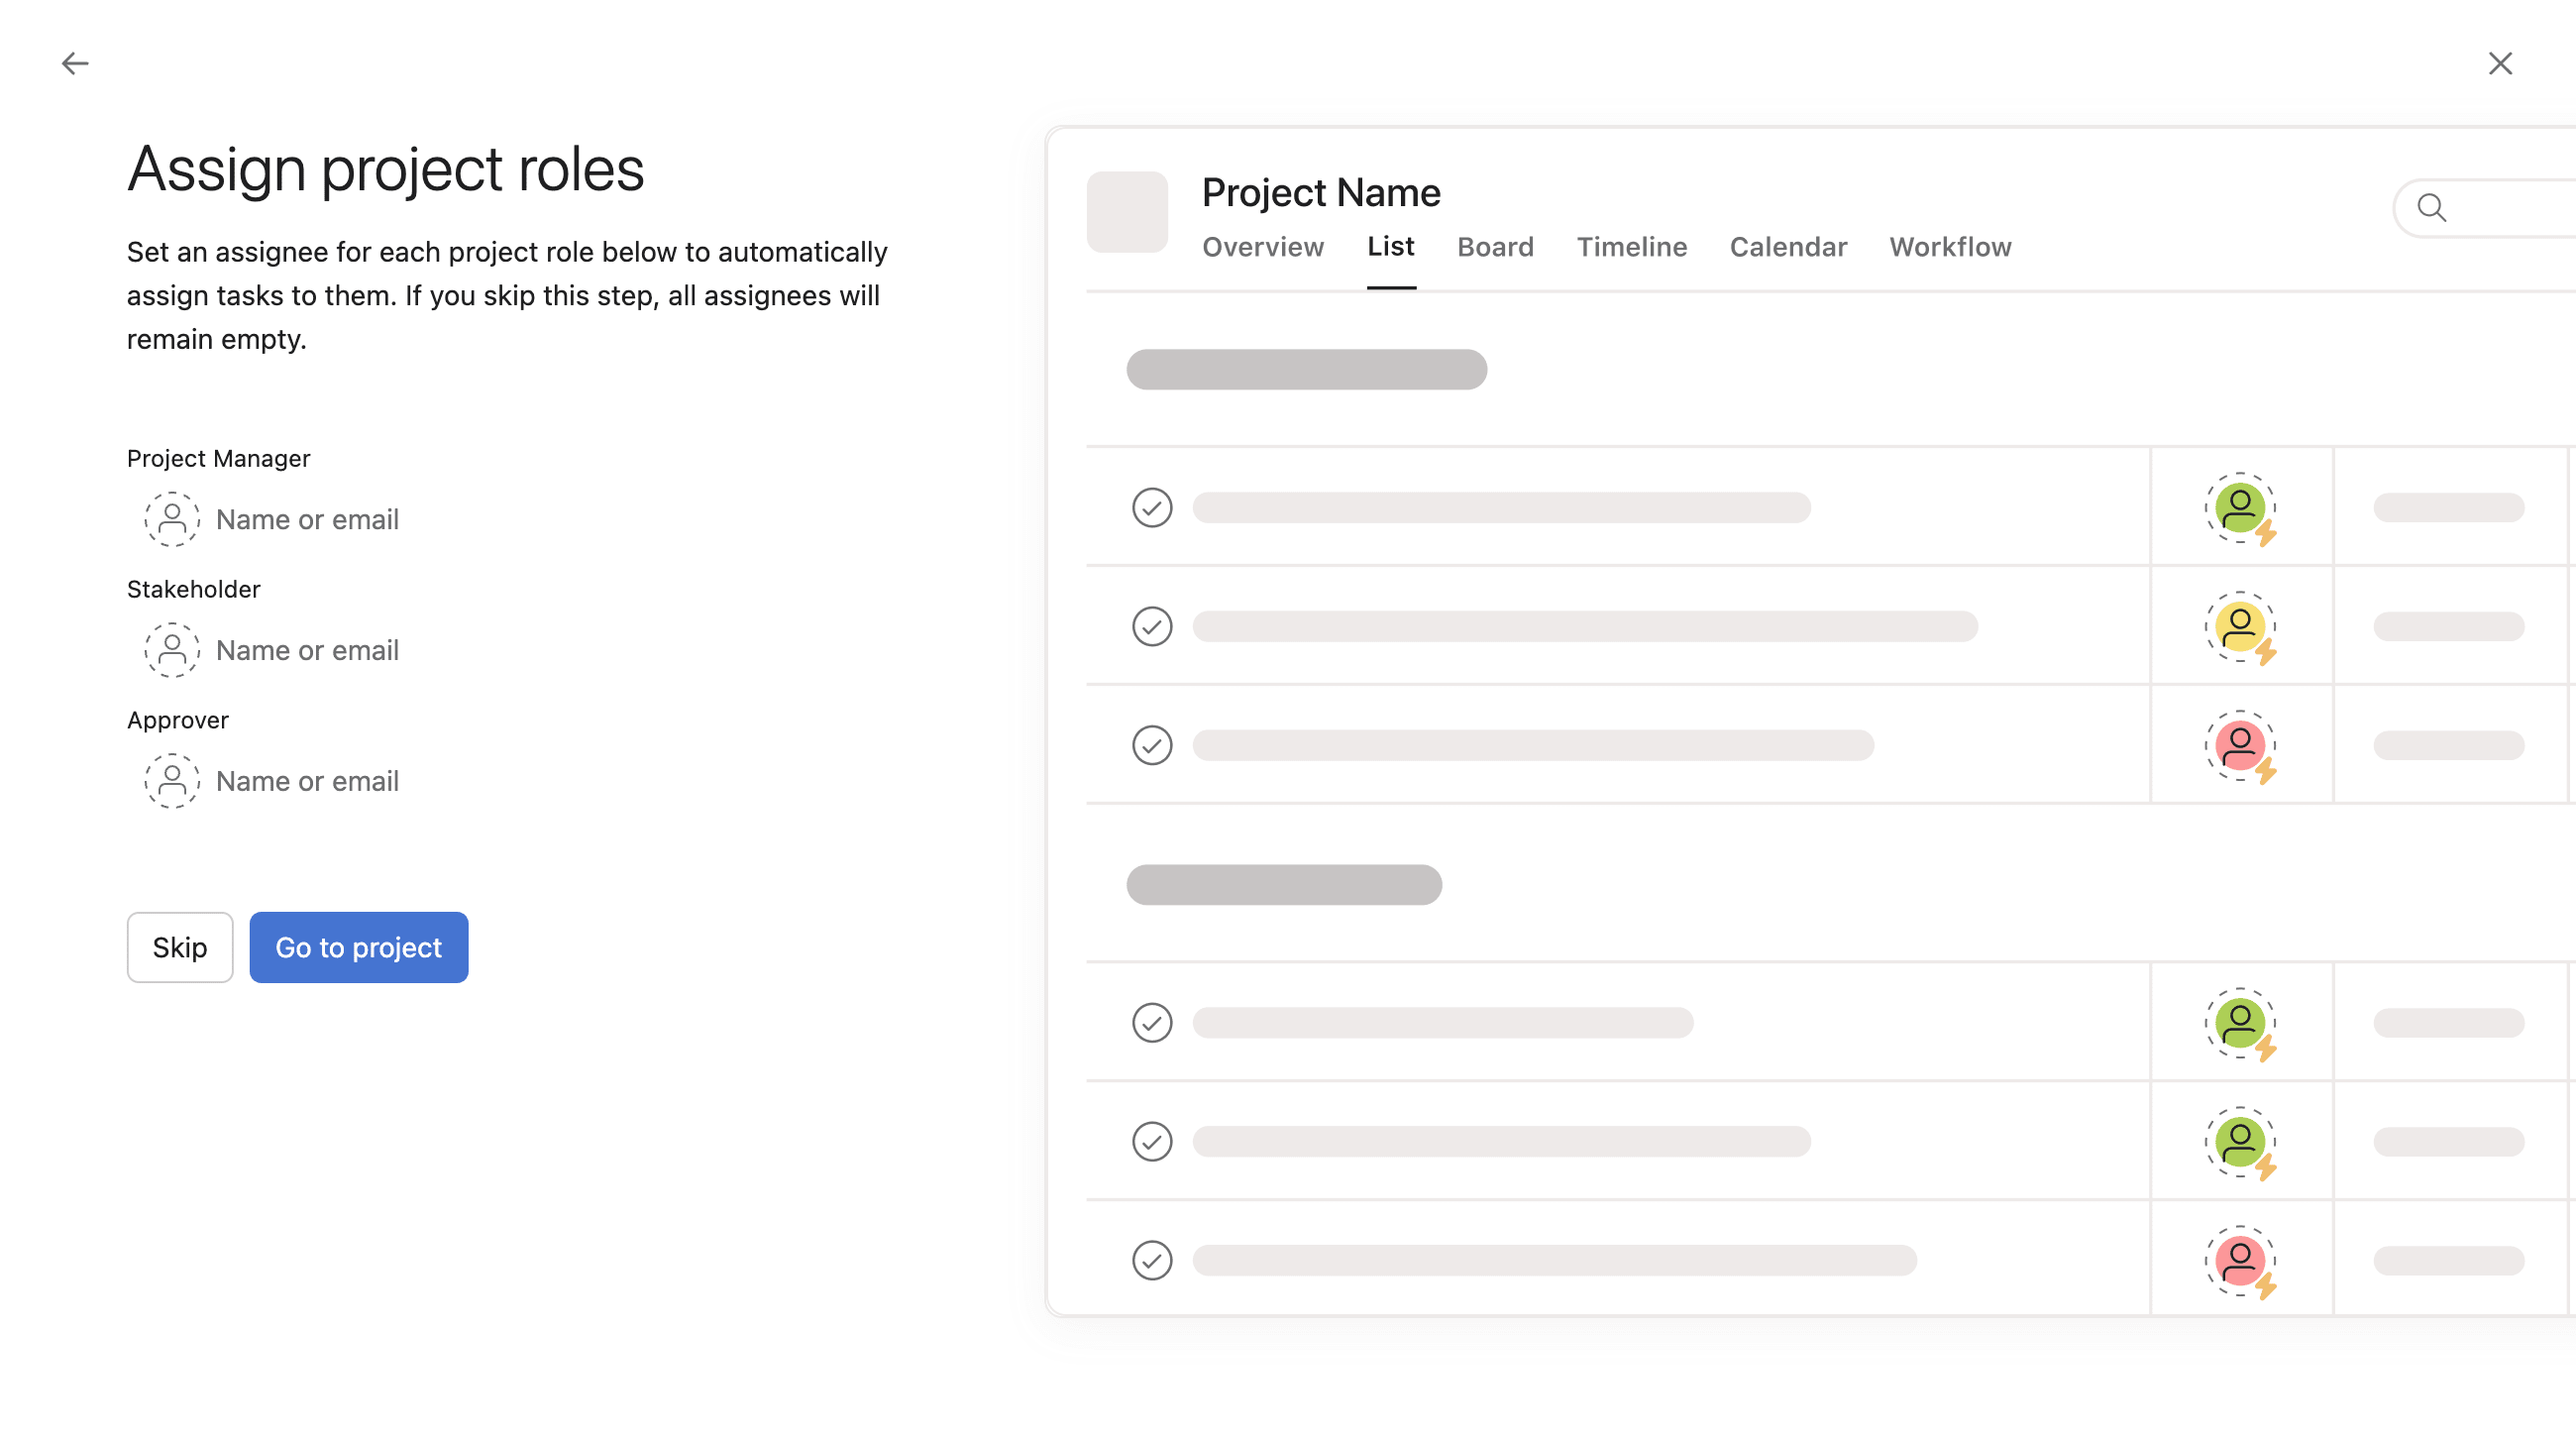
- Click Done once you’ve finished editing your template
- Click Use template to go through the normal flow to name your project, then click Continue
- On the next page you can choose assignees for each project role. Once assigned click Go to project. You can also click Skip to skip this step, however this is not recommended. Please see the Asana tip below.
Please note that if this step is skipped the assignee cannot be added afterwards meaning the assignee field will remain blank. It is therefore recommended to add the assignee upon first creation.
Template Settings

From Template Settings, you will have the option to:
- Edit the title of your template
- Add a template description
- Choose the team with access to the template
- Select a privacy setting
- Choose project template collaborators

Template owners can decide whether members can edit or use project templates.

- Those with Can edit permissions can add, edit and delete anything in the template.
- Those with Can use permissions can use the template to create projects, but can’t edit anything in the template.
- Members can be granted access to be set as a new template owner.
- Members can also be removed as a template member.
Creating a project from scratch using project templates
You can also use the builder to create a template from scratch:
- Create a new project.
- Select Use a template
- Scroll down to the custom templates section
- Click on + New Template
Note: Once your team creates their first template, you can also create from scratch from the team page, in the Templates section.

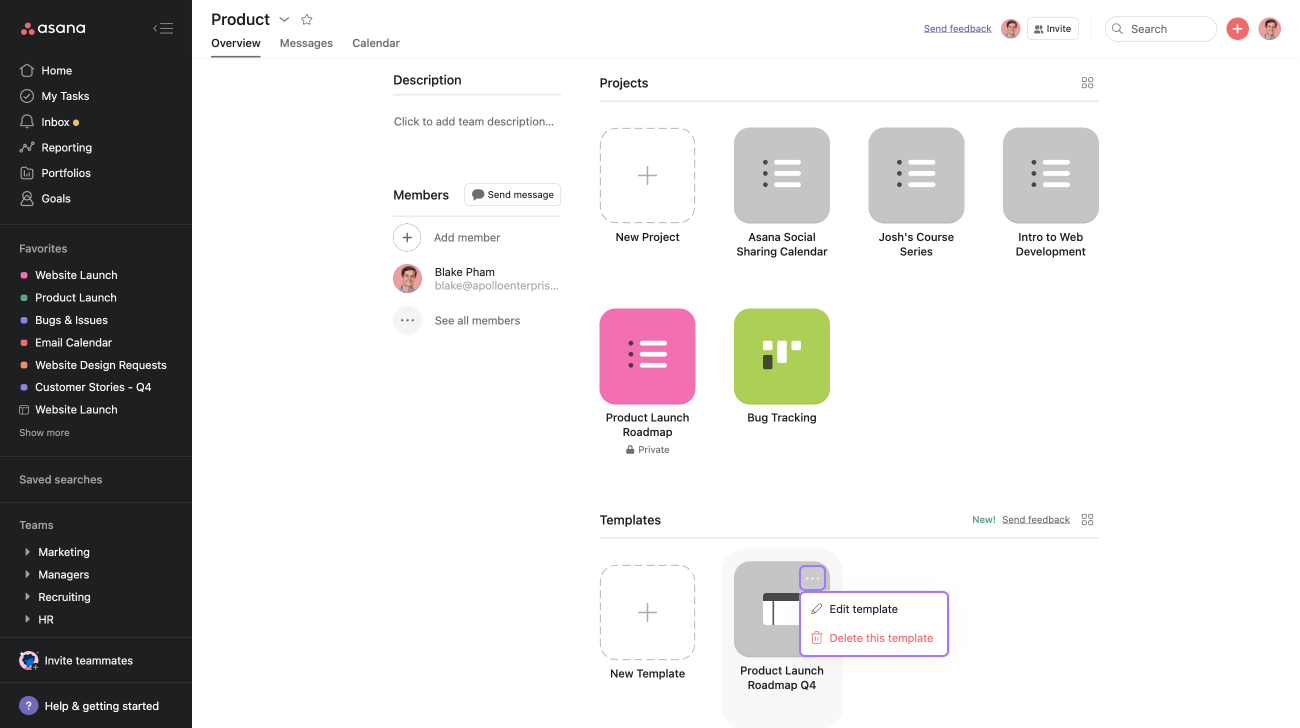
Deleting a template
Project templates across any given team can be easily viewed and identified simply by going to the teams page.
From here, templates can be easily edited and deleted by clicking on the three dot icon in the upper right hand corner of the template.
Like what you see? Get started with a free 30 day Asana trial today. Try for free

